
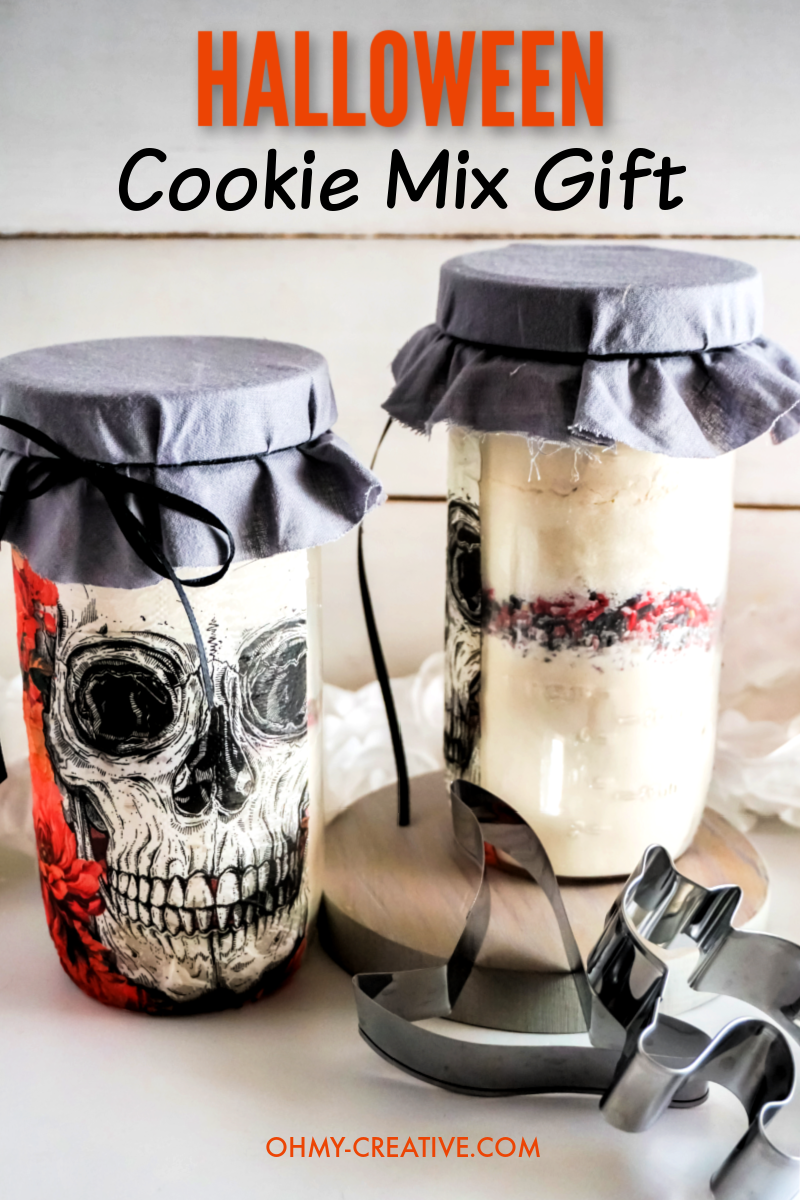
Skull Halloween Cookies In A Jar Gift
This Halloween cookies in a jar is the perfect DIY gift to take to fall and Halloween parties! It is both spooky and chic at the same time.
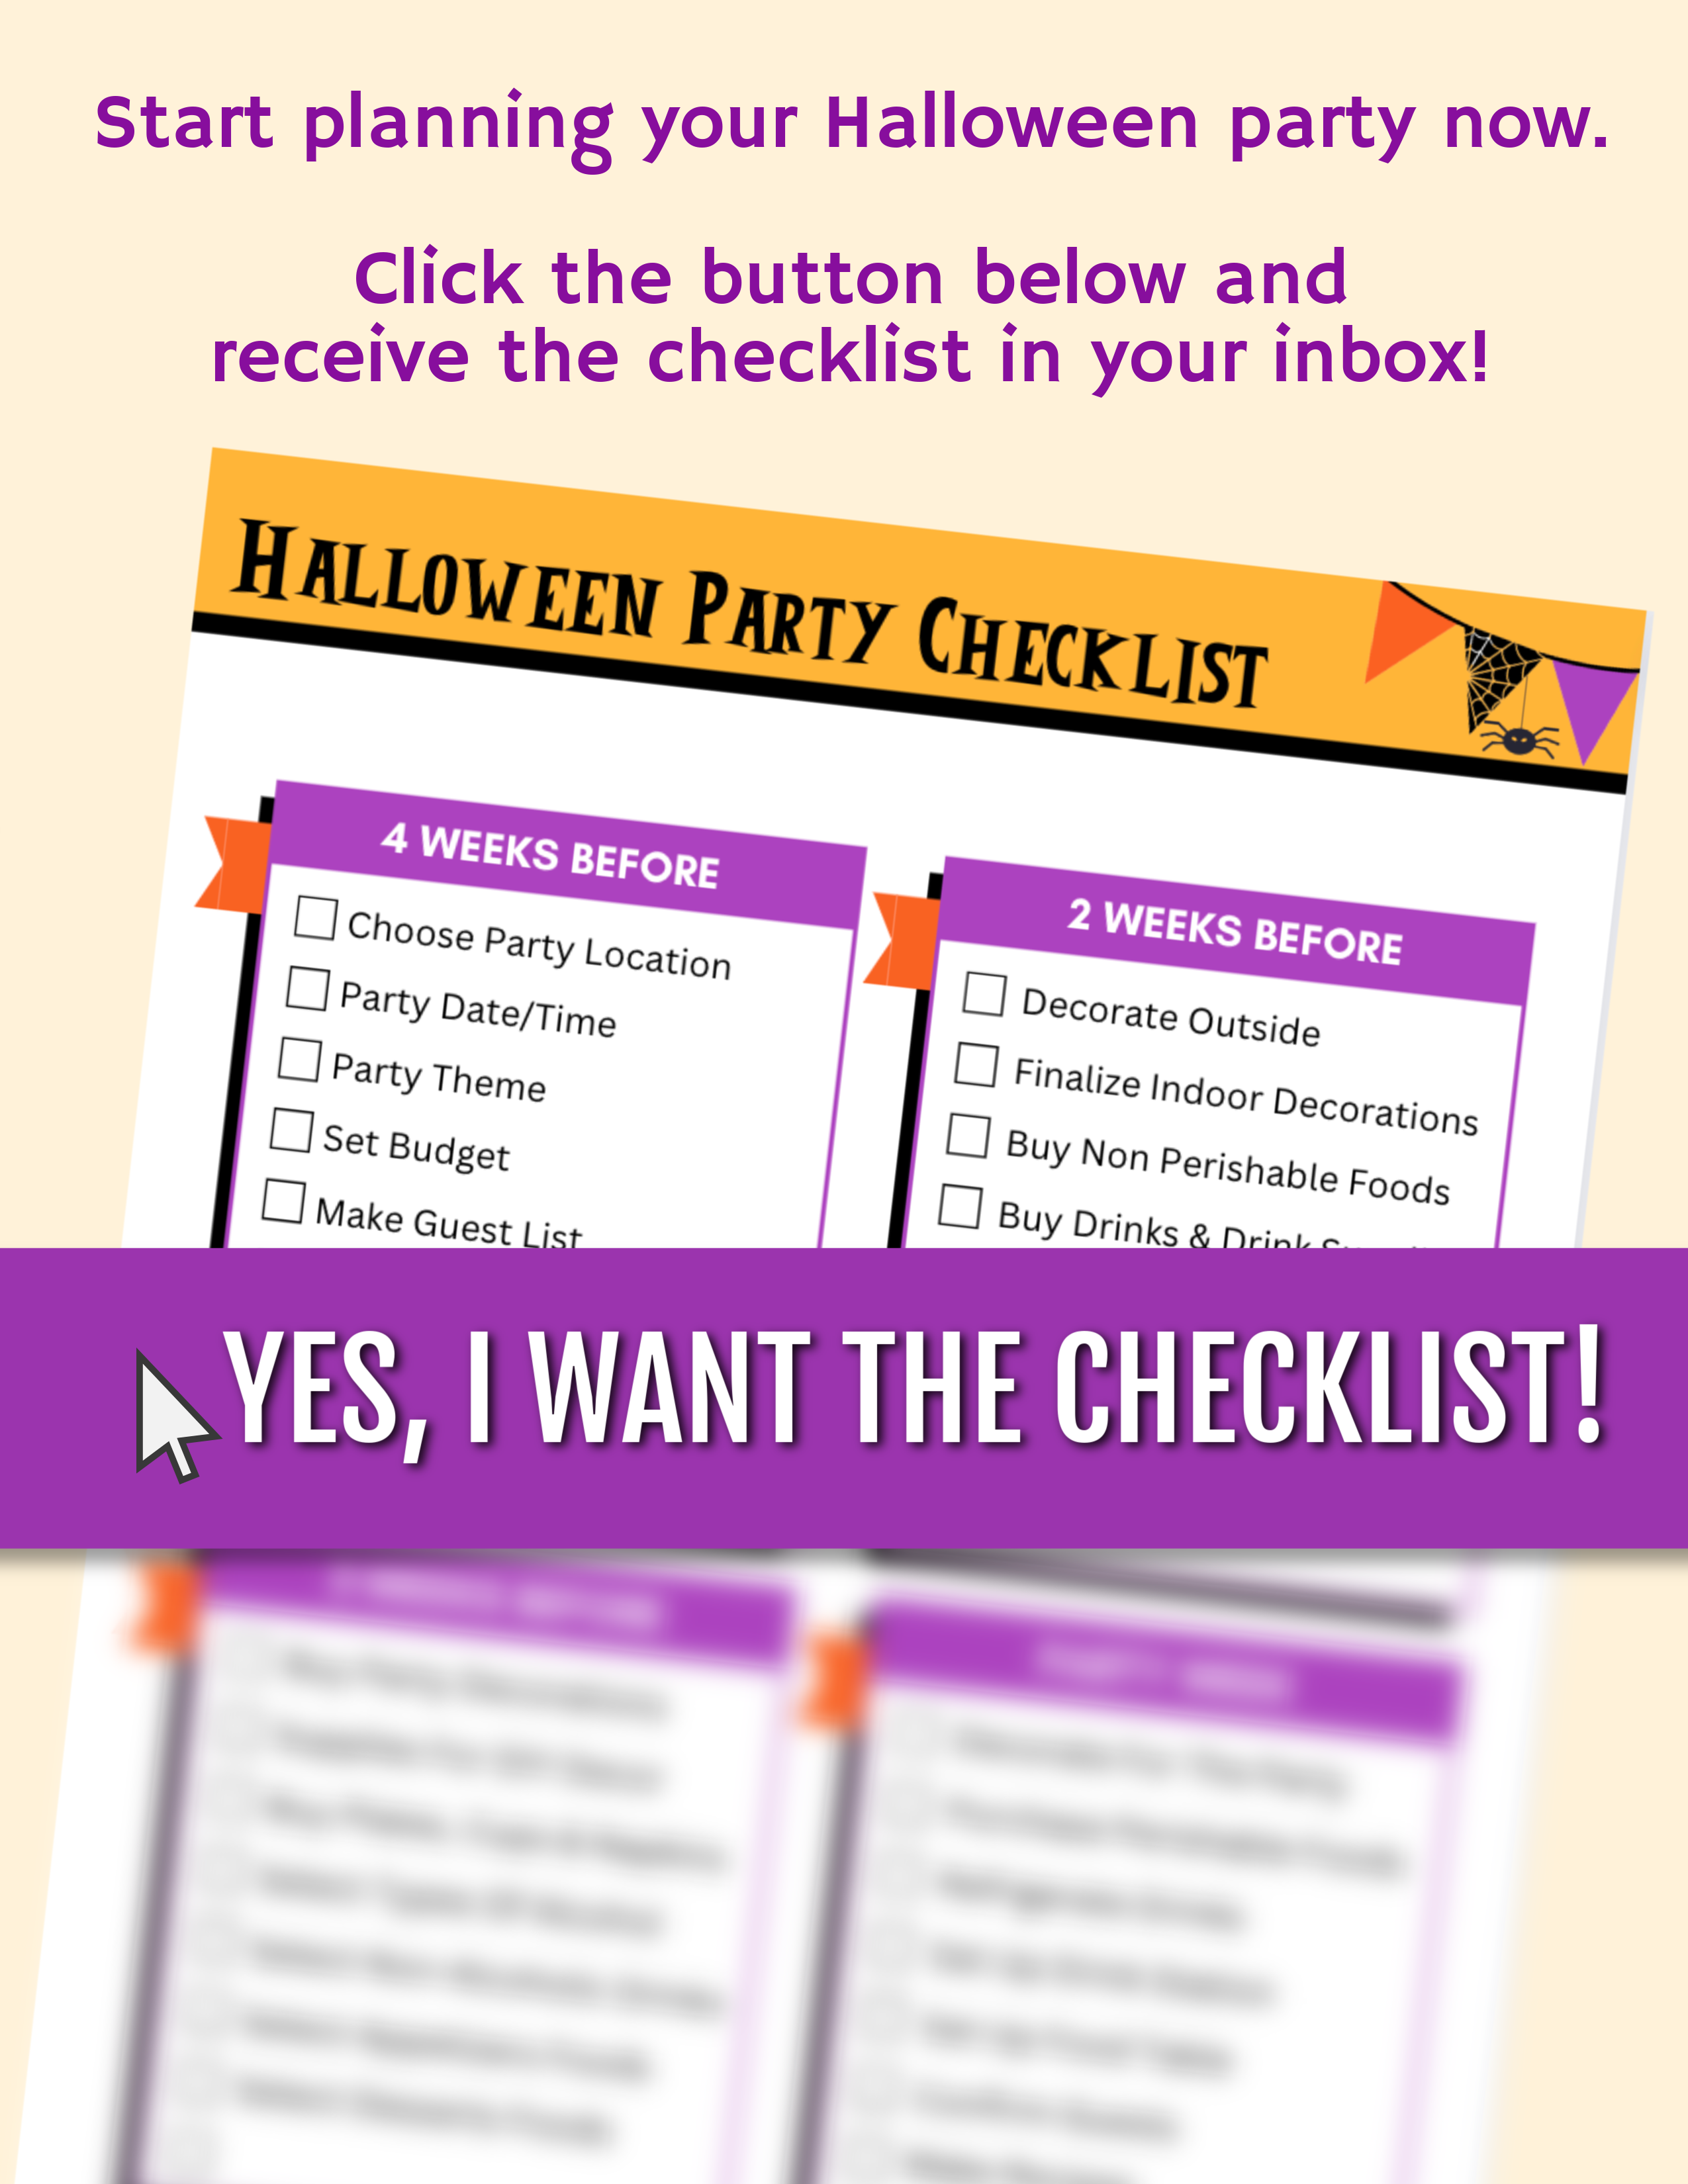
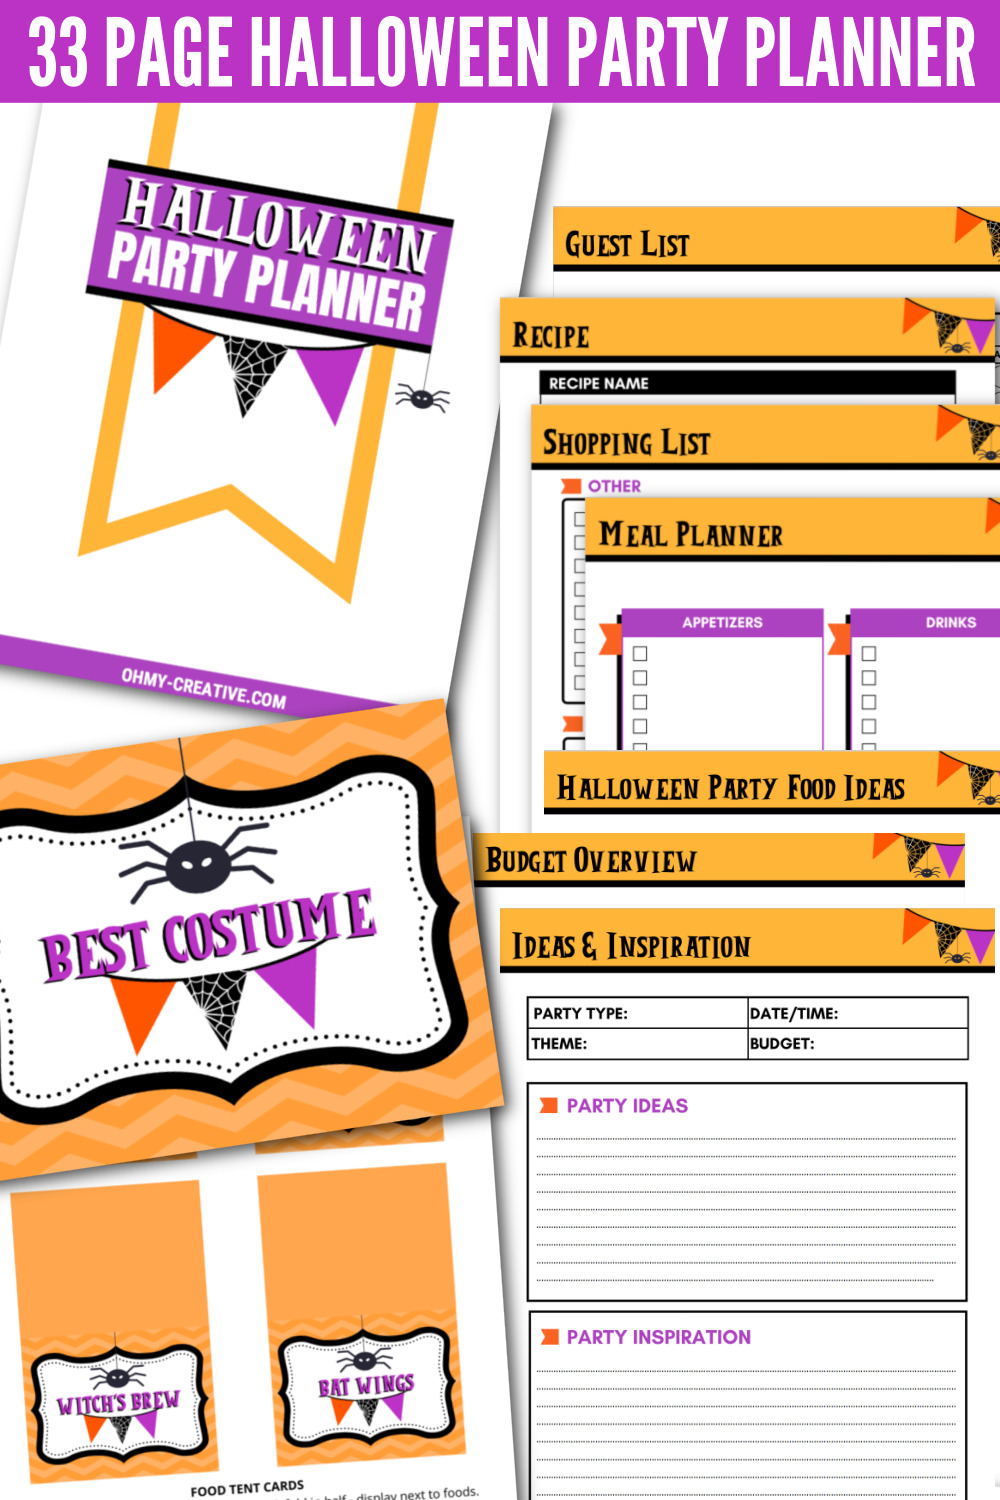
Plan The Perfect Party With This Halloween Party Planner!
This post contains affiliate links. Read my full disclosure.
Halloween Cookies In A Jar
There are lots of ways to give away this cute gift. Maybe you want to give a Halloween gift to a friend or family member that is too old for candy. This is a fun way to celebrate the holiday! It also makes the perfect teacher appreciation gift or something you can give the host of a party you are invited to.
This entire project couldn’t be any easier. Keep reading and I’ll show you how to make your own.
Tools
Before you begin crafting, these are the tools you will be using.
- Paintbrush
- Funnel
- Scissors
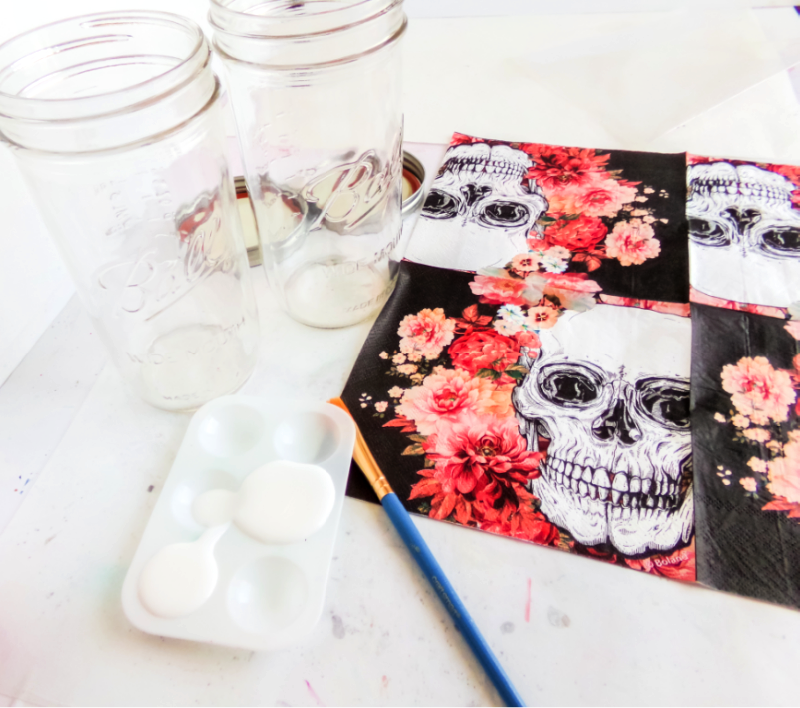
Supplies
There are two different types of supplies you will need – the stuff to fill the jars, and the supplies for decorating the jars.
Jar Filling Supplies:
- 2 cups flour
- ¼ tsp salt
- 1 tsp baking powder
- ¾ cup sugar
- Halloween Sprinkles
Jar Decoration Supplies
- Skull Napkin Find More skull napkins here.
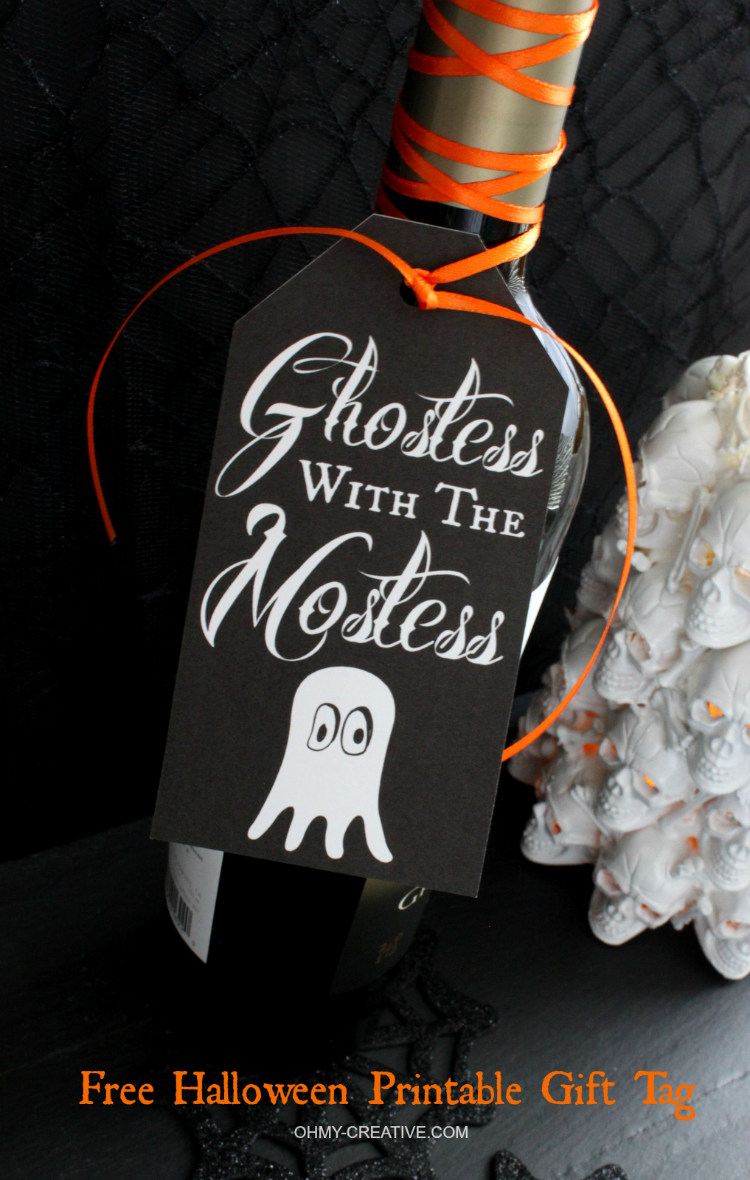
- Printable Gift Tag
- Cardstock Paper
- Mod Podge or Craft Glue
- Bakers Twine or Raffia
- Grey Cotton Fabric
- 1 Pint-Sized Mason Jar (with lid)
How To Make Halloween Cookie Mix In Jars
Just follow these step-by-step instructions and you’ll make your own DIY cookie mix!
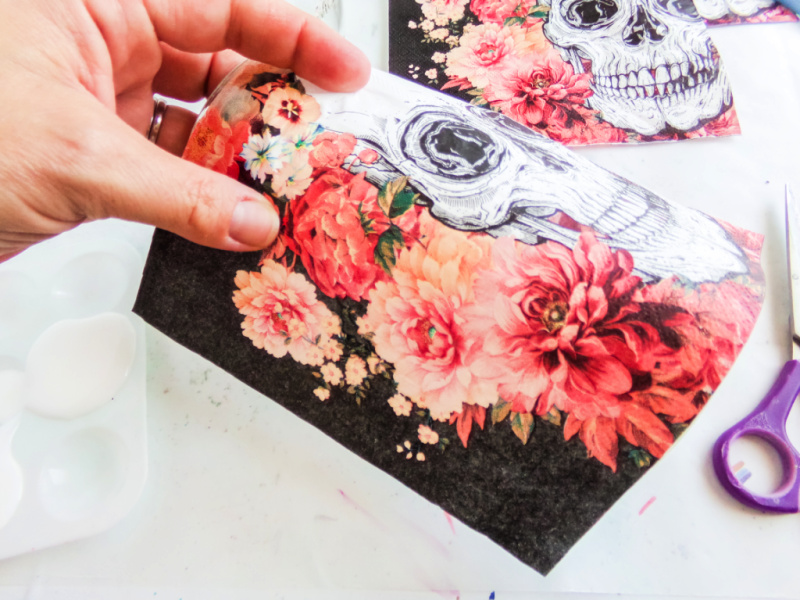
Step 1: Trim The Halloween Napkins
Make your jar first by trimming your napkin to fit nicely on the jar. I cut off 3 of the four sides, leaving just the clean front of the skull and flowers.
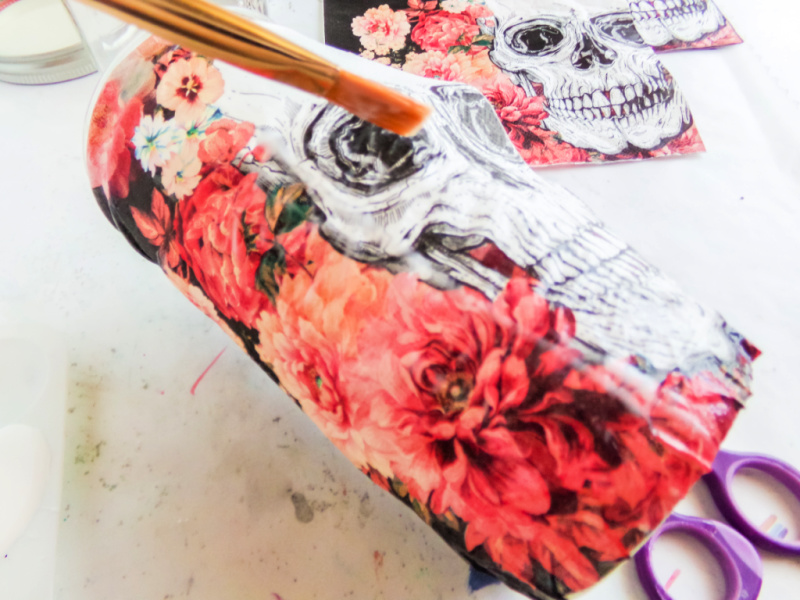
Step 2: Attach The Napkin To The Jar
Coat the jar with a layer of mod podge, then immediately place the prepared skull napkin on the surface of the jar. Take care to place it carefully because the napkin is thin and fragile–and will tear if you try to move it after the napkin comes in contact with the mod podge.
One thing to note: I left the measurement marks on my mason jar visible on the back of my jar because I thought it would be neat to see how much of each ingredient is in the jar. Allow this first layer of mod podge to dry completely.
Step 3: Coat With Another Layer of Mod Podge
Coat the napkin-covered jar with a second layer of mod podge, just to provide extra protection for the napkin. Allow this second layer of mod podge to dry completely.
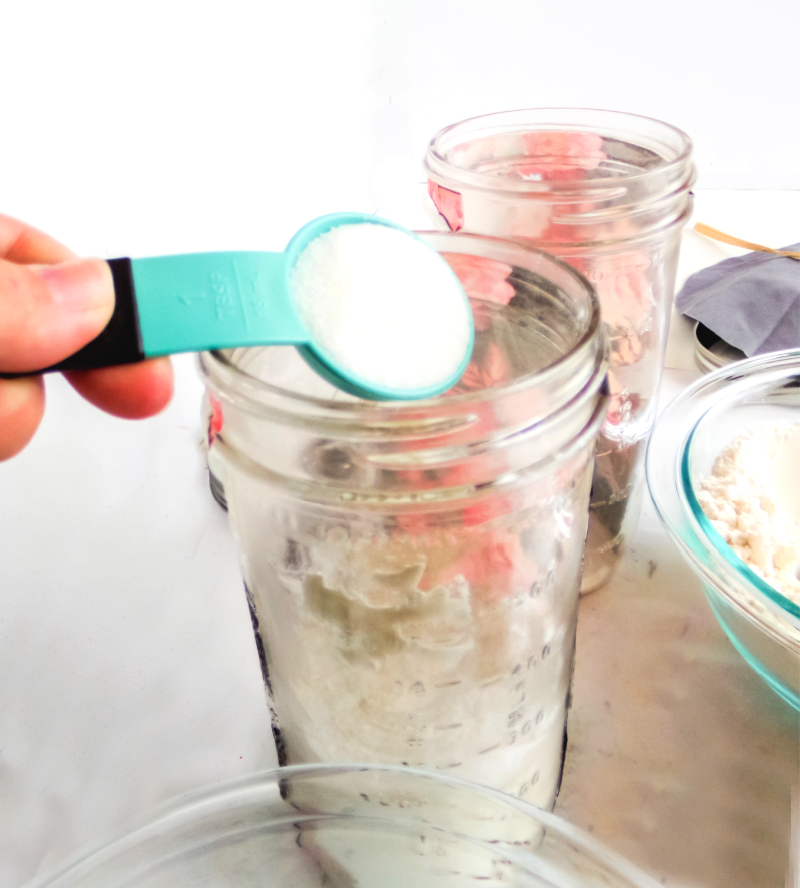
Step 4: Fill The Jar With Cookie Mix
Fill your jar with the cookie mix. I tried a couple of variations, but my preferred choice was to split the flour into 3 portions. Then I just added the darker ingredients between these 3 layers with the sprinkles in the very middle.
Step 5: Seal the Jars
Once filled, place the lid on the jar and secure it tightly.
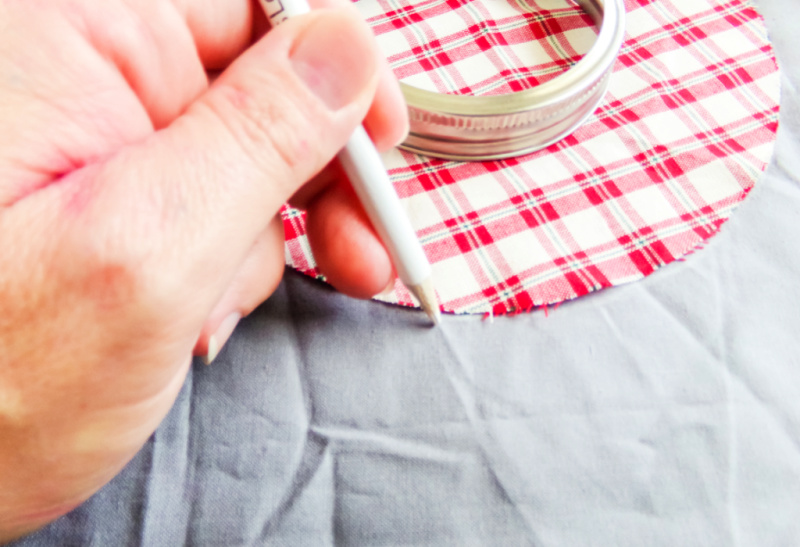
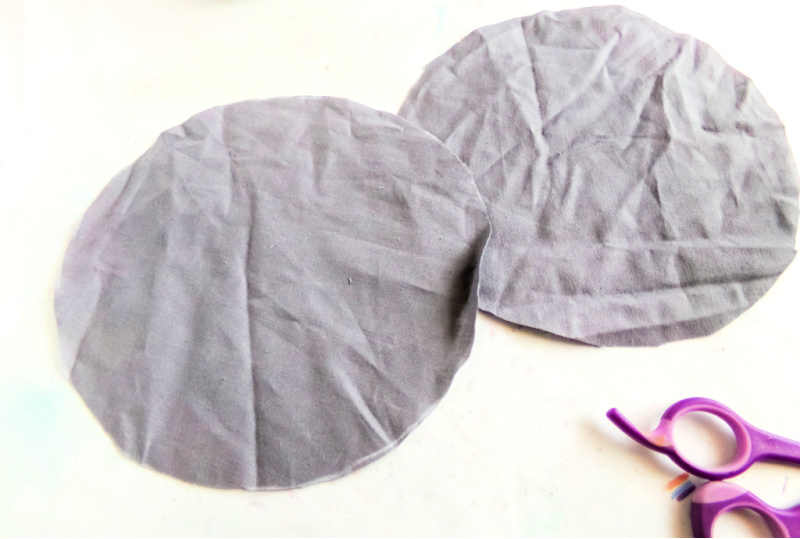
Step 6: Cut Fabric For the Lid
Cut your fabric to about a 5-inch by 5-inch square or a 6-inch diameter circle.
Step 7: Print and Cut The Recipe Card
Print your recipe card on cardstock paper and cut it to size.
Punch a hole in the top of the recipe card and thread the string or raffia to it.
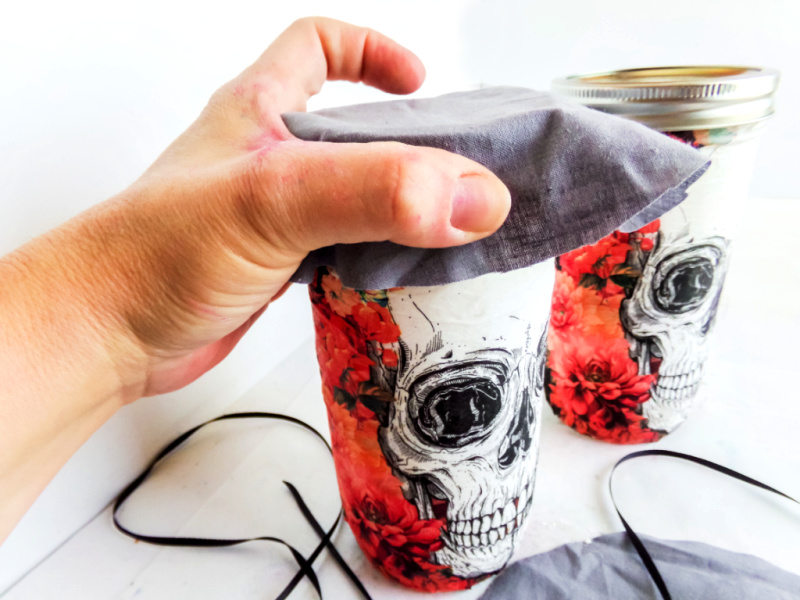
Step 8: Attach The Fabric To The Lid
Place the piece of fabric on top of the jar and secure it in place with the string or raffia.
Don’t forget the free printable cookie instruction tag to attach to the jar!
Download this FREE COOKIE MIX INSTRUCTION GIFT TAG by joining my email list. You will have full access to this printable as well as my complete Private Printable Library!
A spooktacular Halloween Cookie In A Jar Gift!
More Halloween DIY Craft Ideas
If you enjoy crafting during Halloween, try these ideas next!

Susan B
Latest posts by Susan B (see all)
- 22 DIY Teacher Appreciation Gifts - April 24, 2024
- The Best Orange Mango Jello Shots - April 21, 2024
- Cinco De Mayo Recipes - April 18, 2024

That is really fun. The image on mod-podged on the jar is terrific. Great idea to use a napkin! I’m feeling a little sad because it sounds like they are cancelling trick-or-treating in my town this year, so I’m happy to see a fun idea like this. Happy Halloween!