
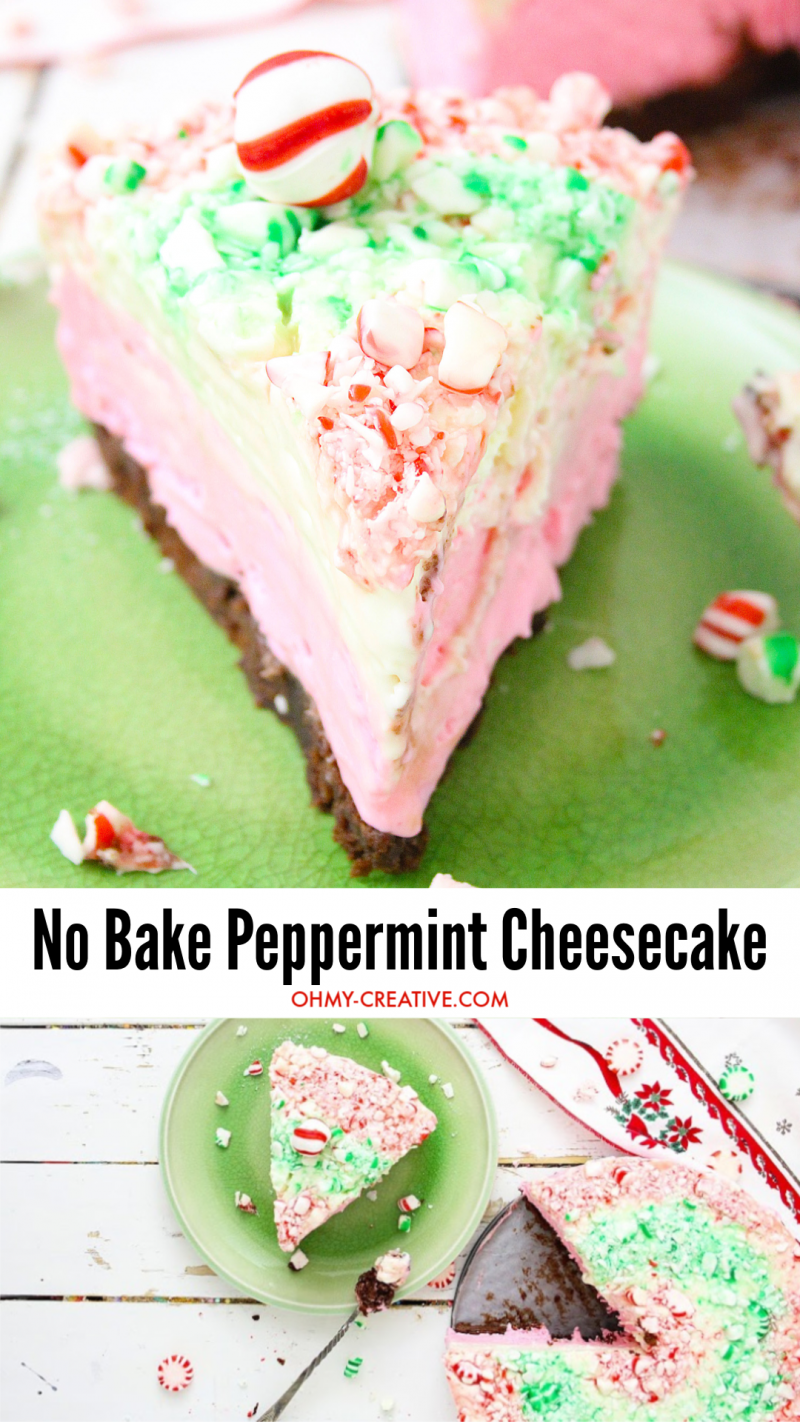
No Bake Peppermint Cheesecake | Christmas Cheesecake
All the festive fun without hardly any effort! Make this no-bake peppermint cheesecake for your next holiday party, or a fun late-night snack.
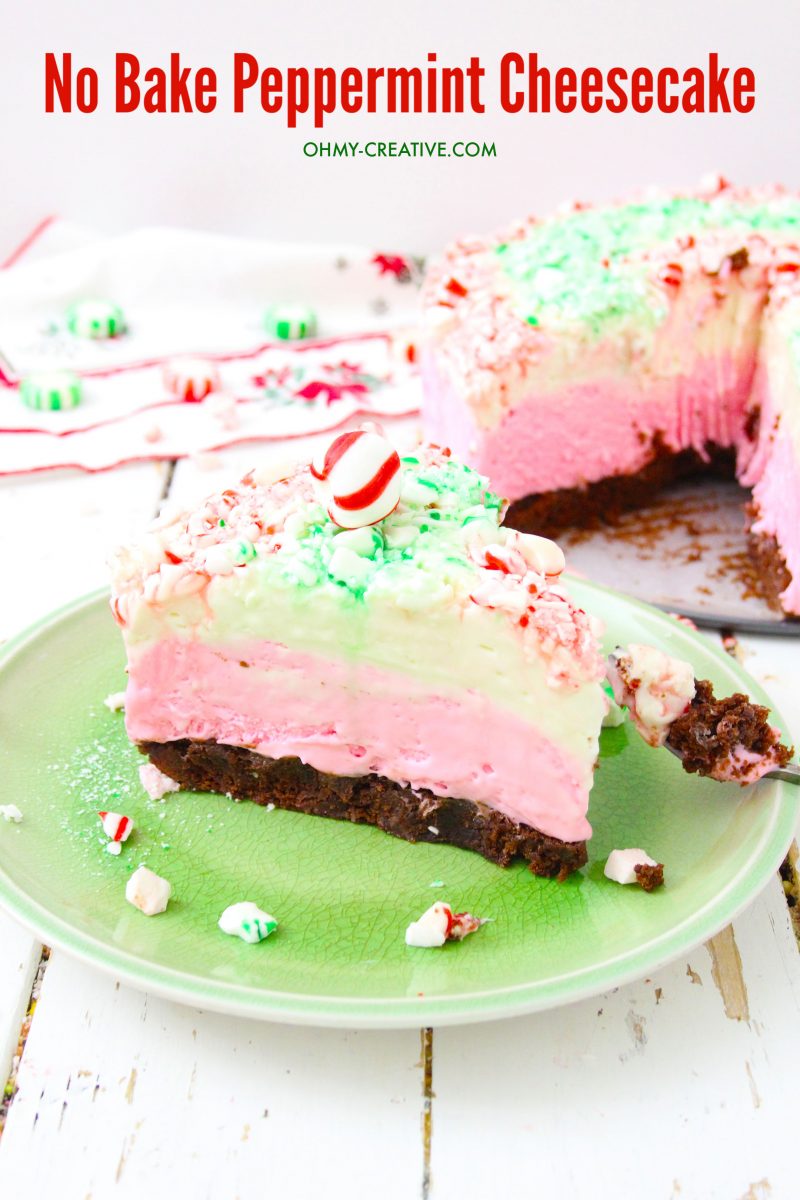
No-Bake Peppermint Cheesecake
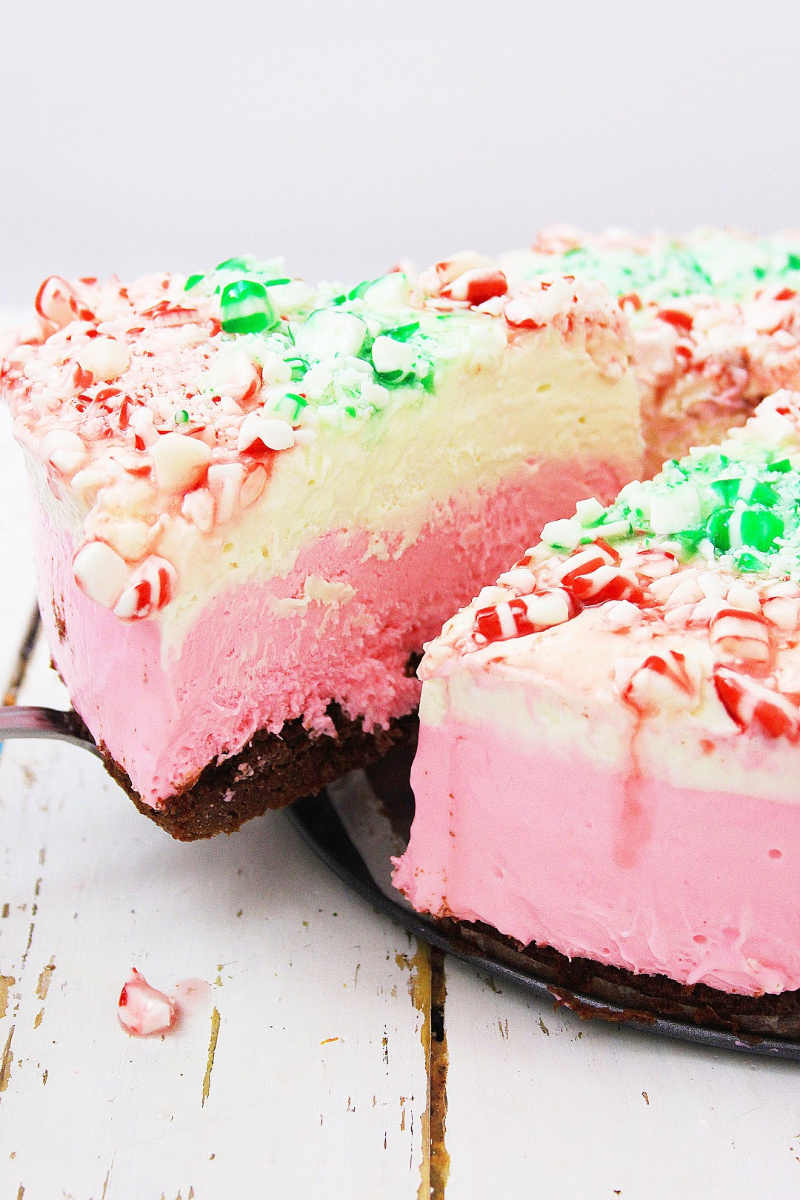
This no-bake peppermint cheesecake is such a great dessert for the holidays, you’re going to love the colorful layers, and the cool peppermint flavor with the candy crunch, and brownie crust. You just can’t go wrong with this one.
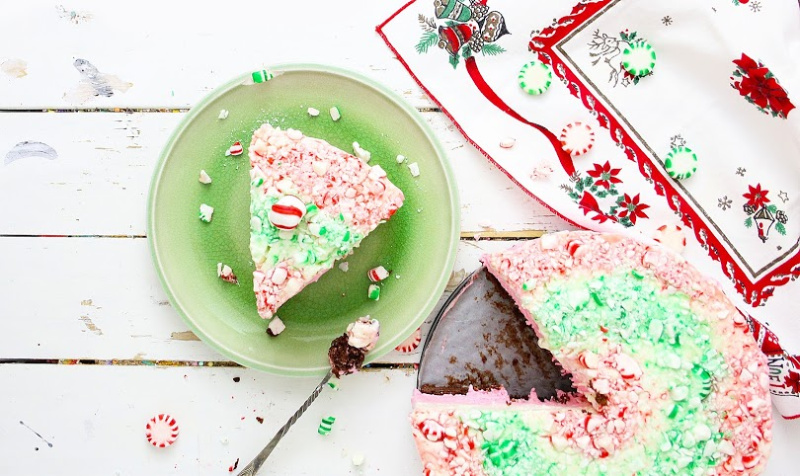
It’s so much fun to make and to serve, and even more fun to share with your family or friends. This makes a beautiful way to end a meal, or to bring out with coffee, or after dinner cordials. No matter what you choose to serve this with, your guests will be glad you did!
How to Make No-Bake Peppermint Cheesecake
The entire recipe is in the printable recipe card at the bottom of this post. But first, I have some really helpful step-by-step pictures, a quick overview, and some extra tips that will help your cheesecake WIN!
What’s In It
The crust is made with Betty Crocker brownie mix. You can use whatever brownie recipe you want. You just have to put the unbaked brownie dough in the pie pan as the crust.
This post contains affiliate links. Read my full disclosure.
Here is what is in the filling:
- 6 packages of cream cheese
- heavy cream
- granulated sugar
- corn starch
- powdered sugar
- Vanilla
- lemon juice
- Neon Pink gel food coloring
For the topping, we used:
- 1 – 10 oz. bag Starlight mints, in Red Peppermint – crushed
- 1 – 10 oz. bag Starlight mints, in Green Spearmint – crushed
Cook’s Tools Needed
- 1 – 9-inch Spring-form pan
- Parchment paper
- 1 stand mixer
- Rolling pin
- Double zip plastic food storage bags
- medium mixing bowl
No-Bake Peppermint Cheesecake Tips & Instructions
The entire details for this amazing cheesecake are in the printable recipe card. Follow along with my step-by-step pictures and some extra tips too.
Use brownie mix for the crust. Bake your favorite brownie mix in a springform pan as the crust. You will only use enough dough to barely cover the bottom of the pan. You don’t want a super-thick crust.
You will know the crust is fully baked when a toothpick comes out clean.
Make the Cheesecake filling.
Now you are ready to make the filling! I used a stand mixer, it was so simple to just keep adding the ingredients and mix until smooth.
Remember to keep scraping the sides of the bowl as you add each ingredient, that way everything gets mixed completely together. Then you’ll turn the mixer on high and let it do its thing for 2 minutes.
Creating the cheesecake layers.
Now you are ready to make those pretty cheesecake layers.
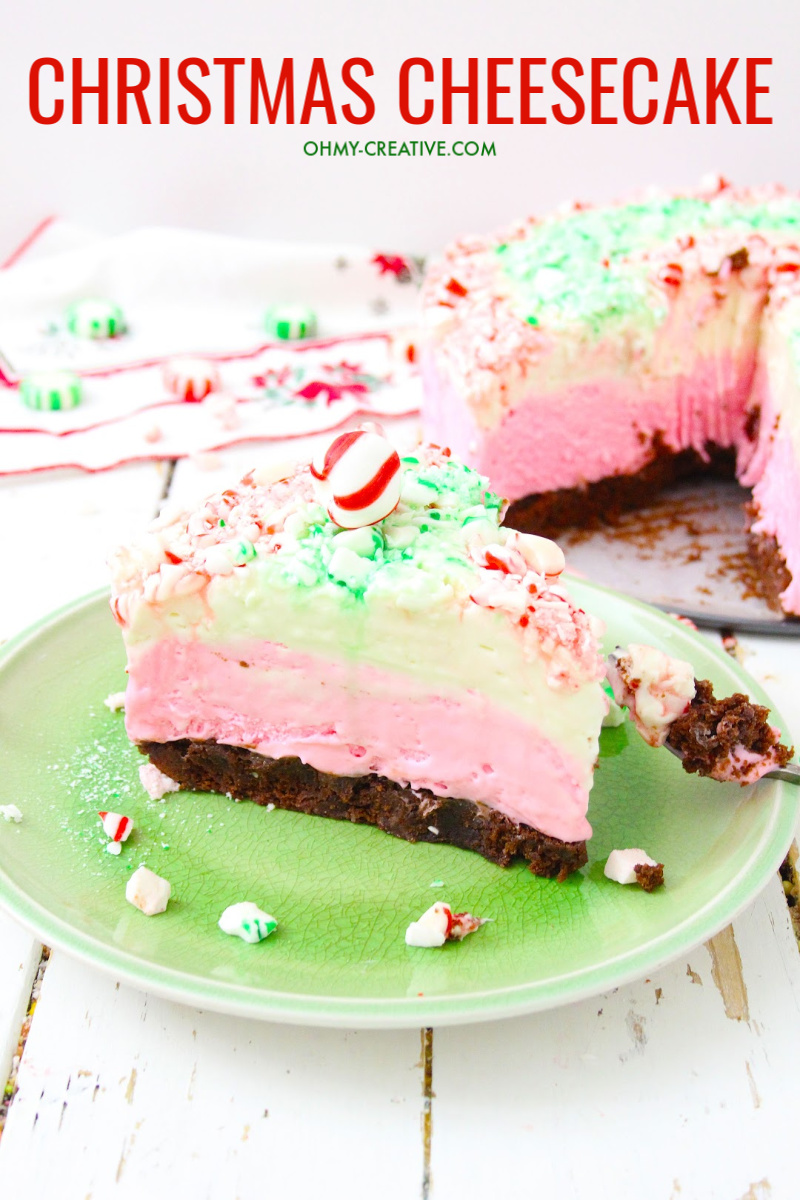
Pour just a little less than half of the cheesecake filling into a small bowl, and place in the refrigerator (this is the white layer on top of the pink layer – see photo).
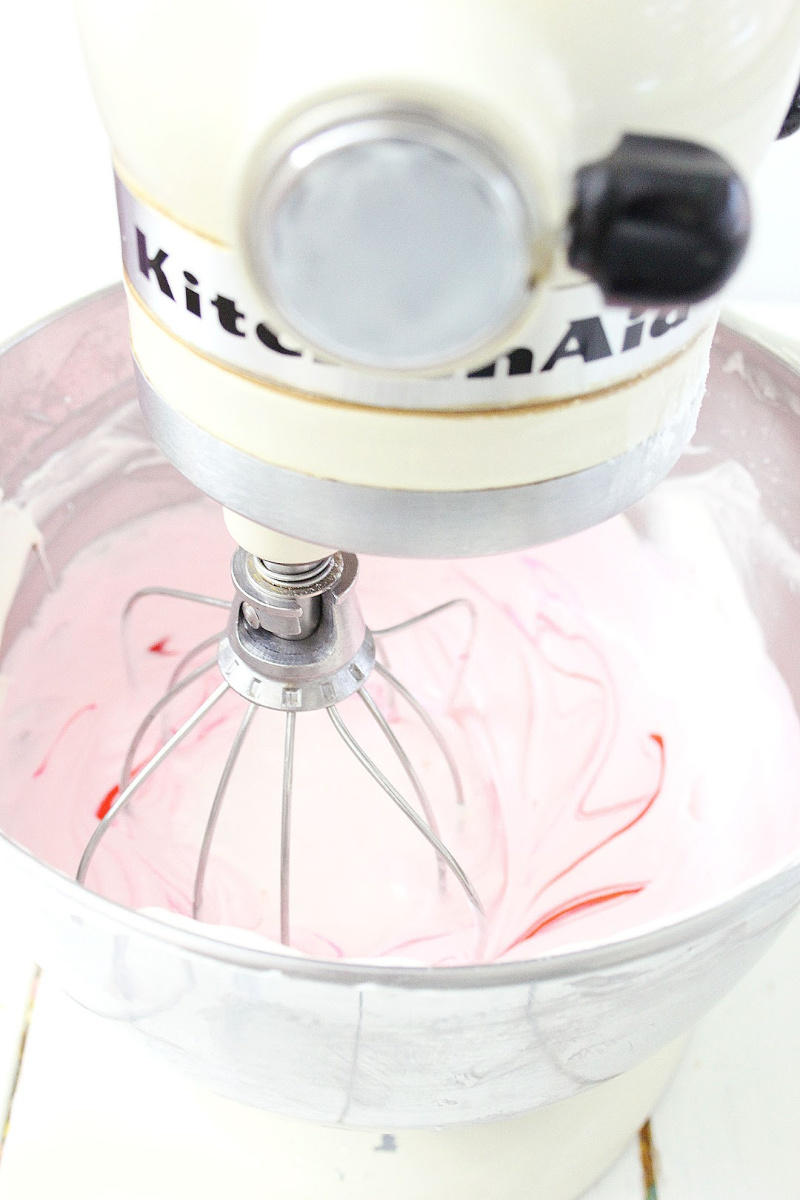
Add the Neon pink food coloring gel to the mixing bowl, a little at a time until the desired color of bright pink is achieved (I used about half of a small tube of gel coloring) (see color in photo). Blend until all the food coloring is incorporated into the cheesecake filling.
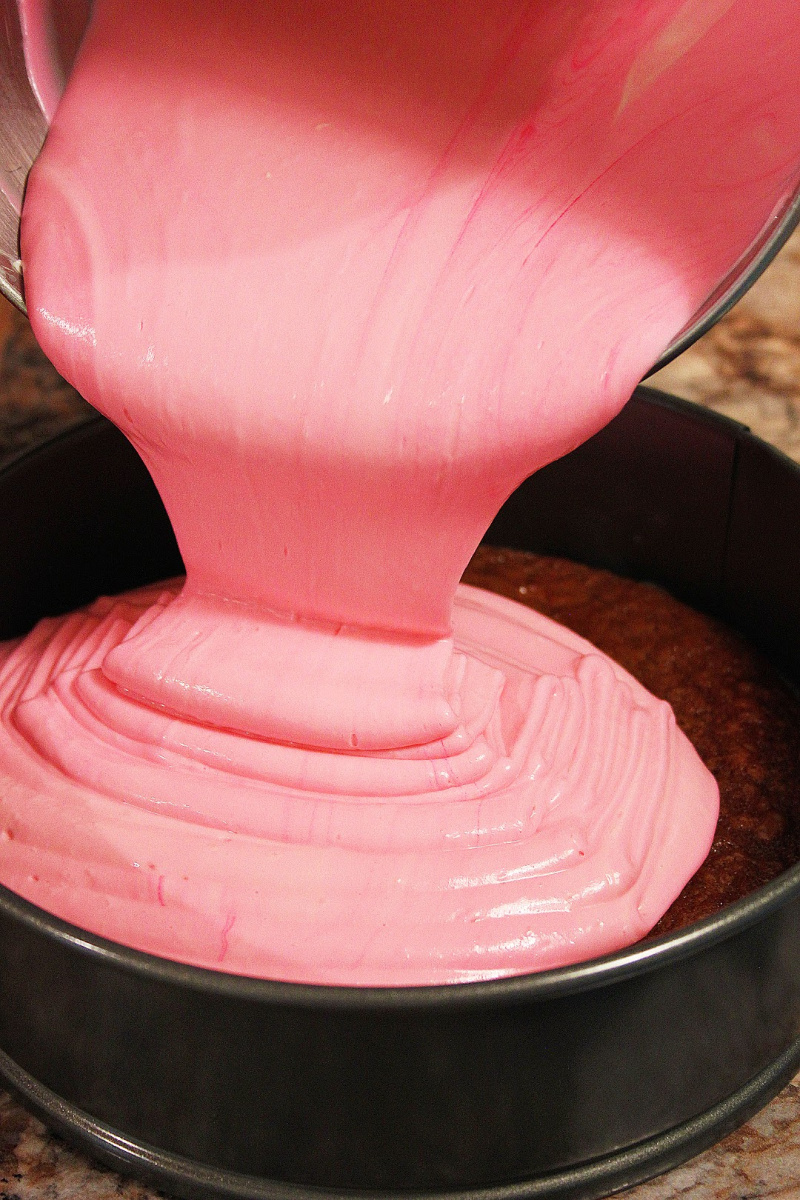
Pour the layers on top of the brownie crust.
Pour the pink cheesecake filling on top of the brownie crust in the Spring-form pan, and place the pan in the freezer. Allow it to freeze for at least 4 hours to set the cheesecake.
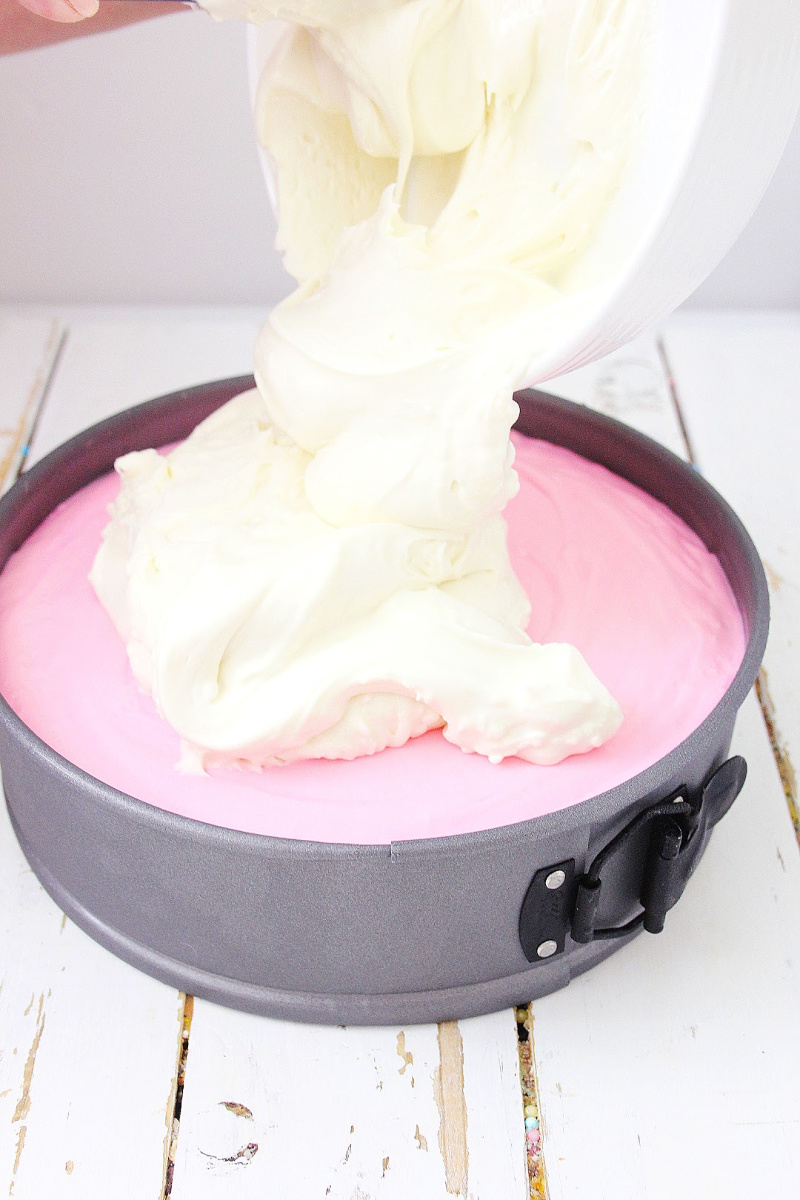
When the 4 hours is up, remove the cheesecake from the freezer, and remove the white layer from the refrigerator, and pour the white layer on top of the pink layer, and smooth the top with a spatula or spoon. Place the cheesecake back in the freezer.
Make the Crushed-Mints Topping.
Remove the wrappers from about half of the bags of both colors of mints. Place about half of the bag of red Starlight mints into a double zip food bag.
Then place about half of the bag of the green Starlight mints in a double zip bag. Put the bag in another double zip bag, and with a wooden rolling pin, crush the mints into small pieces.
If you want to use all the mints, that’s fine, we used half bags, to decorate, but any amount will do, according to your personal taste.
You’ll have to hit the mints with the rolling pin to crush them.
Decorate the cheesecake.
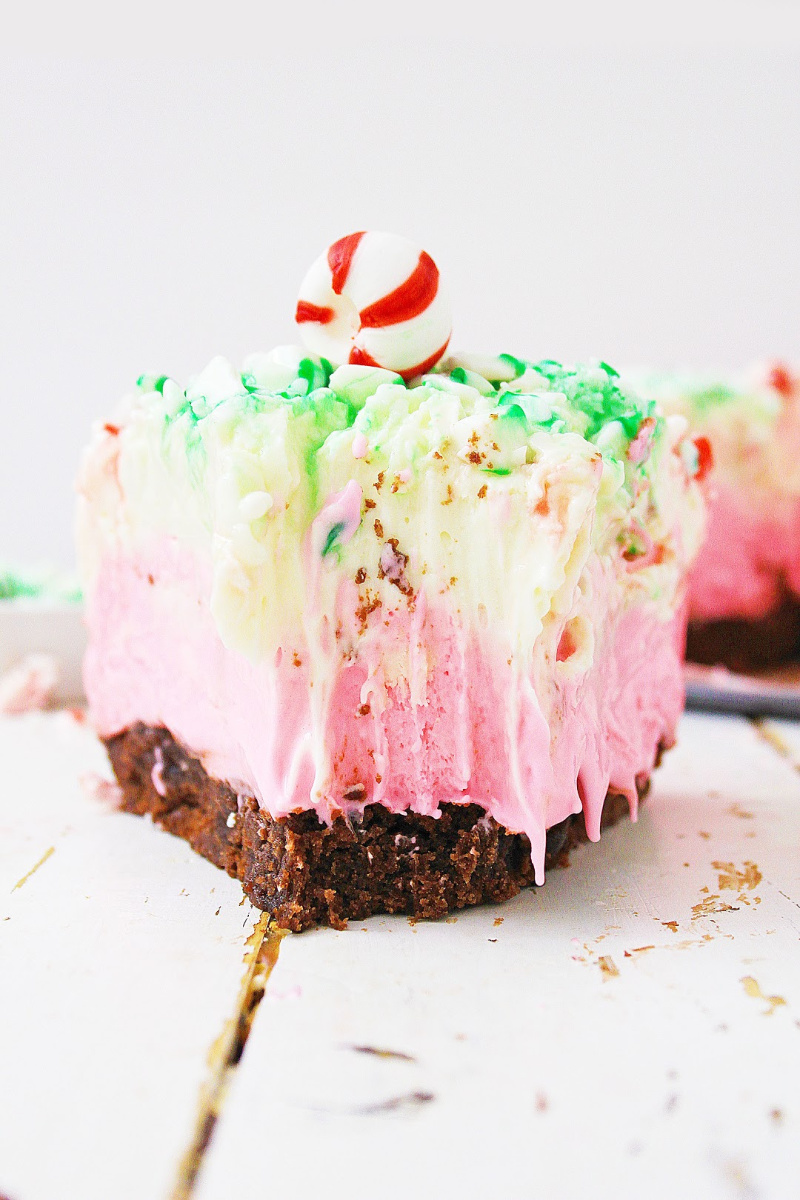
Once the mints are crushed, sprinkle the red mints around the outside of the top of the white cheesecake filling.
Then distribute the green mints around the red mints, in a circle on top of the cheesecake filling.
Lastly, sprinkle the red mints in the center of the cheesecake, finishing the top of the cheesecake with the mints.
Freeze the cheesecake.
And you are done! Place the cheesecake back in the freezer for at least 4 hours, or overnight for best results. Serve within 24 hours for best results.
How long will the cheesecake last in the freezer?
Cheesecake can be kept in the freezer, covered, for up to 7 days.
More Holiday Party Tips
This cheesecake is perfect at holiday parties. Here are some more holiday party ideas you should try.
- Free Printable Cookie Exchange Recipe Cards
- Easy Clothespin Doily Angel Craft
- Magic Reindeer Food Recipe and Printable

No-Bake Peppermint Cheesecake
Ingredients
For the Filling
- 6 packages cream cheese 8-ounce packages
- 1 cup heavy cream
- 1/2 cup granulated sugar
- 1 tbsp corn starch
- 2.5 cups powdered sugar
- 2 tbsp Vanilla
- 1 tbsp lemon juice
For the Topping
- 1 cup starlight mints, peppermint flavor crushed
- 1 cup starlight mints, green spearmint flavor crushed
For the Crust
Instructions
- Mix the brownie mix according to package directions.
- Line the bottom of the Spring-form pan with parchment paper, and pour half, or a little more of the brownie batter into the Spring-form pan, on the parchment paper, and bake at 350 for 15 – 18 minutes, or until a toothpick inserted in the center comes out clean.
- When done, remove from oven to a wire rack to cool. Place the remaining brownie batter into a small dish, and bake to eat while you're making the cheesecake filling!
- In the mixing bowl of the stand mixer, with the whisk attachment, blend the 6 packages of cream cheese until smooth.
- Add about a 1/4 cup of the 1 cup of heavy cream to the cream cheese, and mix until smooth. Scrape down the sides of the bowl with a spatula, and blend again.
- Add the granulated sugar, vanilla, and lemon juice, and blend until smooth.
- Add the corn starch to the powdered sugar, and add to the cream cheese mixture a little at a time, alternating with the cream, until all the cream and powdered sugar have been added. Scrape down the sides of the bowl again, and blend.
- Turn the mixer on high, and mix for about 2 minutes, until the cheesecake filling is smooth and creamy.
- Pour just a little less than half of the cheesecake filling into a small bowl, and place in the refrigerator, this is the white layer on top of the pink layer.
- Add the Neon pink food coloring gel to the mixing bowl, a little at a time until the desired color of bright pink is achieved.
- Blend until all the food coloring is incorporated into the cheesecake filling.
- Pour the pink cheesecake filling on top of the brownie crust in the Spring-form pan, and place the pan in the freezer. Allow to freeze for at least 4 hours to set the cheesecake.
- When the 4 hours is up, remove the cheesecake from the freezer, and remove the white layer from the refrigerator, and pour the white layer on top of the pink layer, and smooth the top with a spatula or spoon. Place the cheesecake back in the freezer.
- Remove the wrappers from about half of the bags of both colors of mints. Place about half of the bag of red starlight mints into a double zip food bag and place half of the bag of the green mints into another bag.
- Place the bag in another double zip bag, and with a wooden rolling pin, crush the mints into small pieces.
- After the mints are crushed, decorated the cake with them.
- Place the cheesecake back in the freezer for at least 4 hours, or overnight for best results. Serve within 24 hours for best results.
Nutrition

Susan B
Latest posts by Susan B (see all)
- How to Make Grape Jello Shots - March 28, 2026
- The Best Strawberry Cake With Whipped Cream Cheese Frosting - March 13, 2026
- Lemon Drop Jello Shots - February 2, 2026


I am all about that no bake life – especially during the holidays! This cheesecake will be perfect for Christmas!
I am drooling over this by just looking at the pictures! So tasty and delicious! Love the flavor!
I love no-bake snacks. I have made quite a number of cheesecake varieties but not peppermint.
I am definitely trying this.