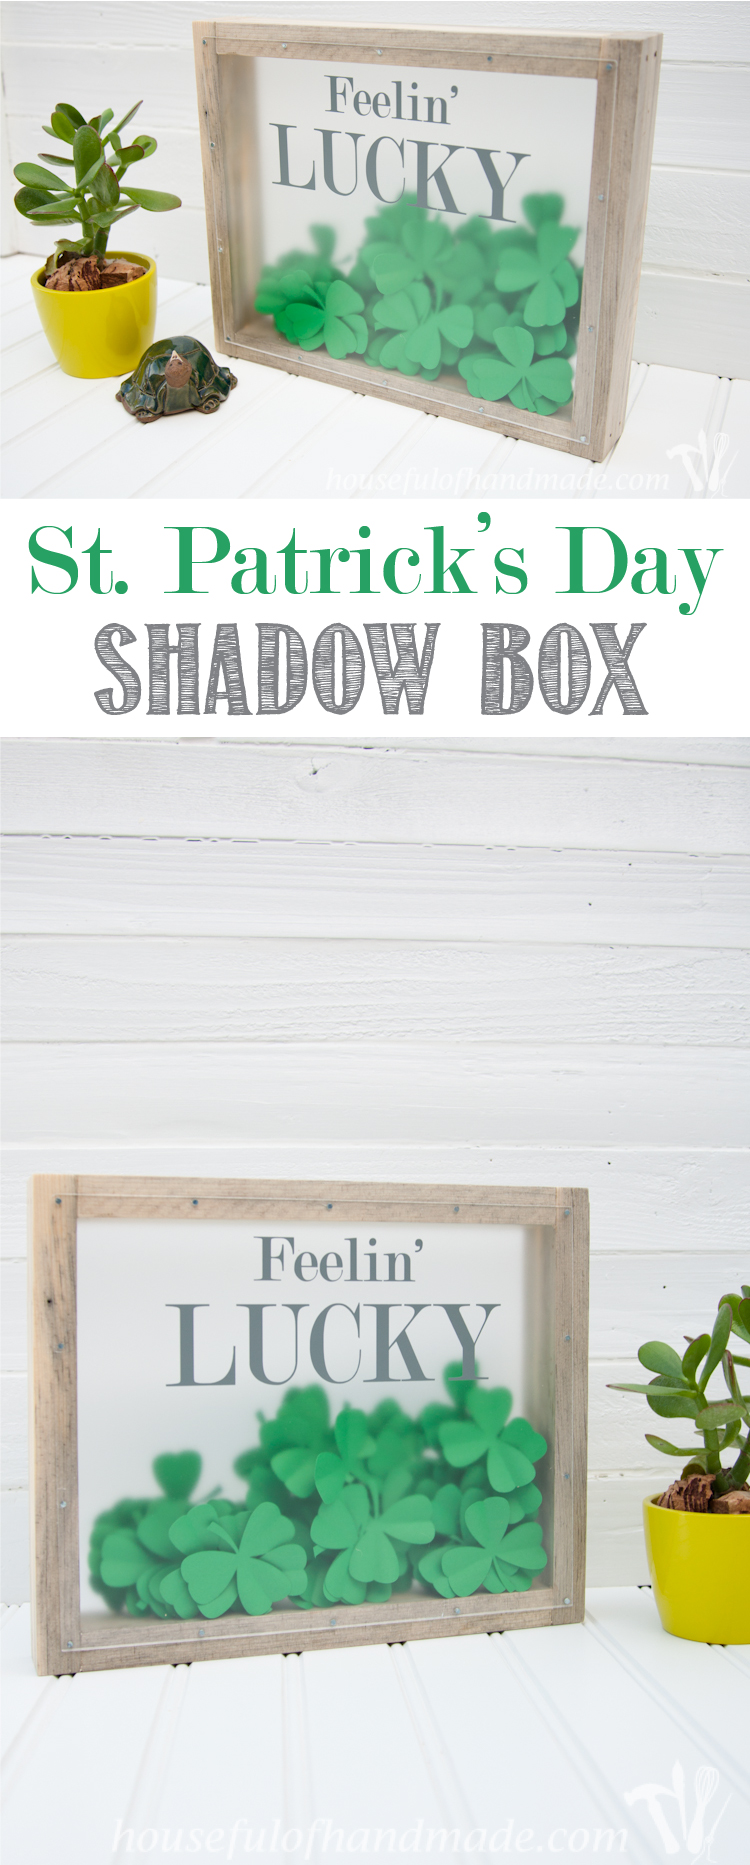
St. Patrick’s Day Shadow Box
Happy almost Spring! It’s Kati from Houseful of Handmade here today to get you super excited for all things green. Green is good 🙂 And coming up in a couple short weeks is the holiday of green: St. Patrick’s Day. I usually don’t decorate for St. Patrick’s Day. I usually don’t do so great at decorating for spring either. But this year I am determined to bring the green indoors and actually get around to decorating. So I am starting with this super fun St. Patrick’s Day Shadow Box.
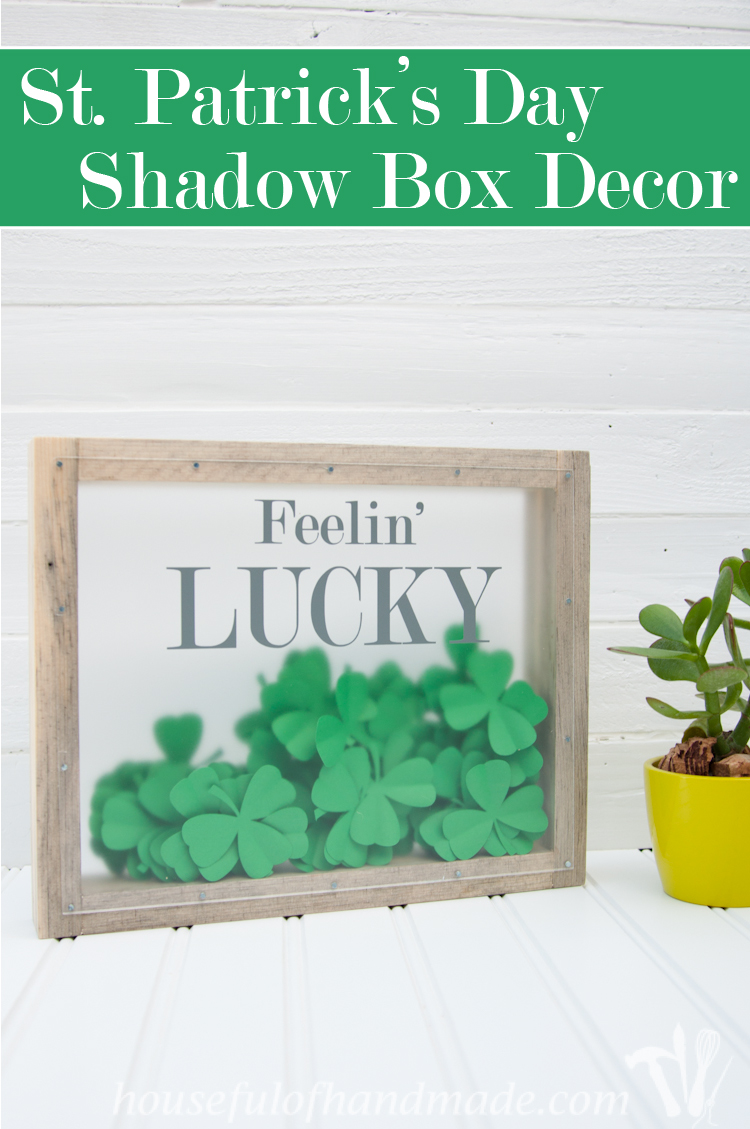
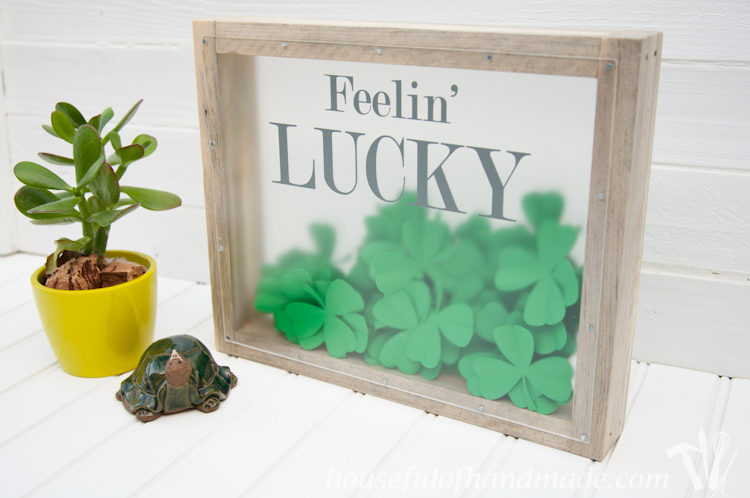
The idea for this decorative shadow box actually came to me from the kids “find it” games. St. Patrick’s Day is all about finding a 4 leaf clover, but they are hard to find in a sea of 3 leaf clovers. So why not make a “find it” game out of it? Then take it one step further and make it pretty enough to be a decoration on my mantle for St. Patrick’s Day and spring.
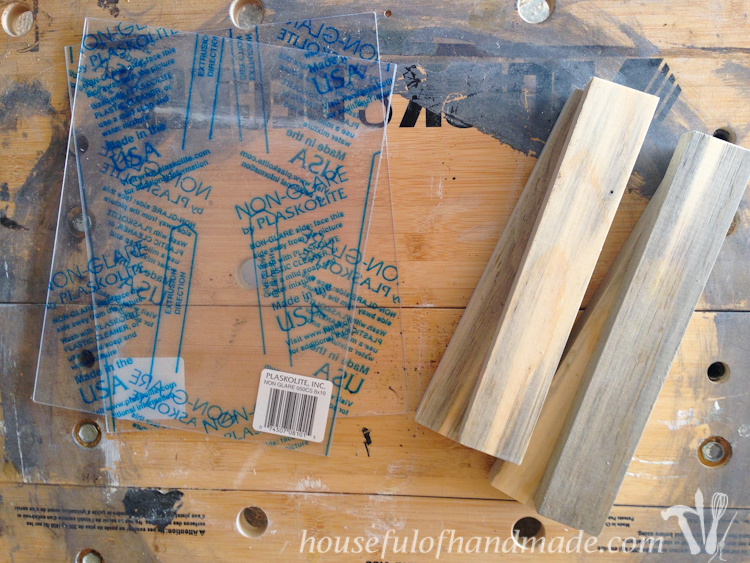
I made this simple St. Patrick’s Day shadow box out of a 1×2 and 2 8×10 Polystyrene sheets. It cost me a total of $7.50 since I already had some finishing nails and wood glue on hand. I found a beautiful piece of blue tinted wood for the 1×2 and I love the grayish hues and texture it has. This allowed me to skip the painting step since I wanted to show off the natural wood.
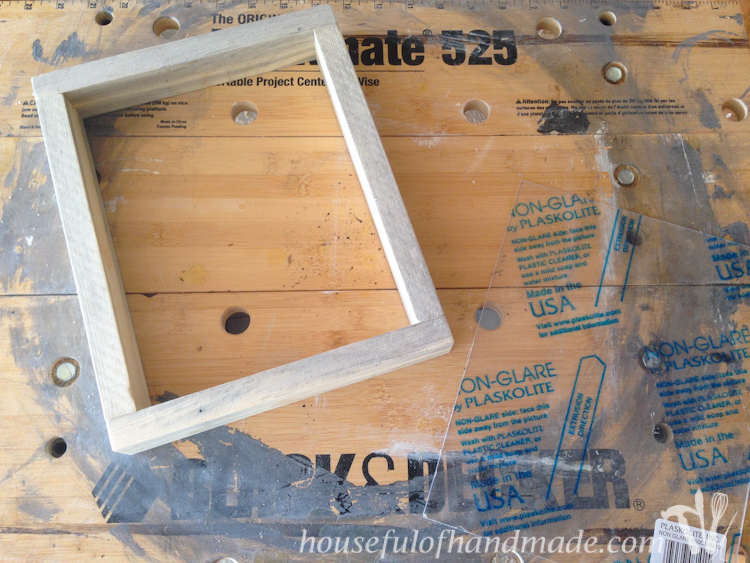
To make the box, I cut 2 pieces of the 1×2 at 9 1/4 inches and 2 pieces at 8 3/4 inches. Then I built a box with the 4 pieces as shown below. I used a little bit of wood glue and secured the boards with a couple finishing nails in each corner. The finished dimensions of the box were 10 3/4 x 8 3/4.
Then I took it inside so I didn’t freeze. It wasn’t feeling like spring on the day I built it, but you know what they say “If you build it, they will come”. Well I’ve been building spring decor and spring is coming 🙂 Okay, enough cheesy movie quotes and back to the shadow box!
I wanted to use little finishing nails to secure the Polystyrene sheets to the box. But it can crack or chip unless you pre-drill nail holes. I marked the top and sides of the Polystyrene sheets with a dot 1/8 inch in from the edge every 2 1/2 inches. Then I used a 1/16″ drill bit and drilled a tiny hole. The whole time I did this, I left the protective cover on. Then I removed the protective cover from the back of the sheet and just around the edges on the front of the sheet, and centered it on the box. Using my pre-drilled nail holes, I gently tapped in my finishing nails.
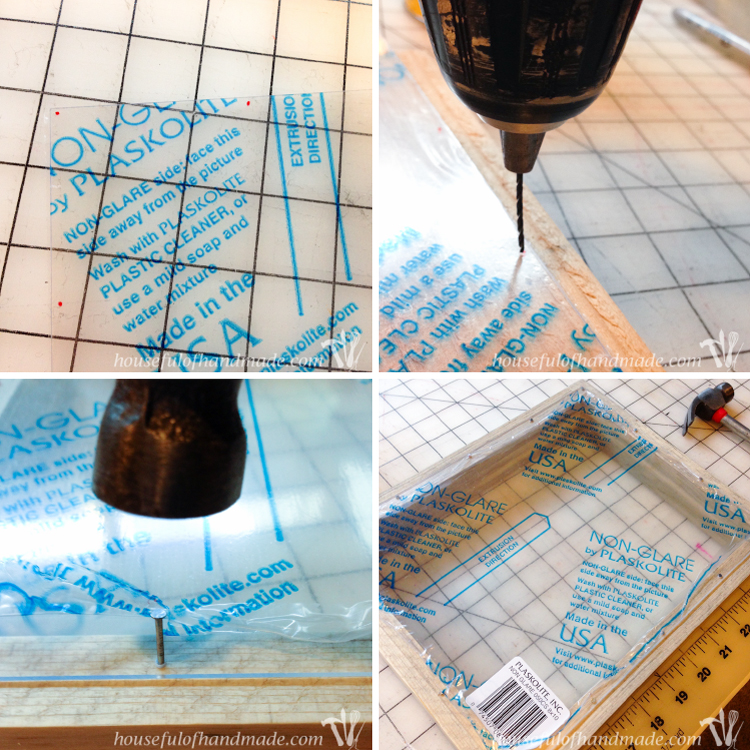
Be careful when you tap in the nails because you can easily break the edges if you hit it too hard. I know, I did it. Oops! Luckily it was on the back of the shadow box so no one will see it.
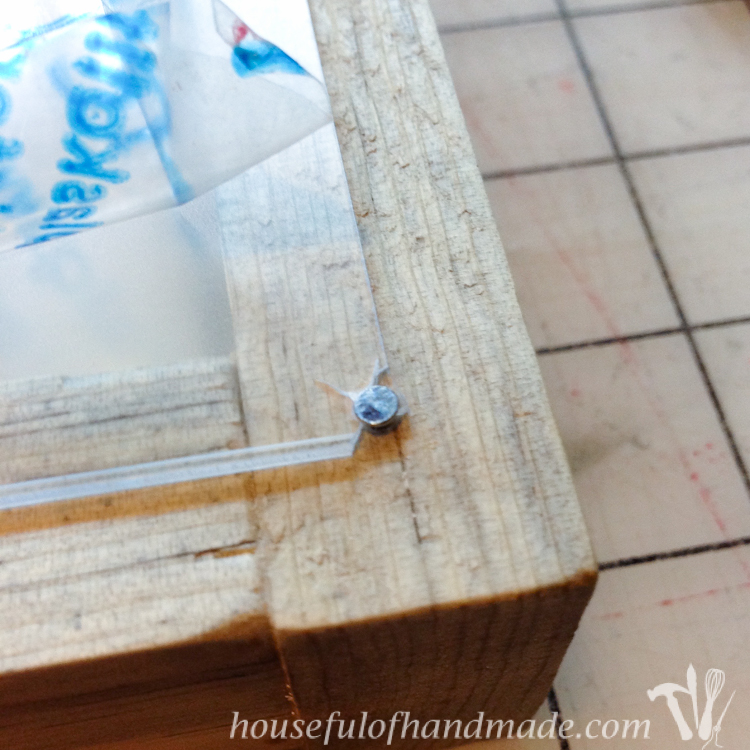
Only attach the back of the shadow box right now. I did pre-drill the nail holes for the top, but left it off so I could fill it up with clovers! I also left the protective coating on the back until I got everything else done so it didn’t get scratched when I nailed the top on.
Then it was time to make clovers. I used my Silhouette cutting machine to cut out 3 pieces of cardstock, each with 17 clovers on it. One of the clover was a 4 leaf clover and the rest were 3 leaf clovers. You could also use a clover shaped punch for this.
To give them a little dimension, I decided to fold the each clover just a little bit. It was super easy and I got them all folded while watching last week’s episode of Gray’s Anatomy. I used a butter knife to make a little ridge down the center of each leaf, not quite all the way to the center. Then I pinched it together just slightly. I finished the leaves off by rolling the outside edges on a pencil. Nothing too crazy, but the little bit of 3D detail really shows up in the shadow box.

I tossed them all into the open shadow box, then nailed the top cover over them.
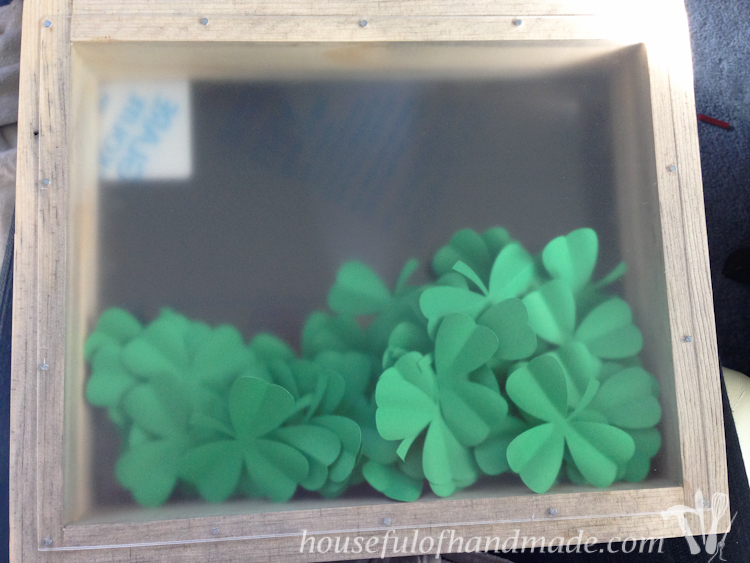
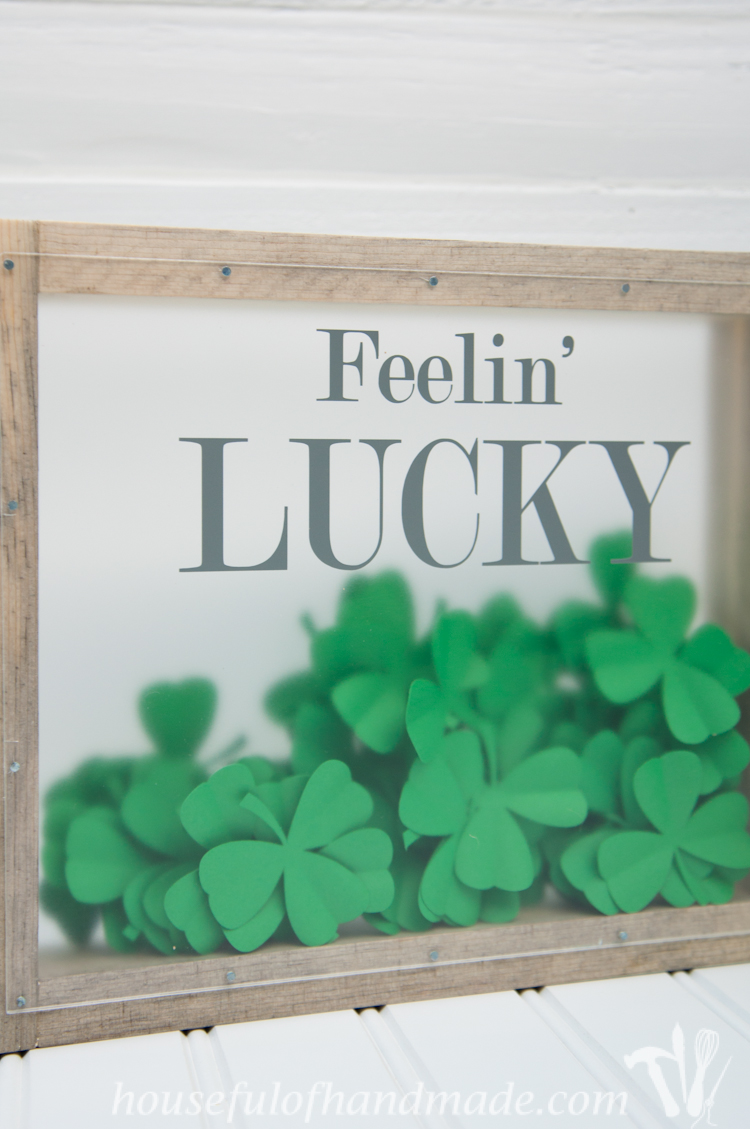
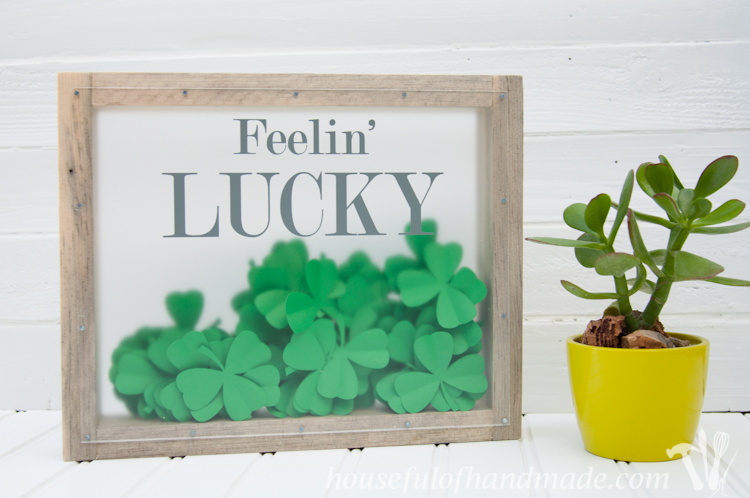
To finish it all off, I added a little bit of gray vinyl to the front. I think the words “Feelin’ Lucky” are the perfect enticement for anyone who wants to try to find the 4 leaf clover! (P.S. My husband still hasn’t found it… yet.)
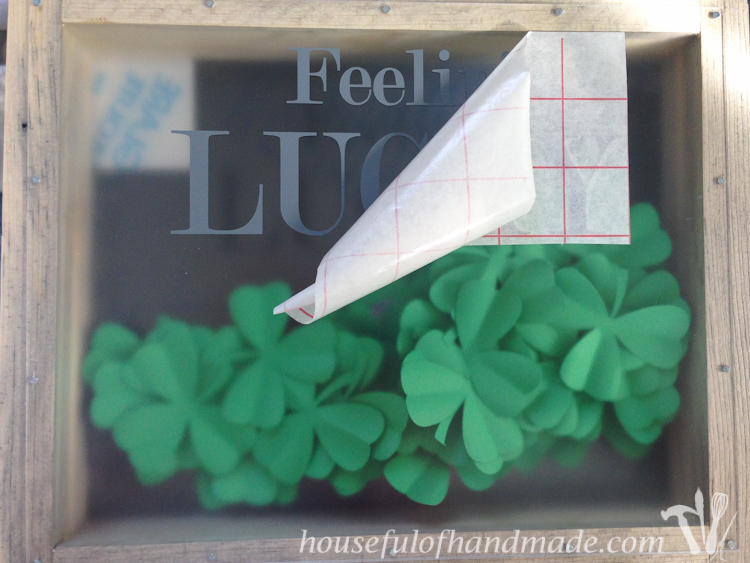
So now I have my very first piece of spring decor for my house. And now that the weather is starting to warm a bit, I am getting a serious case of spring fever. I am going to work on the rest of my spring mantle so I can at least have a little bit of green inside while I am waiting for the outside to catch up!
If you are starting to decorate for spring, check out some of my other DIY decor ideas.
Free Downloadable Spring Blooms Digital Papers & Clipart
I’d love for you to follow along with all my crafting and creating adventures at Houseful of Handmade. You can also find me on Facebook, Instagram, Pinterest and Bloglovin’ to see my latest projects and snippets of our fun (and a little crazy) life!
See More St. Patrick’s Day Creative Projects Here!
St. Patrick’s Day Shamrock Moss Art
Rainbow Pretzels
Linking to these wonderful parties!






I love the ‘Feelin’ Lucky’ shadow box. Can you please tell me what size you cut your clovers? Many thanks. ☘?
Hello Bobbie!
I cut the clovers to be about 2 inches (they were not completely square so one side was about 2 1/4 inches). You could really cut them about any size you like, I just wanted them big enough not to lay flat in the bottom and since the shadow box is 1 1/2 inches, I knew I needed them bigger than that.
Hope this helps!
Kati
Hi Kati! Would you mind sharing the font and size you used for the “Feelin” LUCKY”? Thanks!
Pretty craft and excellent tutorial. 🙂
Really fantastic idea, love it! Thanks for sharing on craft schooling Sunday!
It’s very clever! Thanks for hosting!
This is so cool! What a cute and simple St. Patrick’s Dy decoration!
What a seriously cute idea! I love that it’s festive decor, but also a game that obviously both kids and adults can have fun with. Very cute idea, thanks for sharing!
Shonee
http://www.hawthorneandmain.com
What a cute project, I didnt realize until I got here just what it was. I love it.
Thanks for visiting to share on the #OMHGWW this week, always love your entries.
Hope you have a great week!
Karren
Very creative! Shadow boxes are so much fun.
I love this!! So cute and easy enough for me to do!
This is adorable! Pinning!
This is so adorable…I love it! Thanks so much for sharing with us at Share The Wealth Sunday!
xoxo
Lisa
This is so great! Love it! Holly 😉
This really is adorable! I think I would have to do something for every season! Thanks for bringing this by Throwback Thursday!
Mollie
Well if that isn’t the cutest thing? I don’t have much for St. Patricks’ Day decorations and now I really want to make one of these! Thanks so much for stopping by Throwback Thursday to share it with us, I am feeling inspired now!
Beautiful box and great idea! I feel the need to say something and I don’t mean it as a criticism at all, only education. There is a big difference between clovers and shamrocks. Clovers are weeds while shamrocks are desirable. And, when you’re dealing with anything Irish, shamrocks are key. 😉
This is so clever. Love it. Thanks for linking up at #SaucySaturdays.
I love this! I can’t wait to get me Silhouette out and make it! Thank you for sharing!
This is SO CUTE!! I’m definitely making one of these this year. Love it!
I agree, Christe, this is very cute! Fun for the kids to give a little shake and search for the four leaf clover!
Hi Susan! Would you mind sharing the font and size you used for “Feelin’ LUCKY”? Thanks!
Hi Kelly, I am working on finding out for you. Hopefully I will hear back from Kati soon!
Hi Kelly, Kati is unavailable until the weekend to get you font questions answered. I’ll let you know as soon as I find out.
Hello Kelly, the font I used was Modern No. 20. I just sized it so it would fit on top of the plexiglass. I don’t know the exact font size, but the words measure 6 1/2″ wide by 3″ tall together. Hope this helps!