DIY Wine Cork Angels
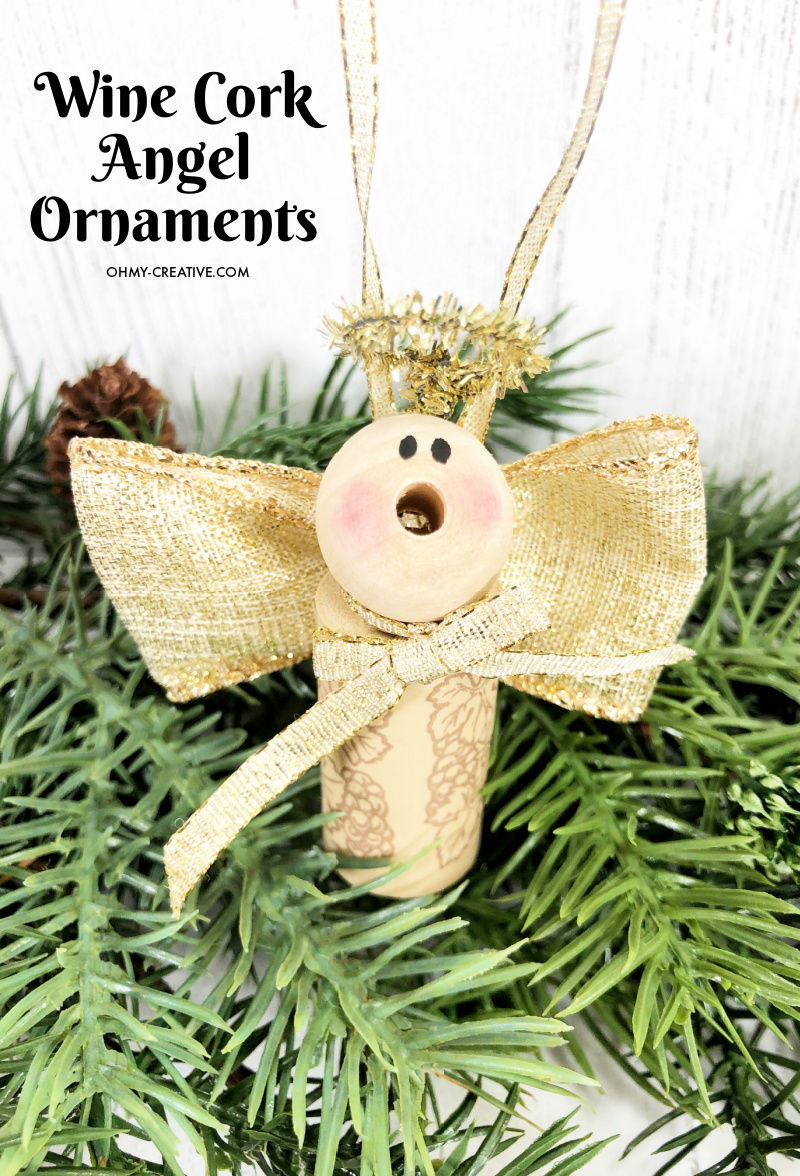
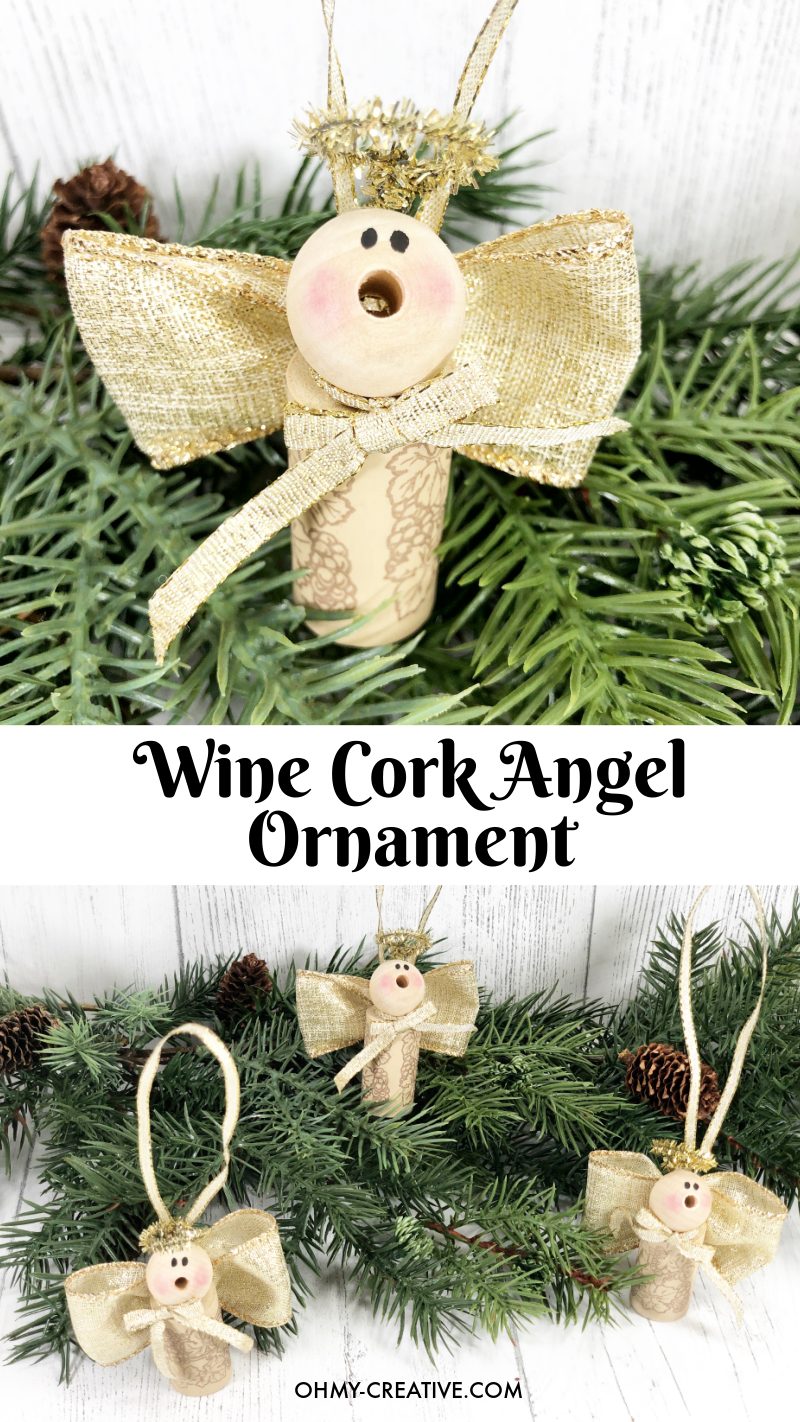
These DIY Wine Cork Angels are easy to make and are the cutest cork angel ornaments to decorate the tree! Wine cork angels also make perfect gifts for your wine-loving friends!
Gather a few supplies and wine corks (after you drink the wine) and you will everything you need to make these handmade angel ornaments.
This post contains affiliate links. Read my full disclosure.
DIY WINE CORK ANGELS CRAFT
Upcycled wine corks and some simple supplies from the dollar store make this a quick and easy ornament to craft with the kiddos. The perfect hostess, teacher, or neighbor gift for this holiday season.
Materials:
- Wine Corks (recycled or available in the floral section of the craft store)
- Wooden Beads – Small
- Wired Ribbon, Gold – Dollar Store
- Skinny Ribbon, Gold – Dollar Store
- Chenille Stem, Gold Tinsel – Dollar Store
- Blush – Dollar Store
- Cotton Swab – Dollar Store
Can I Buy Wine Corks?
Yes, if you are not a wine drinker or you need to buy bulk wine corks you can purchase them HERE.
Wine Cork Angel Instructions:
STEP ONE
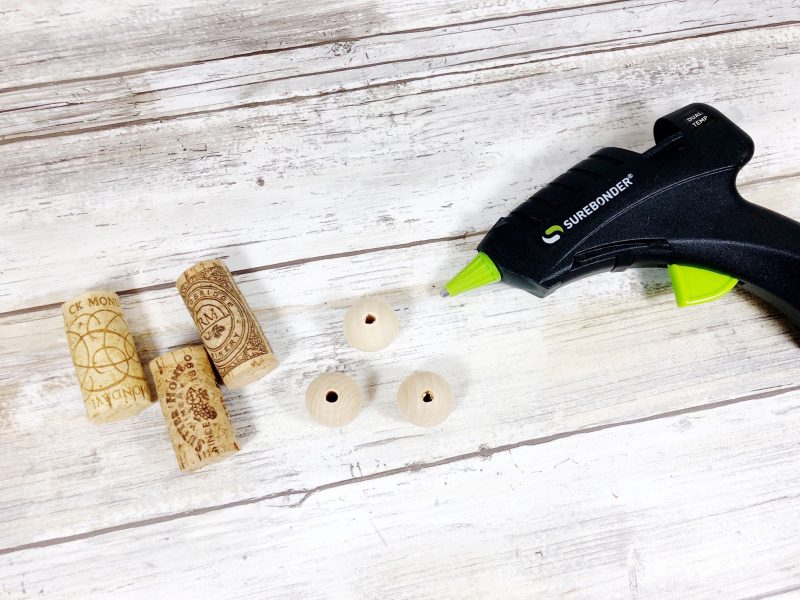
Gather all supplies. Attach the unfinished wooden bead to the top of the wine cork, so that the opening in the bead is positioned as an open, singing mouth. Secure with a glue gun and glue sticks.
STEP TWO
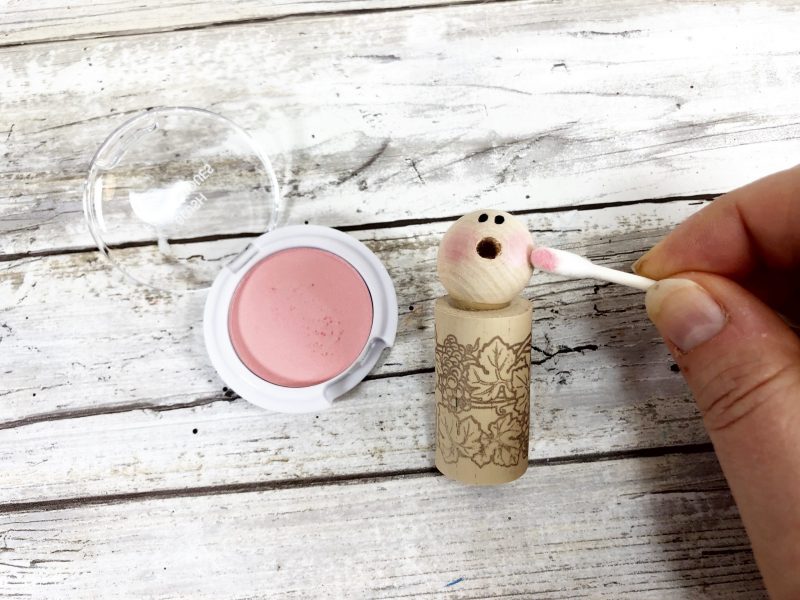
Apply rosy cheeks to either side of the wooden bead angel head using a cotton swab and blush from the dollar store.
STEP THREE
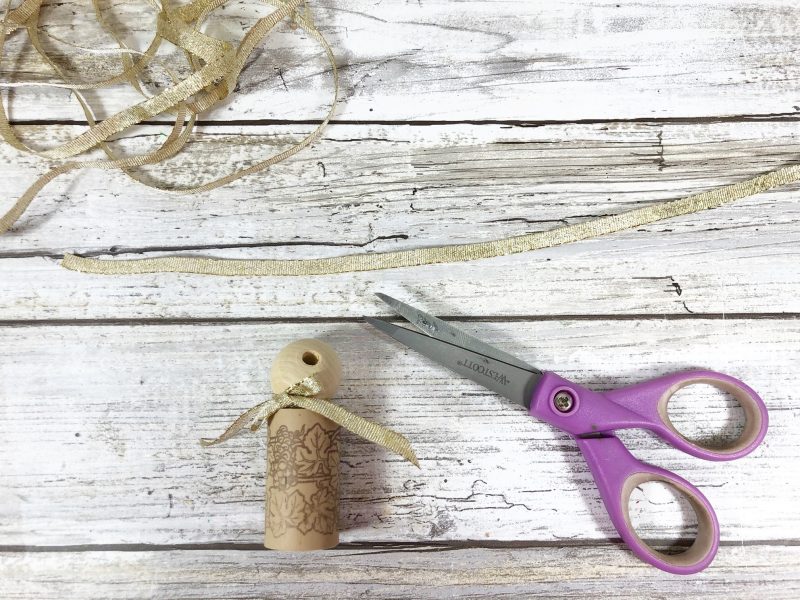
Tie a length of skinny gold ribbon around the angel’s neck and finish with a bow. Trim ribbon ends with scissors.
STEP FOUR
Draw in small ovals for eyes with the fine tip of a permanent black marker.
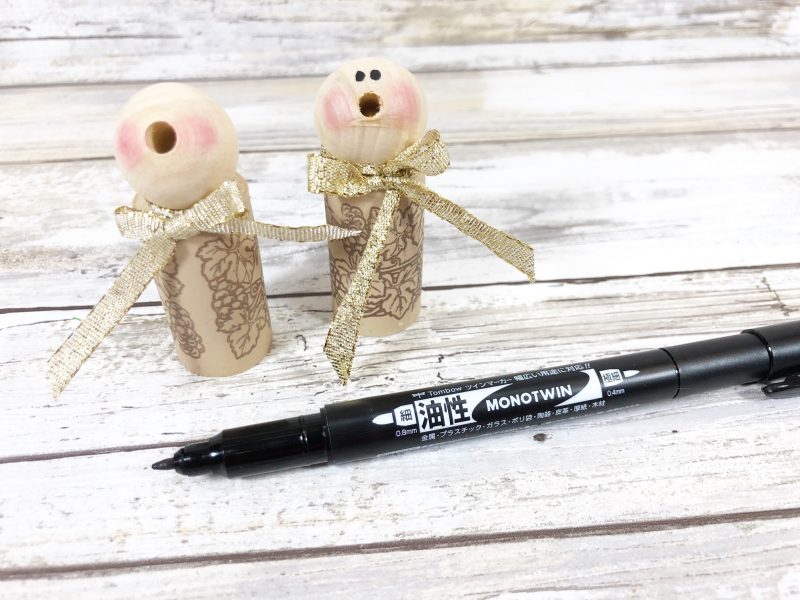
STEP FIVE
Cut a gold tinsel chenille stem in half with scissors. Wrap the stem around your finger to create a circle, leaving a one-inch long straight section, then twist to secure. Attach the angel’s halo to the back of the wooden bead head.
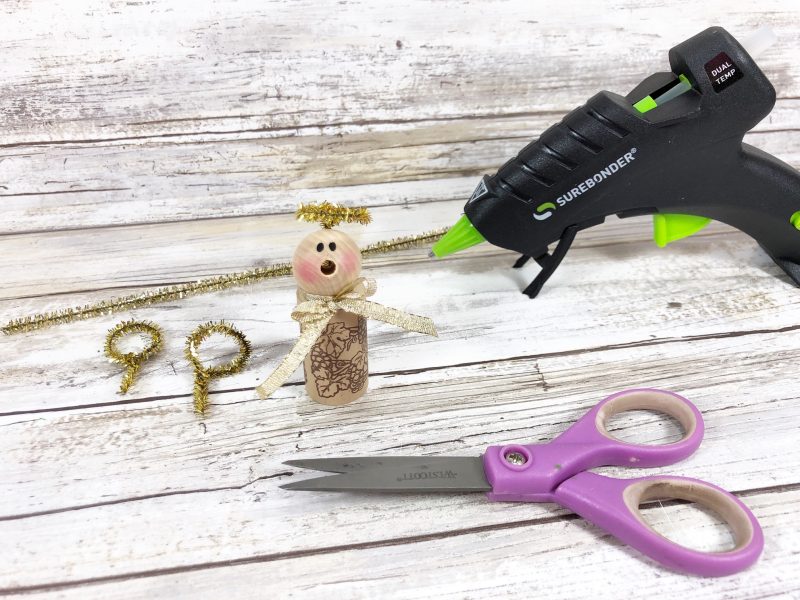
STEP SIX
Create a bow with two loops and no tails from the gold wired ribbon, and then twist the ends to secure.
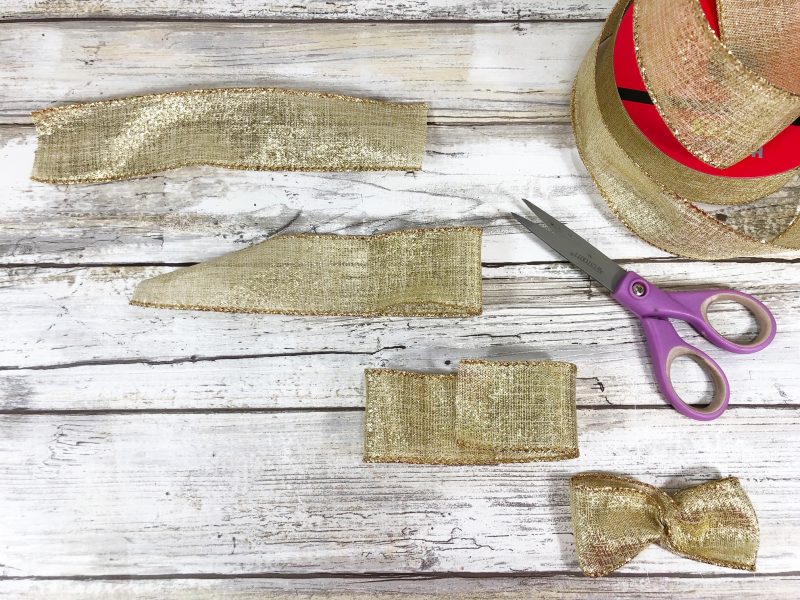
STEP SEVEN
Measure and cut a 12” length of skinny gold ribbon, tie the ends in a knot to create a loop, and then attach to the back of the angel body with a glue gun and glue sticks.
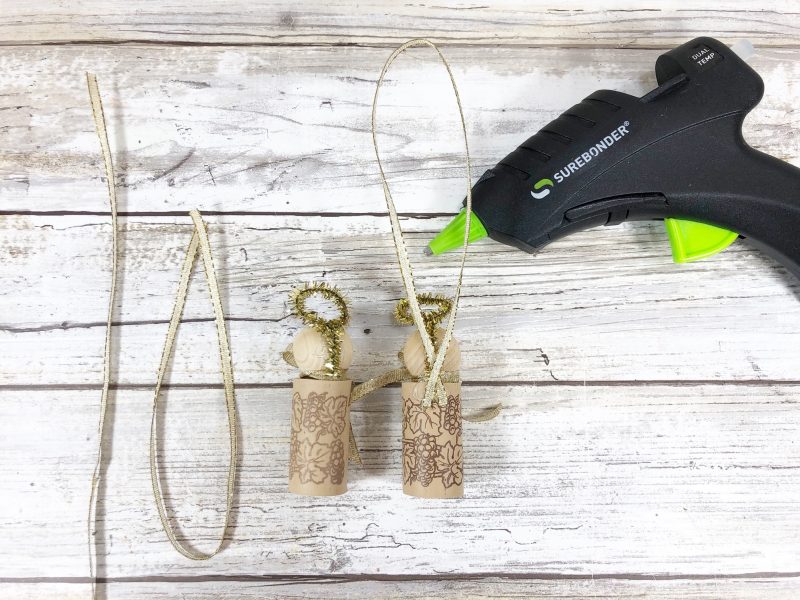
To finish, glue the gold wired ribbon wings to the back of the angel’s body.
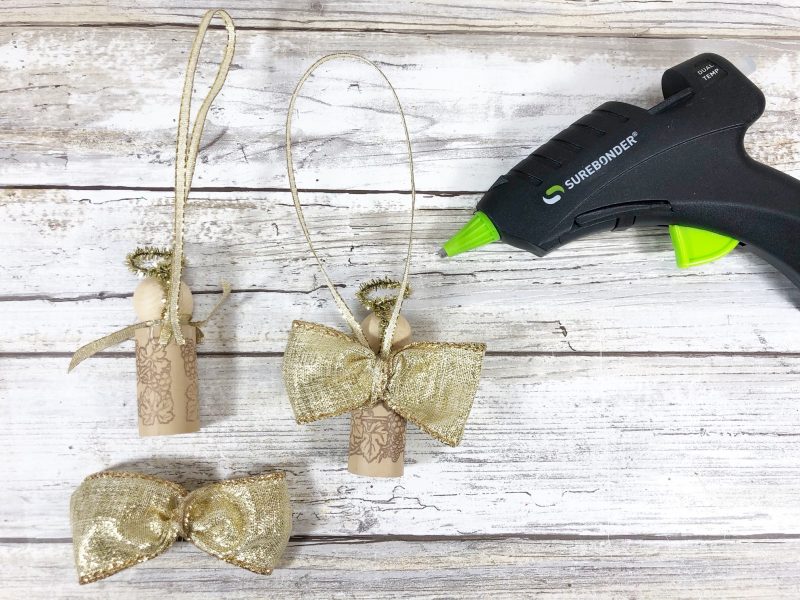
Change up the ribbon colors to silver or white for a unique twist. A great craft project for tweens and teens to create on their own or with younger kids.
You might also like these Christmas Crafts:
Snowman Candy Bar with Free Printable Wrapper




Aaawwwwwwwwwwww, they are adorable. The way you turned the hole in the bead into a singing mouth is classic, Susan. Just brilliant.
Toooooooo cute! Could also be a sweet ornament for kids to make -:D
Adorable. I love them!
These are the cutest!
These are so cute and very creative. You did an awesome job.
Your angels are just as cute as can be! I love how it looks like they are singing. Thanks for the idea, Susan.
So so cute! Love the little mouth! Pinned!
Kim
Hello! You did a very nice job of making these cuties! Susan, you are so great! It is very commendable that you can even make something cute and cool out of something inconspicuous. My kids this year finally wanted to do something with their own hands when I showed them your post! Thank you very much for that. Now, when the attendants buy wine for myself, I also buy a toy for my children, isn’t that cute?)) I think I would never have thought of this)))