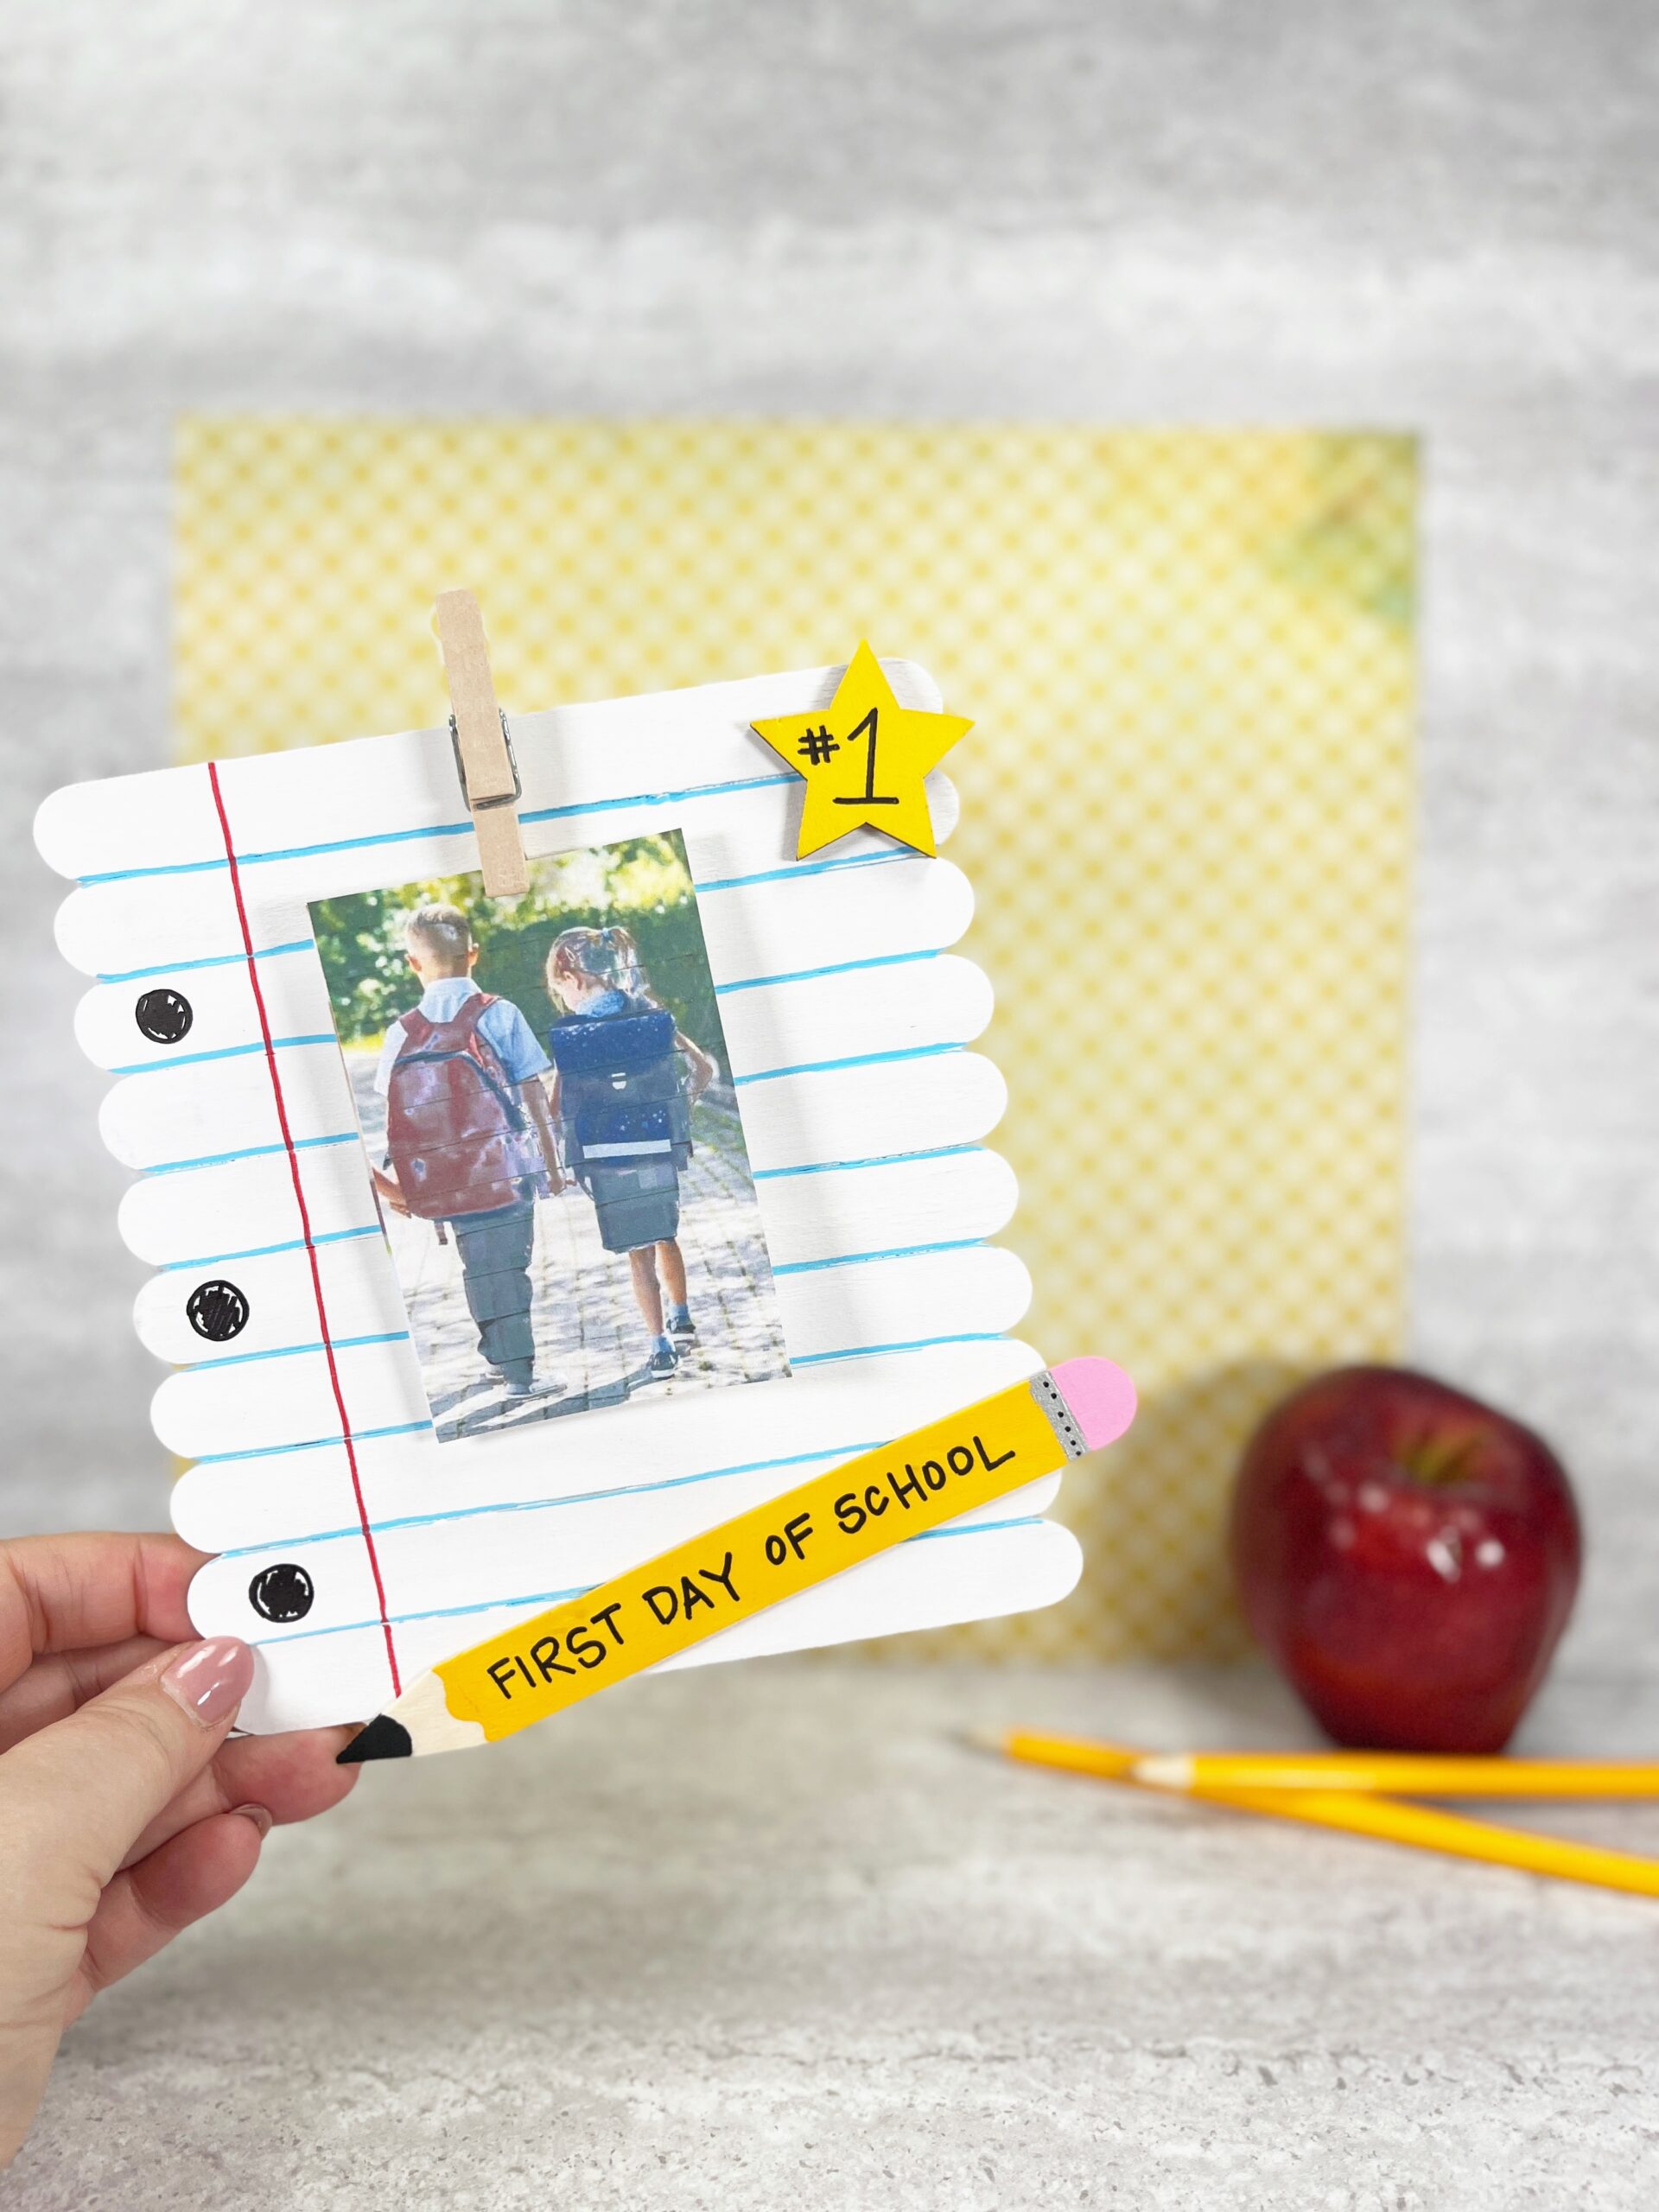
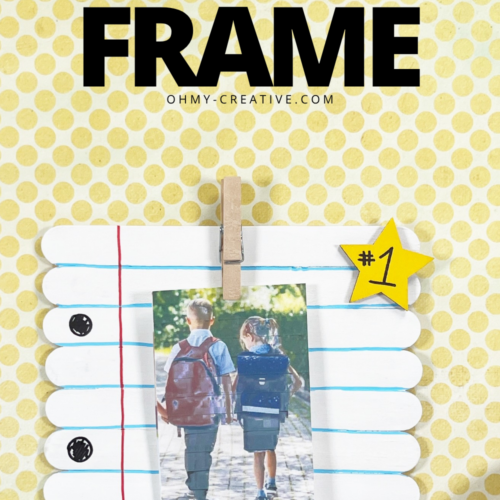
DIY Back to School Frame
The first day of school is always a big deal—fresh notebooks, sharpened pencils, and those excited (or sometimes nervous) smiles. A DIY Back to School Frame is the perfect way to capture that special moment in style.
Not only does it make for an adorable photo prop, but it also turns into a keepsake you’ll treasure for years, marking the start of each new chapter in your child’s school journey.
Creating your own DIY Back to School Frame is easier than you might think. You can customize it with your child’s name, grade, or favorite colors, making it extra personal.
Whether you go for bright, bold designs or a more classic style, it’s a fun and creative way to get kids excited for the new school year. It also gives them a chance to join in on the crafting process, adding their own unique touches.

So in this blog, I’ll walk you through exactly how to make your own frame, step-by-step, so you can create something that’s just as special as the moment it frames.
How to Make a DIY Back-to-School Frame (Step-by-Step)
Making this DIY Back to School Frame is basically like crafting a little party for your school photos. We’re talking jumbo craft sticks, bright paint, and enough personality to make even Monday mornings exciting. Grab your glue gun and let’s get into it!
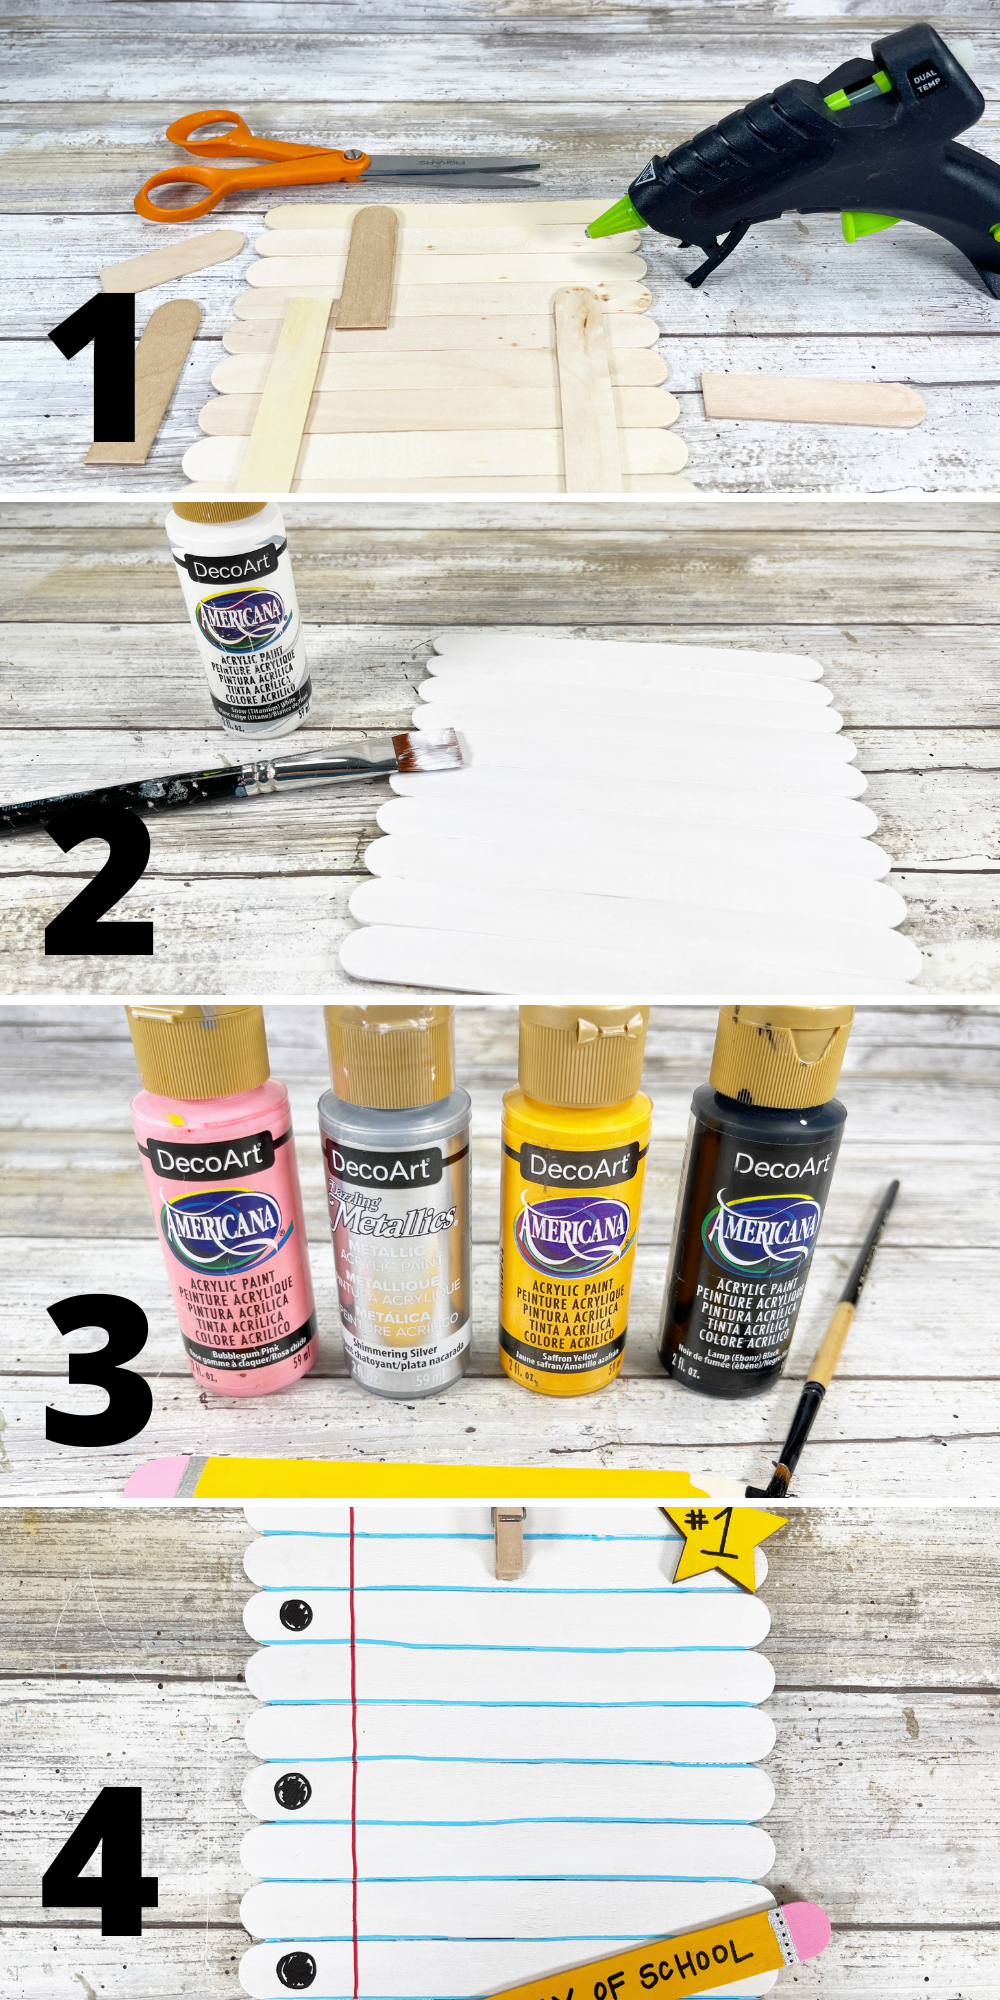
Step One: Gather your supplies. Line up your jumbo craft sticks like they’re posing for a yearbook photo. Trim extra sticks for the back and glue them on so everything stays nice and sturdy. If you’re impatient like me, the glue gun is your best friend.
Step Two: Paint the whole surface white for that classic notebook paper look. Let it dry, then go in for a second coat so it’s bright and happy.
Step Three: For your pencil, cut a point on one jumbo stick. This is way easier than it sounds—no carpentry skills needed.
Step Four: Paint the pencil tip black, the body yellow or gold, add a pink eraser, and silver cuff. Give it all time to dry, even if waiting feels impossible.
Step Five: With a blue marker, draw horizontal lines where the sticks meet. It’ll look just like notebook paper.
Step Six: Add a red vertical line on the left. I like to imagine it’s telling my writing where to behave.
Step Seven: Paint a wooden star yellow and write “#1” on it. This is your frame’s little badge of honor.
Step Eight: Glue your pencil at the bottom, star at the top, and write “FIRST DAY OF SCHOOL” on the pencil. Draw three notebook holes on the left for that extra-realistic touch.
Step Nine: Clip on a mini clothespin in the center to hold your adorable photo. Boom—you’re done! Your frame is ready to be the star of the school year.
And that’s it! In just a few steps, you’ve got a fun and personalized frame ready to make the first day of school unforgettable.
Fun Ways to Use Your School Frame
Now that you’ve got your school frame ready, it’s time to put it to good use! There are so many creative and memorable ways to incorporate it into your back-to-school traditions.
First-Day Photo Tradition
This is my favorite way to use the frame—snap a photo every first day of school. You’ll love seeing how much your child changes each year. The frame becomes part of the tradition, like pancakes on the first morning back.
Desk or Classroom Décor
I like propping mine on my desk because it instantly makes me smile. Teachers could use it to decorate their classroom too—it’s such a cute and cheerful piece.
Gift for Grandparents
Grandparents adore anything with their grandkids’ faces. Pop a fresh photo in the frame and you’ve got a sweet, homemade gift that melts hearts.
Seasonal Switch-Up
Swap out the picture for seasonal events—pumpkin patches, holiday concerts, or even summer fun. The frame works all year!
Memory Wall Display
I love the idea of hanging a bunch of these frames in a row. Each one marks a year, creating a mini time capsule gallery on your wall.
However you use it, the best part is knowing you made it yourself. It’s personal, colorful, and full of memories just waiting to happen.
More DIY Crafts to Do!
If you loved making your DIY Back to School Frame, you’ll love these other creative projects. They’re fun, easy, and perfect for adding extra charm to your home or celebrations.
- If you love versatile crafting, these 30 DIY Doily Crafts will spark endless creativity. From paper to crocheted, each doily design has unique charm. I love how their intricate patterns transform simple projects into stunning décor. Whether you’re upcycling or making something new, these crafts are beautiful and budget-friendly. Get ready to see doilies in a whole new way!
- If you’re already in back-to-school mode, these 20+ Back to School Recipes, Crafts and Organization Ideas will inspire you. I love how each idea makes the season more excitin!
- If you want to make first-day photos extra special, this First Day of School Photo Printable is a must-have. It’s perfect for starting a yearly tradition you’ll cherish forever. I love how it instantly makes photos look organized and festive. Even if your kids roll their eyes, you’ll treasure those pictures for years. Print it out, pose, and snap away—memories made easy!

With these extra ideas, your creative streak won’t stop anytime soon. Grab your supplies, get inspired, and make something amazing!
More Creative Pencil Themed Ideas:
Have fun with the kids making these adorable pencil crafts.
- Popsicle Stick Pencil Craft
- Pencil Mason Jar Craft
- Back To School Cupcakes
- Kindergarten Graduation Day Coloring Handprint Keepsake
DIY Back to School Frame
Ingredients
- Craft Sticks Jumbo – Dollar Store
- Wooden Clothespin Mini – Dollar Store
- Wooden Star – Dollar Store
- Markers Black, Red, Blue – Dollar Store
- Glue Gun and Glue Sticks
- Acrylic Craft Paint – Gold Pink, White, Yellow, Black, Silver (or Grey)
- Paintbrush
- Scissors
- Pencil
- Patterns
Instructions
- Gather all supplies. To create the notebook paper, line up ten jumbo craft sticks on your work surface. Using scissors, trim additional jumbo craft sticks to the width of the notebook paper and attach with a glue gun and glue sticks.
- TIP: You can use liquid craft glue for this project, but you will have to wait for it to dry.
- Basecoat the notebook paper with white acrylic craft paint. Let dry, and apply a second coat, if necessary. Use washable markers, crayon, or even colored pencil to color the craft sticks.
- Cut a point into the end of a jumbo craft stick with scissors to create a pencil shape.
- Basecoat the pencil with black, gold, pink and silver acrylic craft paint. Let dry, and apply a second coat, if necessary.
- Draw horizontal lines with a blue marker at the nine intersections of where the jumbo craft sticks meet.
- Draw one vertical line with a red marker on the left-hand side of the notebook paper. Use a ruler as your guide.
- Basecoat one wooden star with yellow acrylic craft paint, and let dry. Draw a #1 on the star with a black marker.
- Attach the star to the top and the pencil to the bottom of the notebook paper with a glue gun and glue sticks.
- Print the words FIRST DAY OF SCHOOL with a black marker on the pencil. Draw three holes on the left-hand side of the notebook paper with a black marker.
- Attach a mini wooden clothespin to the top center of the notebook paper with a glue gun and glue sticks. This will hold your child’s photo.
Grab your craft supplies and start making your own special frame today!

Susan B
Latest posts by Susan B (see all)
- Free Printable 4th of July Word Search - July 2, 2026
- 4th of July Barbeque Ideas - June 28, 2026
- Best Luau Birthday Party - June 17, 2026