
Rustic DIY Halloween Sign
I am a lover of Rustic things….
…of cheap or free things…
…and I love a fun and EASY project!

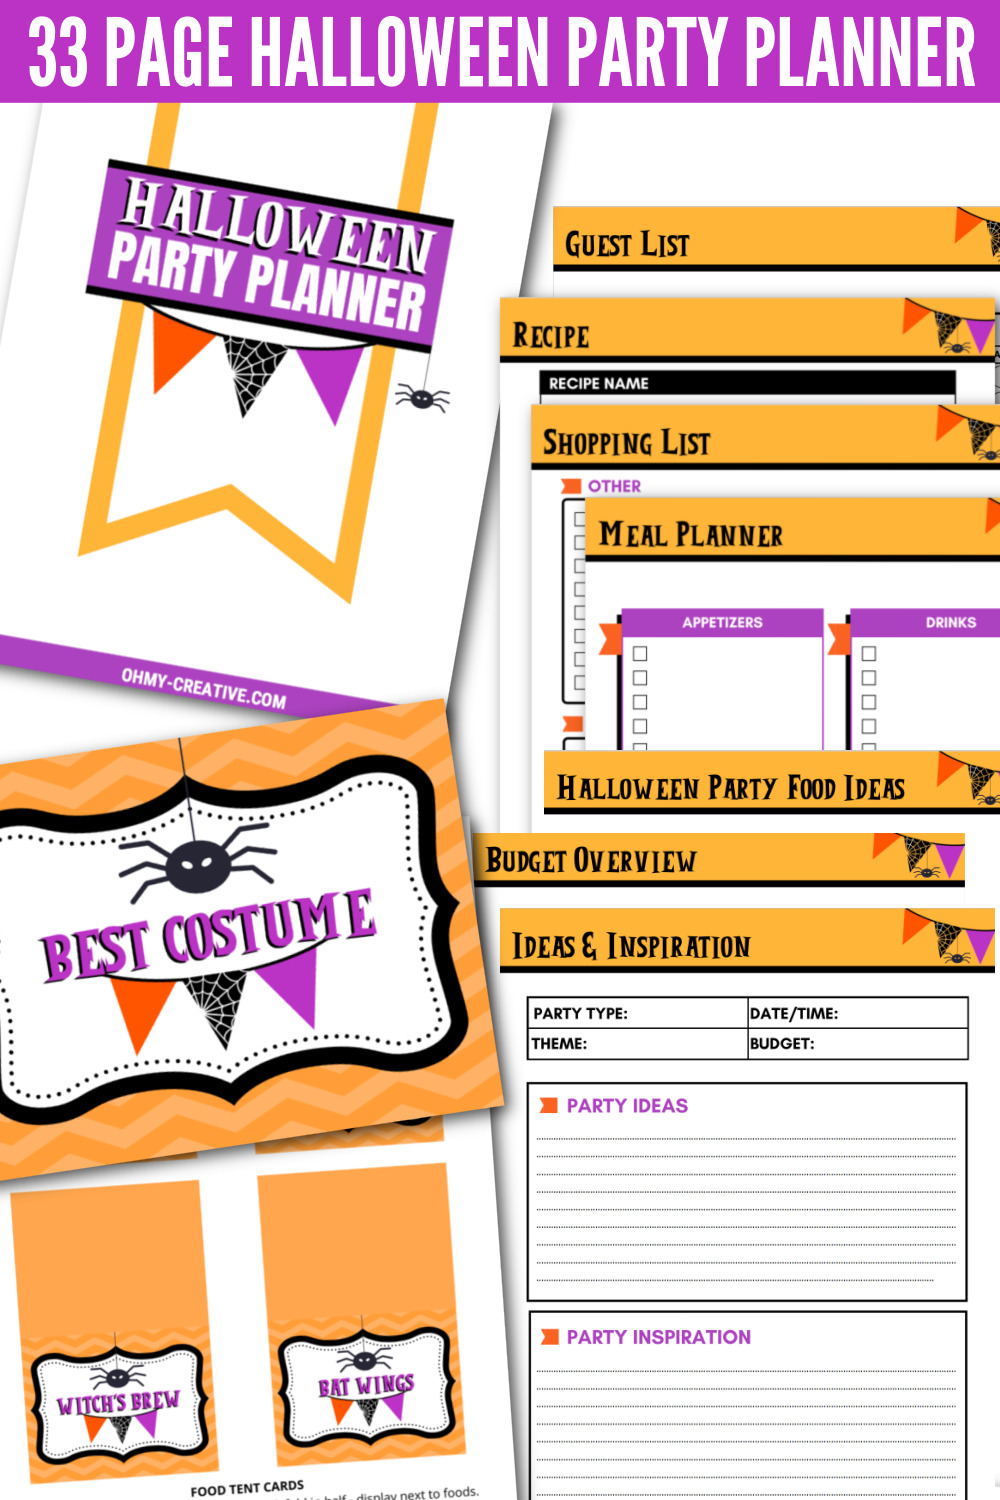
Plan The Perfect Party With This Halloween Party Planner!
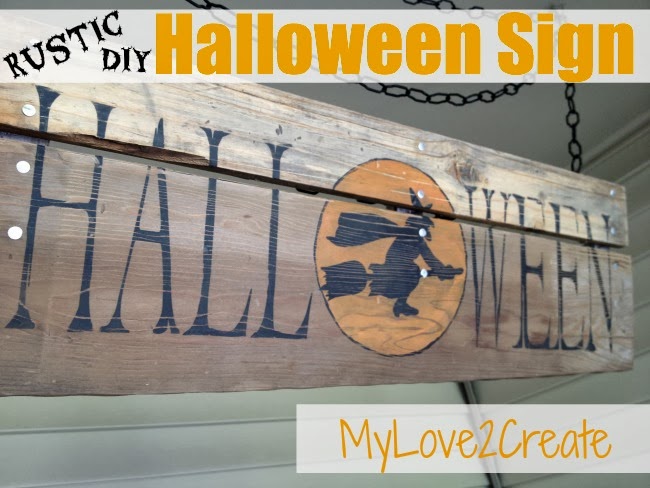
That is why I am sharing this Rustic DIY Halloween Sign with you today! Halloween is only a week away and if you need a quick project to boost the “spooky” feel in your home this one is perfect! It is not too late…to decorate! (ha ha I rhymed 🙂 )
I have been admiring the fun Halloween projects Susan has been posting and so I thought this would be a good addition. Plus, this type of project can be made to fit your needs and you could make any type of sign you want, Halloween or not! So let’s get started.

Here is what I started with; random pieces of scrap wood, nails and wood glue (oh, and you will need a hammer too).

I made sure my long boards were the same length, you can make it any size you want, mine are 31 inches long. I cut my small board (a 1×2) into three pieces, I didn’t even measure when I cut them. They are just going to join the front boards together, so you won’t see them. I added glue and…

…nailed on the top board, which happens to be a 1×4.

I then added more glue and nailed on the bottom board (a 1×8). You can see I added two nails to each board, my back pieces were not long enough to add more. I think it adds character for the nails to only go halfway down, but you could make your back pieces longer and have the nails evenly spaced down the front of the board.

All done, and in what? Less than 20 minutes. Awesome.
Deciding what to put on my signs is always the hardest part for me. I enlisted my kids help, which was hilarious! They had great ideas, but I wasn’t looking to add a whole paragraph to my sign. I ended up going with the obvious, Halloween. Easy and Simple.

Now, I have a cutting machine, and I know not everyone does. So if you want to make a sign, and you have a printer, you could do any word/phrase or picture you want. All you have do is follow my Good Old Fashioned Pencil Transfer Signs Tutorial. Super easy.
In the photo above you can see I cut the word Halloween using contact paper, and used it as a stencil. I used one quick coat of black paint and peeled it off right away.

Yes, Halloween does have an O, you are right! I decided to make mine a little more fun by adding my “O” in the form of a witch flying across the moon. I used both parts of my stencil for this, in the top photo you can see I used the outline of the stencil.
I painted it orange and then removed the contact paper leaving me with what you see in the second picture. Once the orange paint was dry I placed the other part of the stencil over the orange part, and painted the witch black.
The witch flying over the moon is from a dingbat font, they are free and all you do is google “free dingbats” and you can find anything you are looking for, which is great for making signs.

After I freehanded a black outline around the orange moon this is what I had. I set the sign on my Old Fence Wood Bench to get a good look at it, and then went to make lunch. My husband came home to eat and stared at it for the longest time…”That is a really cute bench”, he finally said.
I couldn’t figure out what he was talking about, the bench has been in our kitchen for weeks…then it dawned on me, he thought the sign was a backing to the bench!
Too bad the bottom piece of wood on my sign wasn’t straight (I specifically picked the broken wood to make the sign more rustic) it totally could have been attached to the bench to make a fun seat back….maybe a future project….

Anyway, I took my sign out to sand down the paint job, making it a little less crisp and newish. Then I grabbed some old chains I had picked up off the side of the road on our city spring clean-up day. Totally free, and see, I finally found a good use for it!
I spray painted it black and used some nails that I hammered in a little way and then bent them down to hold the chain on. (you can also see I used some stick-on pads on the back, I didn’t want to scratch the table while I was painting, so I just left them on)

The reason I wanted the chain was that I was planning on using the porch swing hooks to hang my sign.

See how the sanding gives it a little more rustic feel.

The chain was super long and I was too lazy to cut it, so I just took the ends on each side and attached them to the opposite hook to make a decorative chain look. It worked for me!

And there you have it! A fun free project to complete my Halloween porch! I am starting to really enjoy decorating for Halloween, and my kids love it too!
Oh, and if you are wanting yet another way to make signs without a cutting machine my Halloween Sign hanging from the post gives a tutorial using an inkjet printer and wax paper!

So? Are you ready to make a sign? I hope you do!

Susan B
Latest posts by Susan B (see all)
- Free Printable 4th of July Word Search - July 2, 2026
- 4th of July Barbeque Ideas - June 28, 2026
- Best Luau Birthday Party - June 17, 2026

I am in love with this sign! It is right up my (Diagon) Alley! You made it looks so easy to make! 🙂
Lol! Thanks Jillian!
Love this. Some day, I will have a Cricut. Some day. Sigh.
This is super cute! I usually buy stuff in the clearance section after Halloween is over to decorate the next year but FREE is always way better! 🙂
I just saw that Kirkland’s has ripped off your idea : /
OMG! It’s almost exactly the same. I can’t believe it! Thanks for sharing that you saw it on their website, Karen!
This is the perfect sign for Halloween. Thanks for sharing with us at Family Joy Blog Link Up party. Hope to see you next week!