No Sew Happy Halloween Pillow Cover
October is upon up, my friends! Fall is officially here, and it’s finally starting to feel like it! I’m sharing a fun FALL project … A DIY No Sew Halloween Pillow Cover!
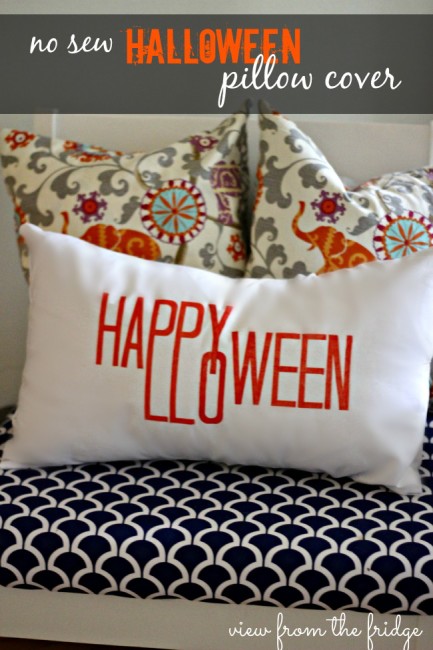
This pillow will have your guests taking an extra glance back to see what they just read, but making it couldn’t be easier!
Now … I have a sewing machine, and I love to sew, but I’m also a huge fan of NOT sewing when and where possible. This project is just the place to skip the machine …. skip the thread …. skip sewing entirely, and just break out the iron.
And some liquid stitch!!
I happened to have a rather enormous rectangular pillow that was in need of recovery… perfect for this project! Grab an old pillow that you might have, or go buy one from the craft store, and follow along …
- You need enough fabric to cover your pillow on all sides. In my case, one yard of fabric was plenty.
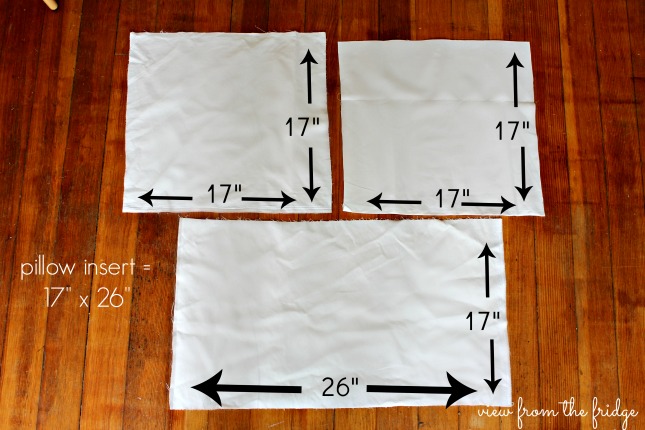
- Cut three pieces of fabric in the following dimensions (a bit of math required here, folks!):
- One piece cut to the dimensions of your insert. In my case 26″ x 17″.
- Two pieces cut to: Height of pillow insert (17″, in my case) x {Length of insert / 2 + 4″}. (In my case: 26″/2=13″ + 4″ = 17″)
- Print out the HAPPY HALLOWEEN text HERE and adjust the size to fit your pillow. Using transfer paper (I usually use this iron on transfer paper which you can find at any craft store) and with the instructions provided, print the image onto your transfer paper (make sure to mirror the text AND to print on the correct side of the paper as instructed!)
- Set this text onto the front (the larger piece of fabric) so you can read it (printed side down). Measure or eyeball it to make sure it’s in the center.
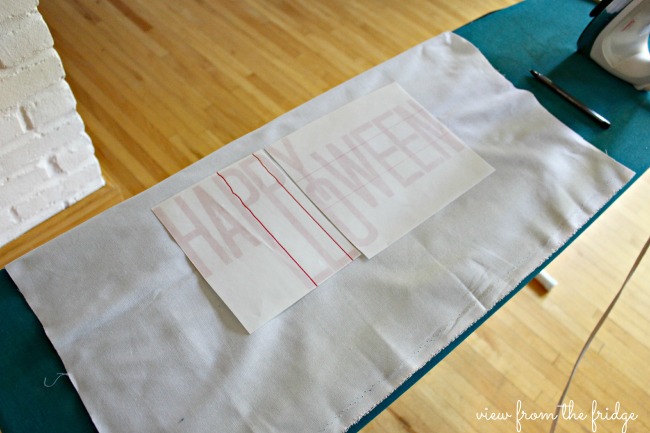
- Iron the text to adhere it to the pillow cover and let it cool! Peel off the backing, and your text has permanently adhered!
- Grab your liquid stitch and iron and ‘hem’ one edge on each of your smaller pieces. You’ll want to hem the sides that will overlap (the sides that are the ‘height’ of your pillow cover). Simply fold the fabric on one side over about a 1/4″, apply the liquid stitch inside the fold, and iron to adhere into place. Do this will both smaller pieces.
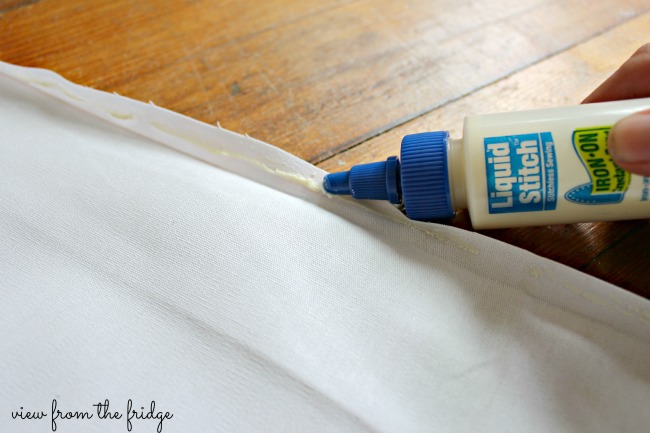
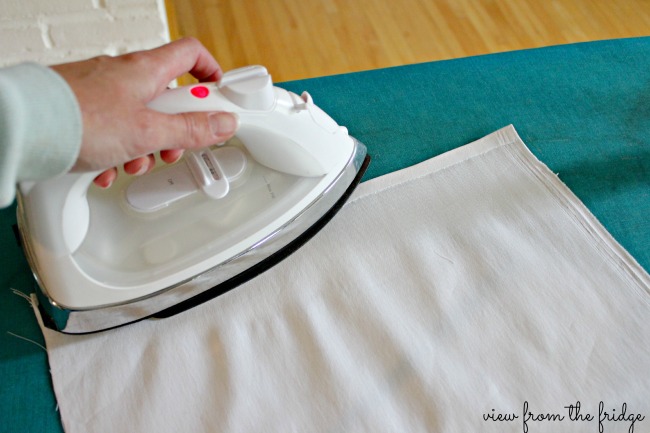
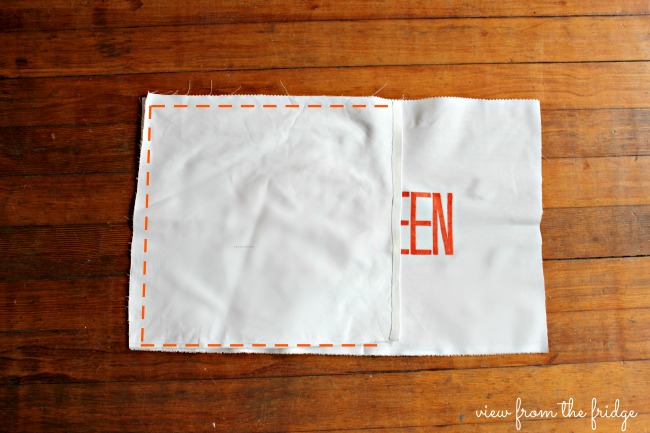
- Next, attach your back pieces to the front piece. Start by placing the front piece with the text FACE UP on the ironing board. Place one of the smaller pieces FACE DOWN onto the front piece with one of the sides (left or right) being matched up.
- Place a line of liquid stitch around 3 edges of the pillow, about a 1/4″ from the edge as shown by the orange dotted lines below:
- Next, lay your third piece FACE DOWN onto the other pieces, and this time match up the opposite side of the front piece.
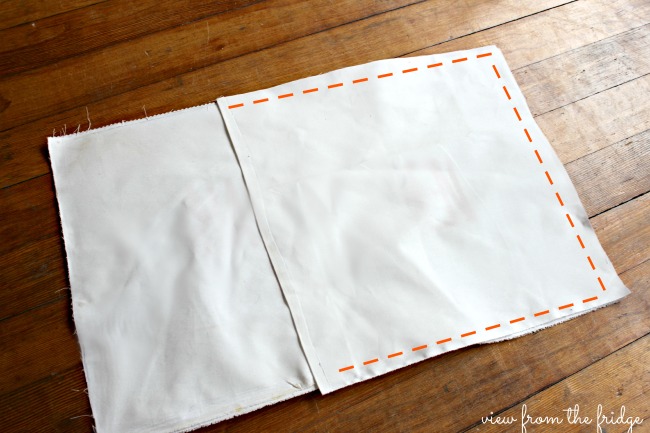
- Again, place liquid stitch around all three edges as shown.
- Let dry!
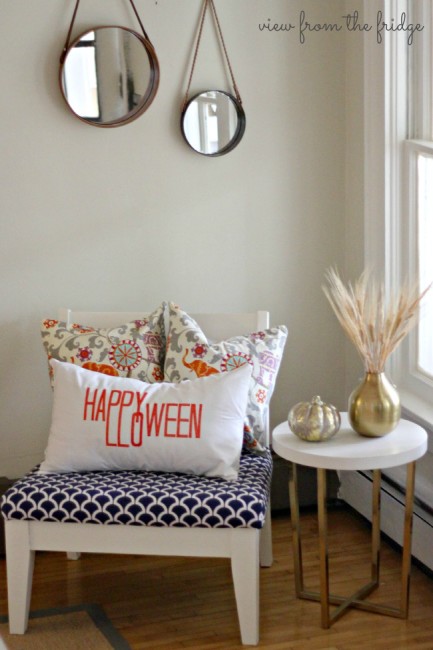
- Flip the pillow right side out, and you’ve got a fun and festive pillow for the month of October!
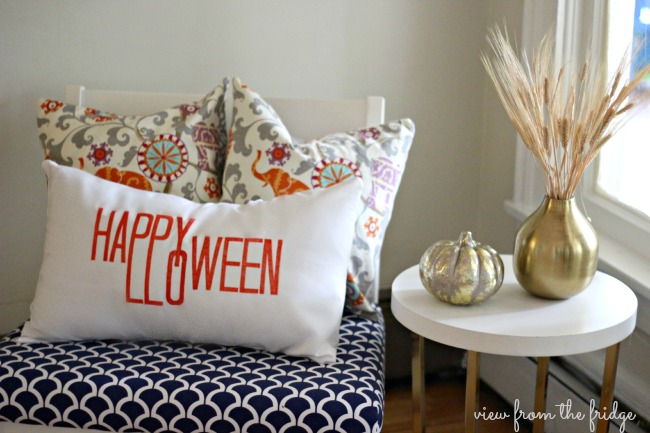
It kinda makes you look twice to read it, huh?

Huge thanks to Susan for having me here again today! I hope you all have a wonderful week! Like always, I’ll be back next month with more craftiness!



This pillow is pretty COOL Katie! I can’t believe it’s a no sew and you used transfer paper for the Happy Halloween. I need to step my crafting skill up now.
This is beautiful. I have really been wanting to do some vinyl projects and transfers but finding the supplies always seems so hard. Pinning this and maybe I can find your supply list at the local JoAnn’s
OH, I LOVE this pillow! Very clever! Stumbled!
Ok – where have I been? I had no idea this iron on paper existed. Must try – thanks for sharing. Pinning!
Your Halloween pillow is adorable.
Bev
This little pillow is very very cute. I actually did go back and read it just like you said guests would.
That turned out great! I love these tips. 🙂 Thank you for sharing with us at the #HomeMattersParty
This is adorable! I also can sew but there is something seductive and appealing about making a no sew project that is beautiful!