DIY Painted Easter Egg Tutorial
Surely I’m not the only mom who finds herself a few days away from Easter with no eggs in the refrigerator. I’m not sure what it is about holiday crafts, but I almost always manage to wait until the last minute. Along with these Creative Easter Ideas, these Easter egg decorating tips will make your holiday special!
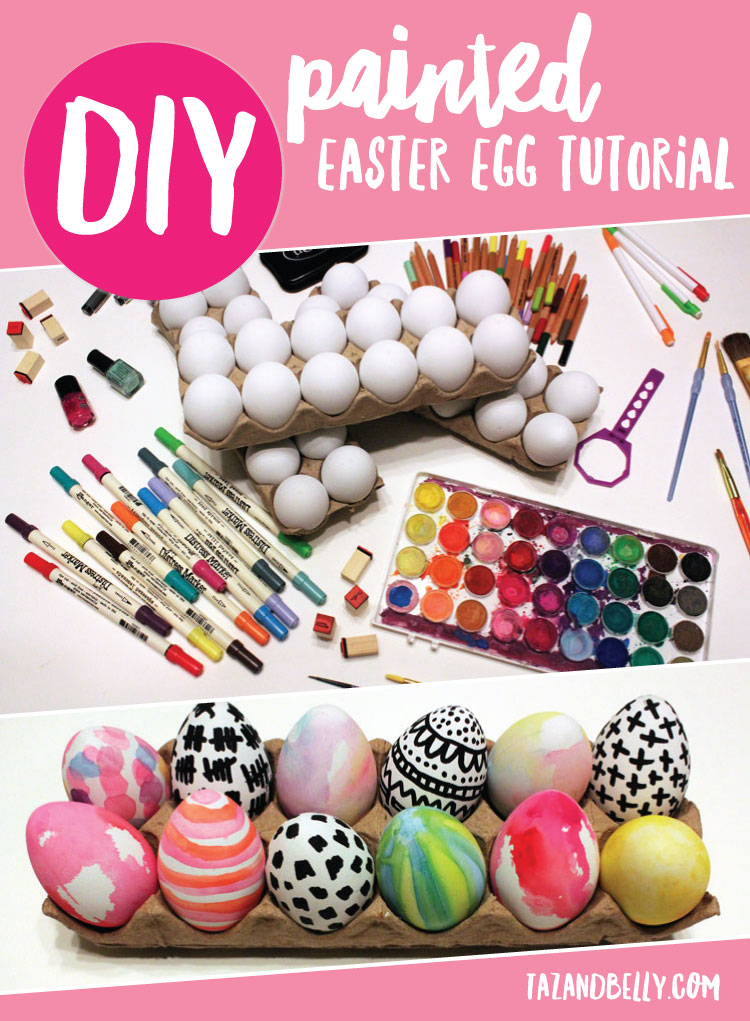
Instead of searching Pinterest for a new idea this year, I gathered all of our existing art supplies and challenged my daughters to come up with a few new ways to decorate our eggs.
I opted for paper eggs this time since I am always frustrated throwing away dozens of beautiful eggs at the end of the holiday! Keep scrolling for all the details on our DIY Painted Easter Egg Tutorial.
Grab our Easter Bundle Printables
Everything you need for an EASY, FUN EASTER!
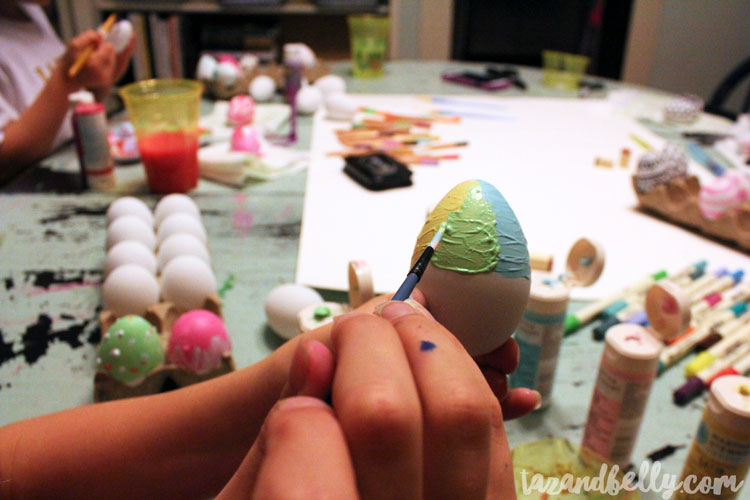
The first thing we did was pull out all of our supplies and put them in the middle of the dining room table. I encouraged the girls to think beyond paints and come up with some new ideas for creating patterns and colors.
They collected both watercolors and acrylics, nail polish, pencils, colored pencils, pigment markers, permanent markers, stamps and a stamp pad. We divided the eggs and supplies among us and tried really hard not to duplicate any methods between us.
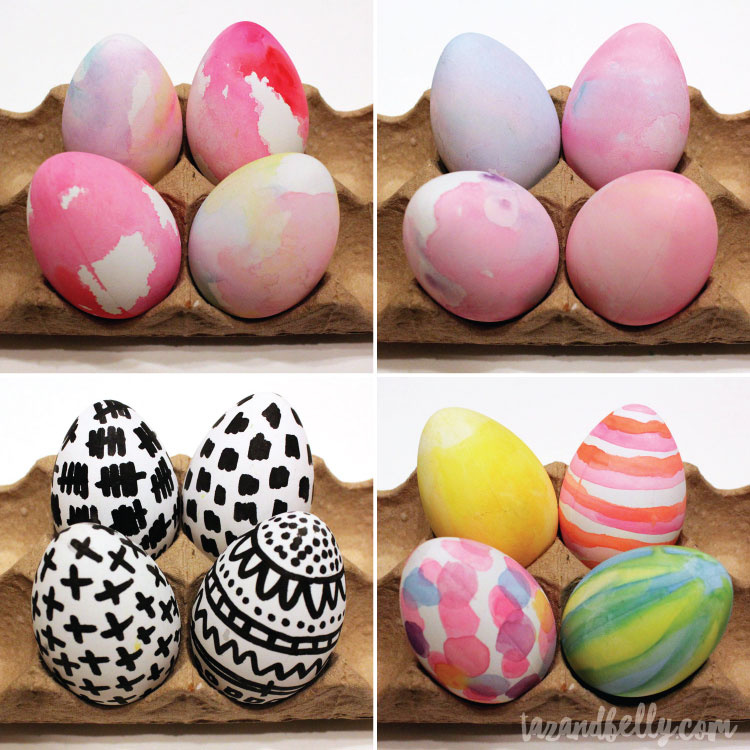
Paint was definitely the favorite, although everyone had a different opinion about which one worked best. My oldest daughter loved the acrylics and tried her hand at patterns and polka dots. My youngest daughter used the fingernail polish in a glass of water and dipped her eggs for a marbled effect. I loved layering the watercolors both in random swirls and a few more graphic patterns.
We ended up with three dozen BEAUTIFUL eggs. The paper eggs held the mediums all very different and we learned quite a few lessons along the way. Acrylic paints took the longest to dry and we had to let them sit for an hour or so between different coats.
The watercolors were much quicker and could be layered after only a few minutes. Pens and fine-tipped markers were hard to use, but heavier permanent markers worked great. They were prone to smudge, so I worked in sections, letting them sit for about ten minutes in between.
USE THIS DIY PAINTED EASTER EGG TUTORIAL FOR BEAUTIFUL EGGS YEAR AFTER YEAR!
This is such a simple way to add some flair to your Easter baskets this year and to spend a fun afternoon creating something beautiful with your children! Encourage them to come up with a list of supplies you already have or hit up the dollar store for a few inexpensive finds. Even if your art supply cabinet isn’t quite as full as ours, things as simple as crayons, stickers and decorative tape would be perfect!
Love this DIY Painted Easter Egg Tutorial? Join us at Taz + Belly





I’m thinking of trying the nail polish technique this year. Fun to do something different….
Are all these paints ok if they accidentally get on the egg and get eaten?
Hi Nancy, I don’t know that I recommend eating them. Some paints have lead in them or might not be food-grade paints. You could try painting with gel-based food coloring…that might work well but I have not tried it.