DIY Christmas Photo Frame
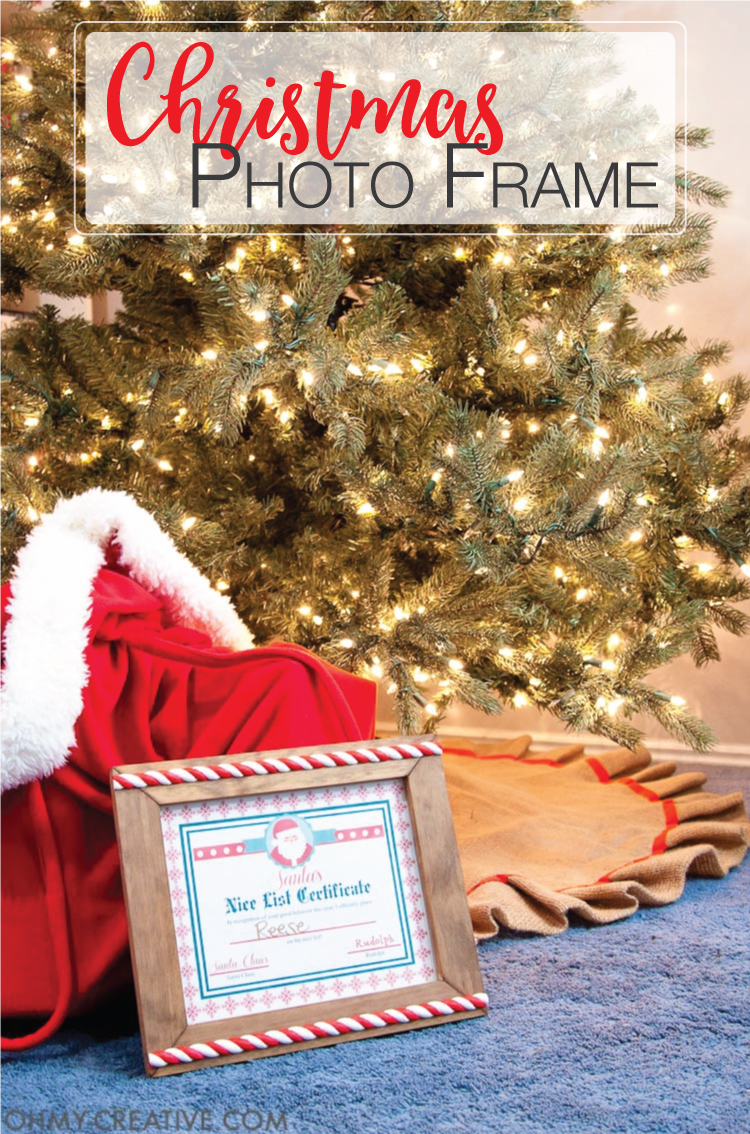
Hello, it’s Kati from Houseful of Handmade again! Are you ready for all things Christmas? I know I am! I love everything about Christmas, and I’m so excited to be sharing this DIY Christmas Photo Frame with you today.
It’s the perfect easy DIY to get you ready for the holiday season. So grab a peppermint latte and let’s get creating!
I will admit that I was having a hard time getting into the Christmas spirit this year. Usually, by the middle of November, our house is totally decked for the holidays.
When we get our first big storm of the season it just makes me want to make the whole house sparkle, but this year it has been hot! Seriously, we have been in the 60s and 70s all month and that has made it harder to get my mind thinking about Christmas decor.
I was not about to let the lack of snow dampen my Christmas spirit though. So this weekend I made a batch of chocolate peppermint s’mores brownies, turned on the Christmas music and put up the Christmas tree. And guess what? It worked! My mind is now swimming with all things red and green.
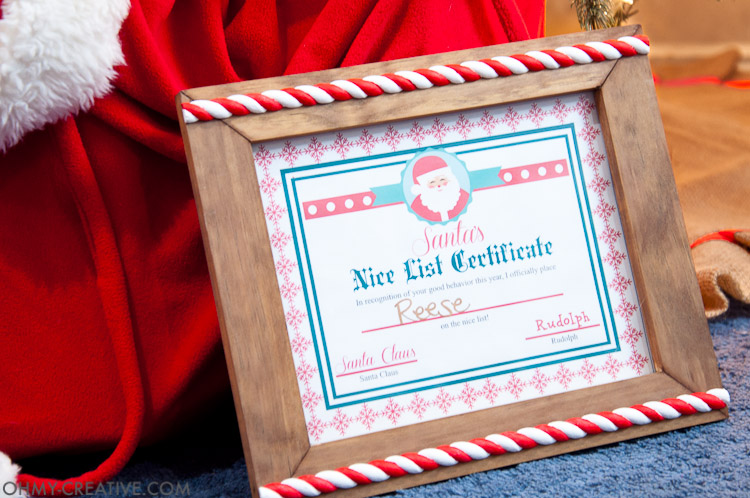
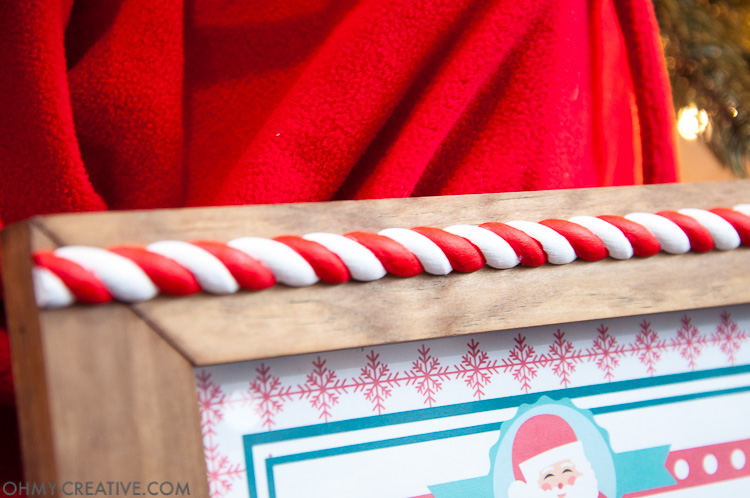
Since I was eating a delicious peppermint brownie, it just made sense to use my Christmas inspiration in this easy Christmas photo frame. During a trip to the hardware store, I found this simple twisted trim molding and I knew it would make the perfect candy cane to decorate a frame for the holidays. So I grabbed a piece of the trim and ran home to finally DIY something Christmasy.
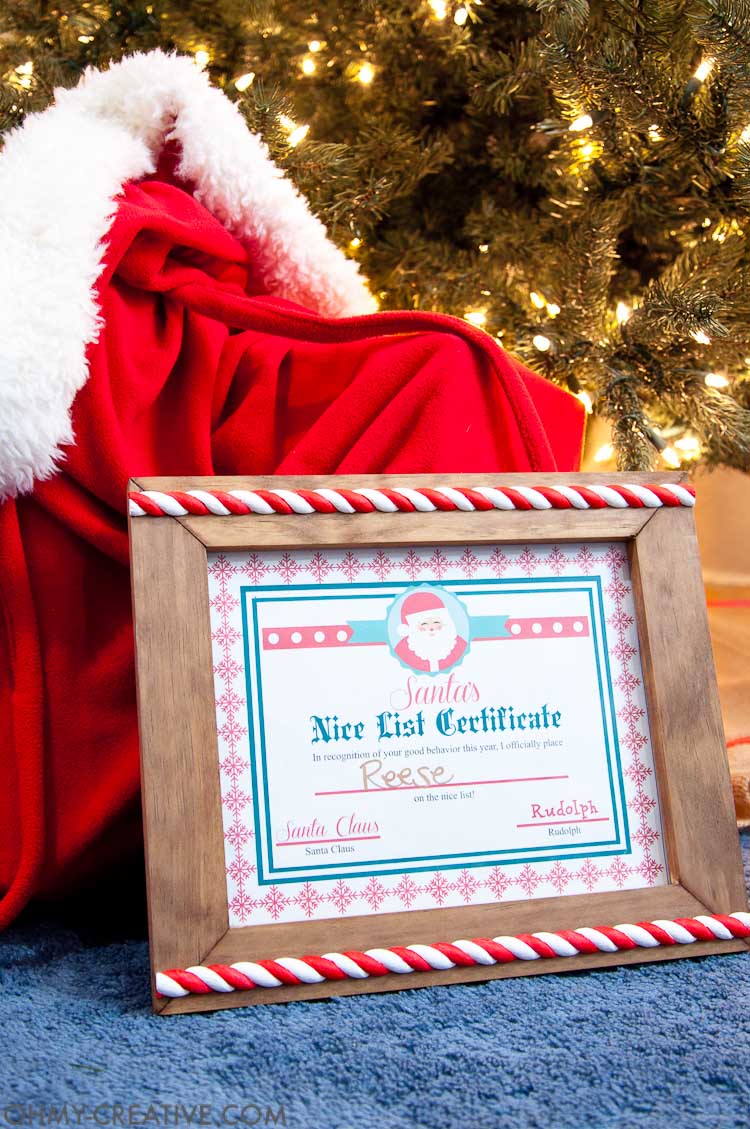
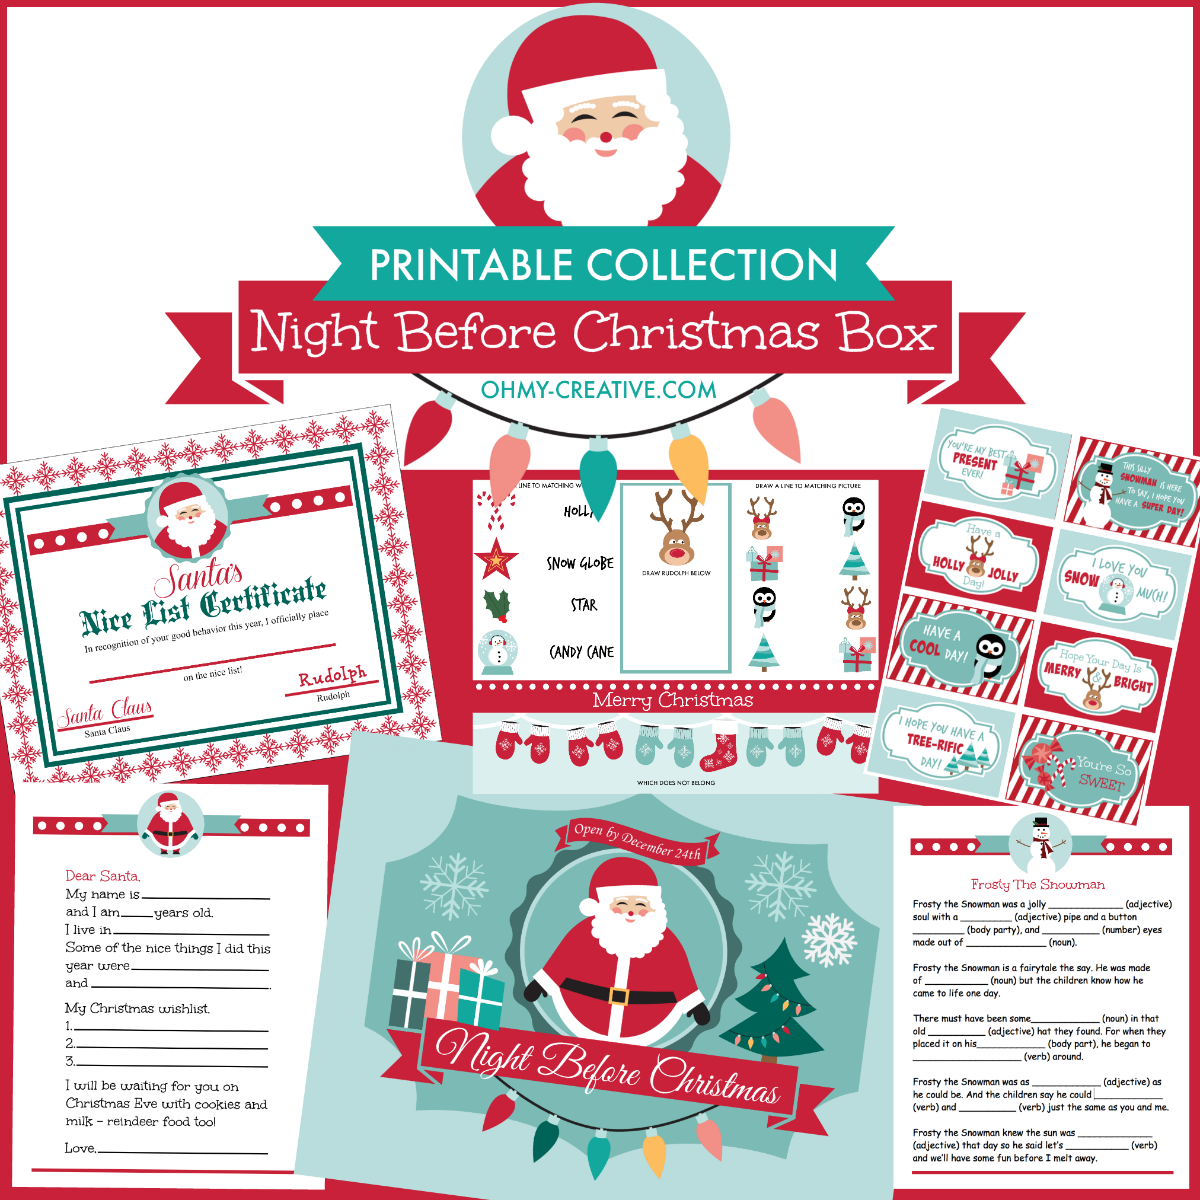
After making the perfect Christmas photo frame, I decided to fill it with the Nice List Certificate that I got in the Night Before Christmas Box of printables. It’s the perfect way to let the kids know they were good this year and that Santa noticed.
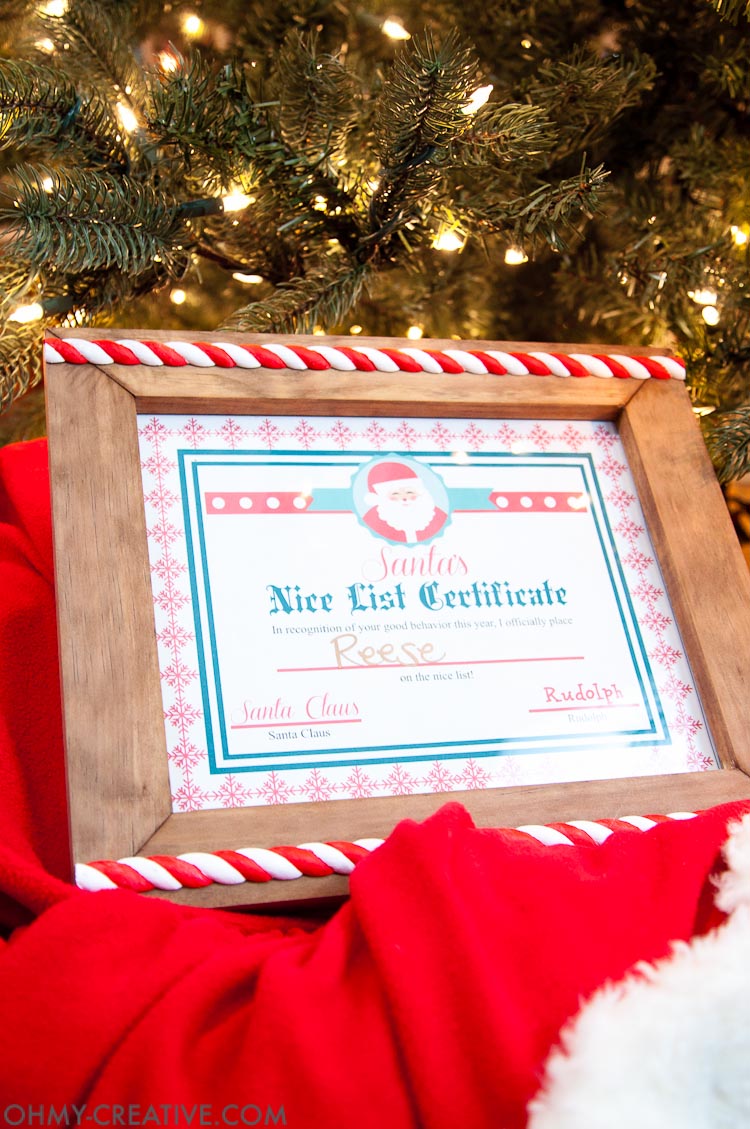
To make the DIY Christmas Photo Frame, you will need to start with a basic picture frame. I made one with 1×3 pine boards using my 20 minute picture frame tutorial. To use the frame for the Nice List certificate, make the picture frame with an 8×10 opening. Sand and stain your frame.
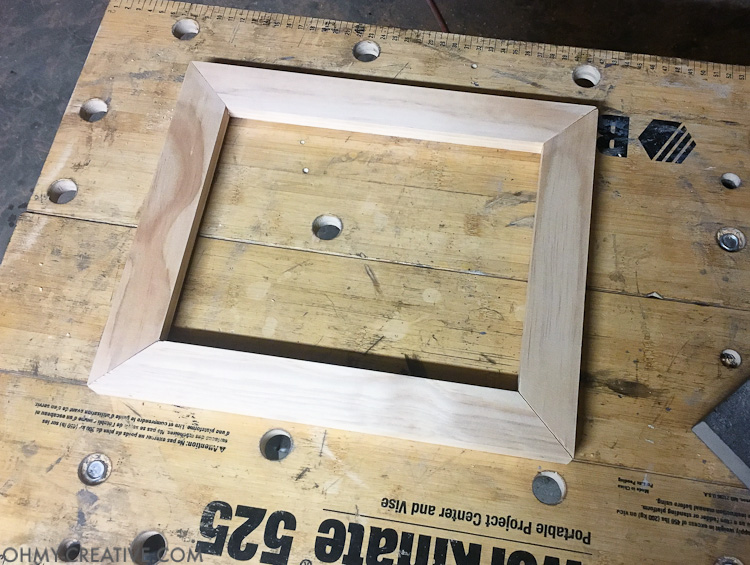
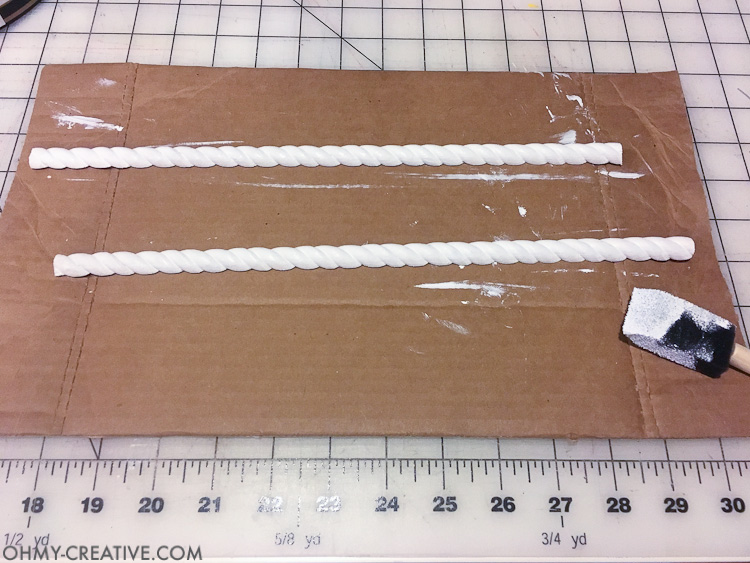
Cut 2 pieces of twist molding to the width of your picture frame and paint them white.
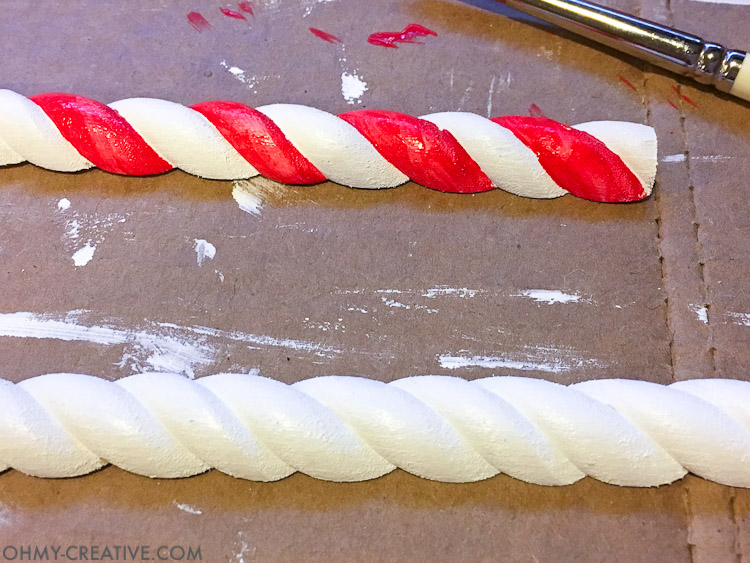
After the white paint is dry, grab a small paint brush and paint every other twist red. Don’t worry too much about keeping everything perfectly in the lines. The hand painted look is totally in and it gives the Christmas frame more personality.
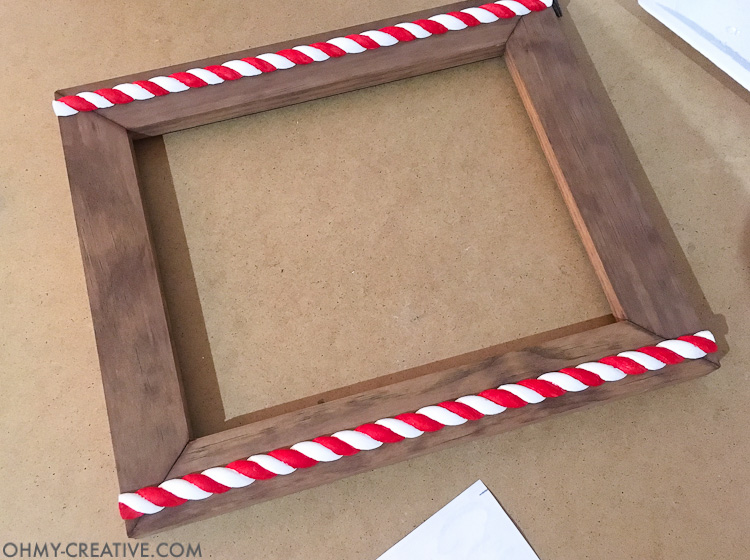
Once the peppermint twist is all dry, glue it to the front of your frame. You can use any glue that works for wood, I chose to go super simple with hot glue.
Insert a piece of glass in your frame and fill it with your filled out Nice List certificate.
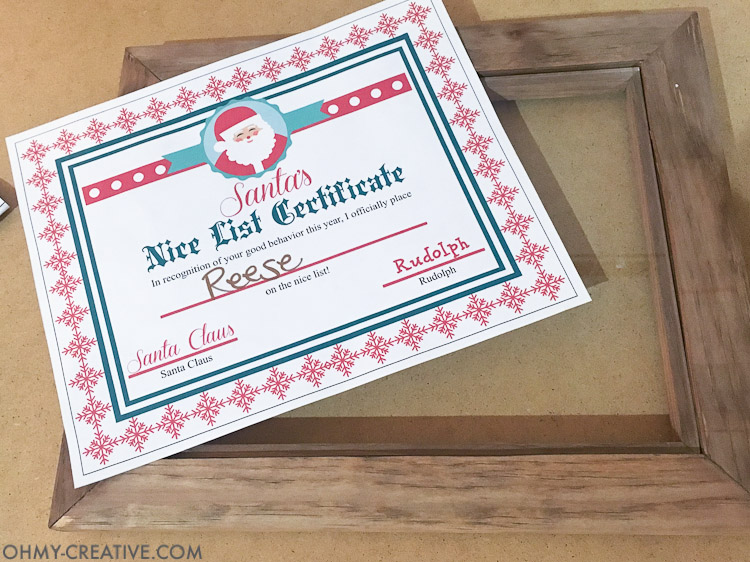
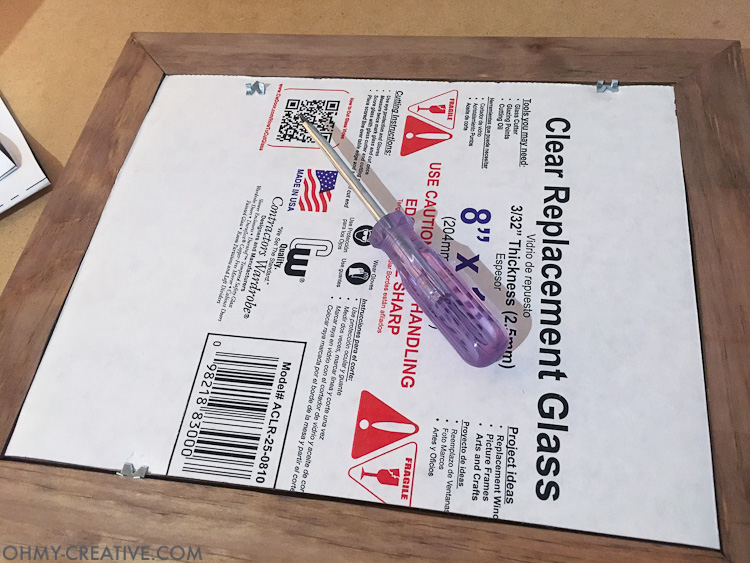
Add a scrap piece of cardboard (I used the cardboard the piece of picture frame glass came in) to the back of your photo and then tap a couple of glazier points around the permitter of the frame to hold everything in place.
Now you are ready to display your Christmas photo frame. Or wait to give it to your children the night before Christmas to let them know they made Santa’s list this year!
And since I am finally in the Christmas spirit, I am ready to start making lots of decorations to deck our halls. Check out these other fun Christmas DIYs.
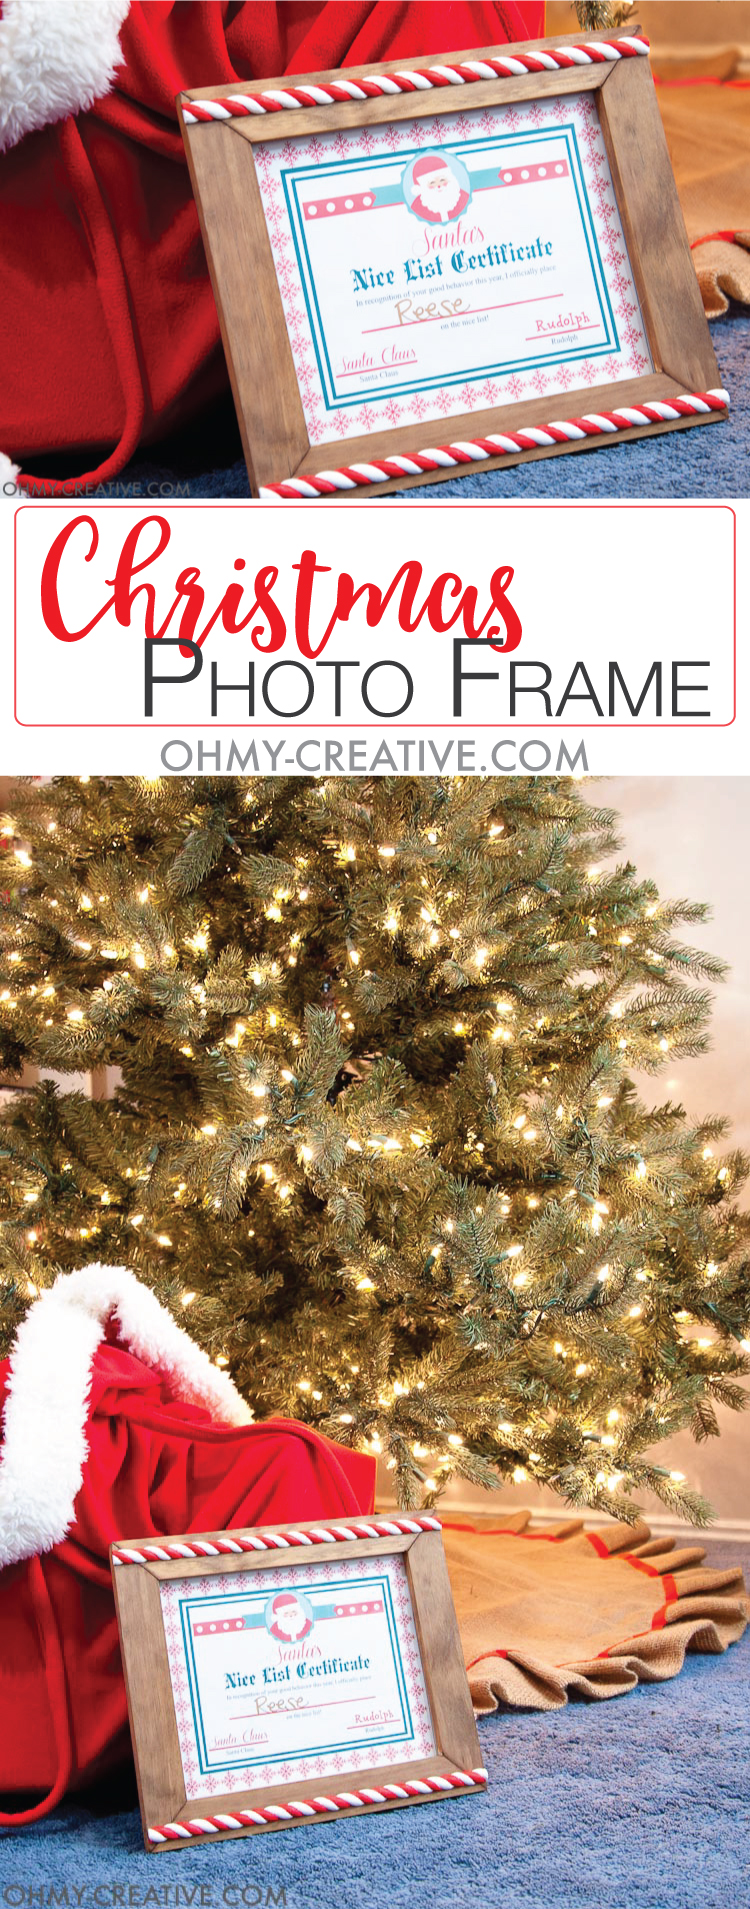
GET SANTA’S NICE LIST HERE!





What a cute idea! Thanks for sharing.