Homemade Chocolate Massage Lotion with Free Printable Labels
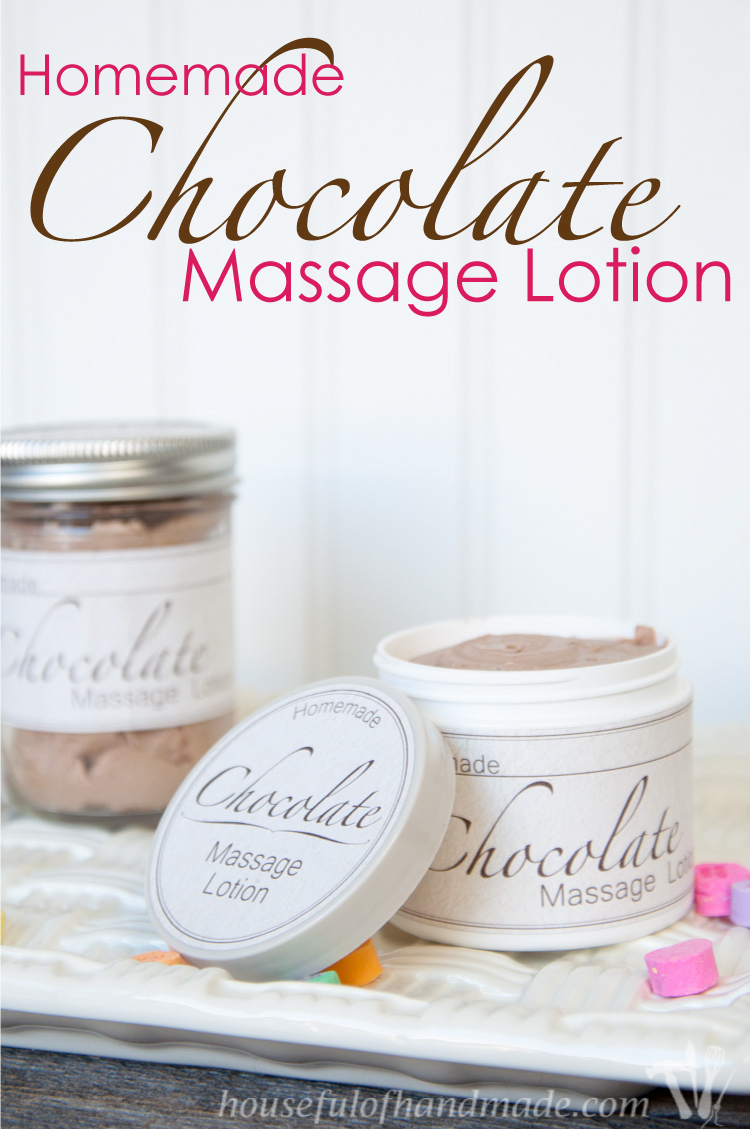
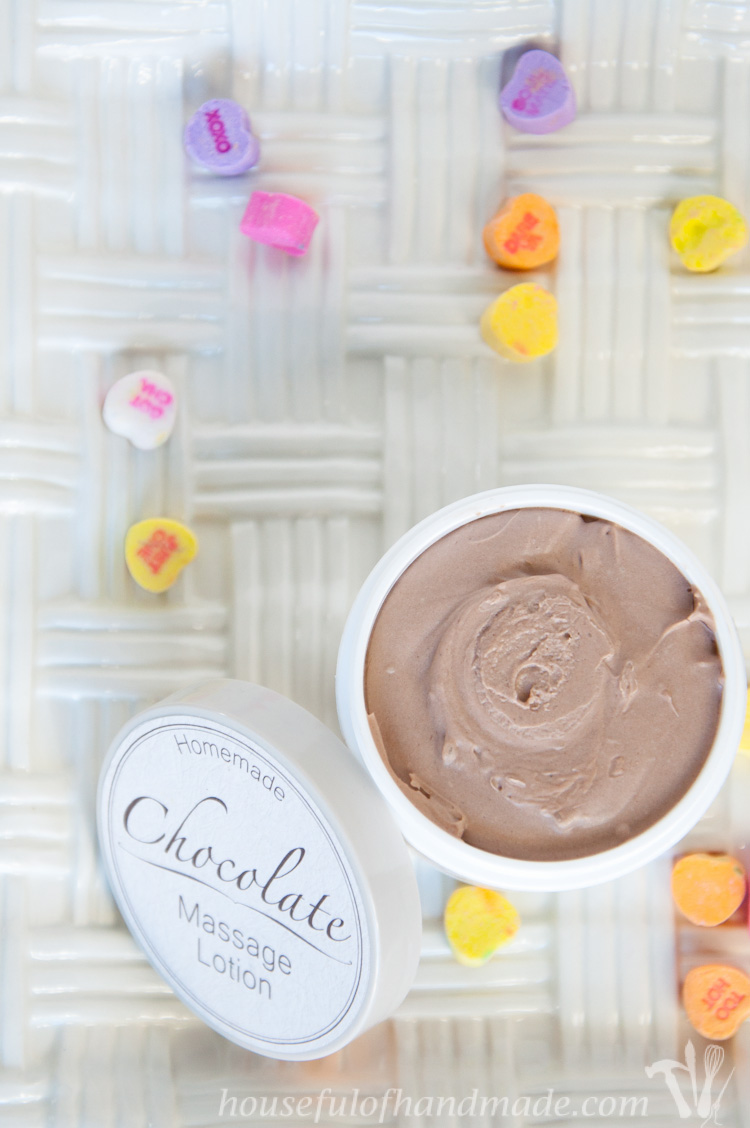
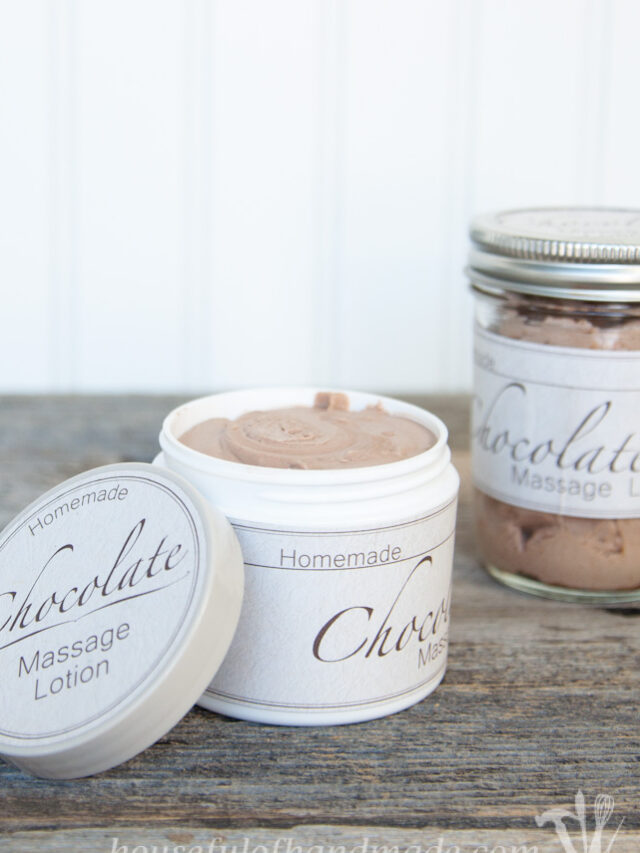
I’ve been wanting to make some more homemade lotion lately to help with my dry skin, so I made my lotion but with a Valentine’s Day twist. You are going to love this Homemade Chocolate Massage Lotion! Find more free printables, sweet treats and crafts in my collection of Creative Valentine’s Day Ideas!
We have been working on valentines for my kid’s classes this week. I can’t believe we are already jumping headfirst into a new holiday, I swear Christmas was just a few days ago!
After getting all the kids valentines done, it was time to make something for the adults!
I love making my own homemade beauty products. I have been using my Homemade Deodorant Stick for about a year and for a little pampering, I love these Homemade Salted Bath Truffles.
It is great having control over all the ingredients and trying out new scents and combinations. If you haven’t used a homemade lotion before, you are in for a surprise. The lotion is really hydrating. It absorbs into the skin quickly and makes your skin feel so happy!
I made my first batch of lotion just over a year ago, and it was a huge fail! I did a lot more research on the process and tried again (I hate letting a project get the best of me).
Luckily, the second attempt was successful, and I was left with the most amazing lotion I had ever used! I can’t wait to share all my secrets with you so you can make your own lotion on the first try!
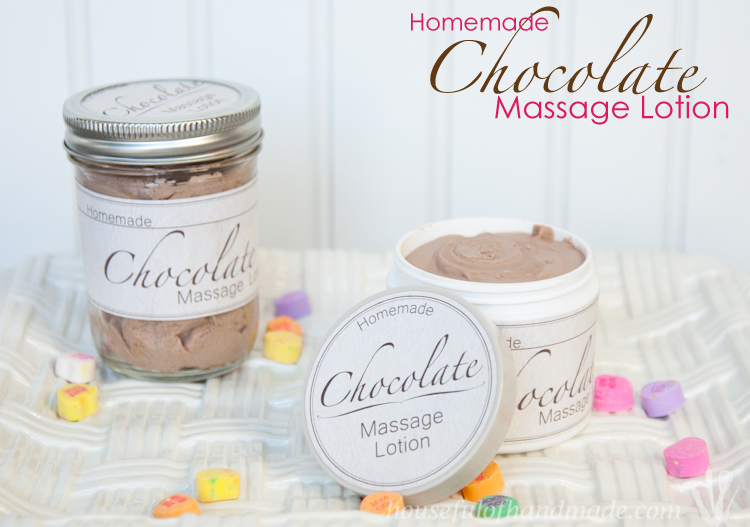
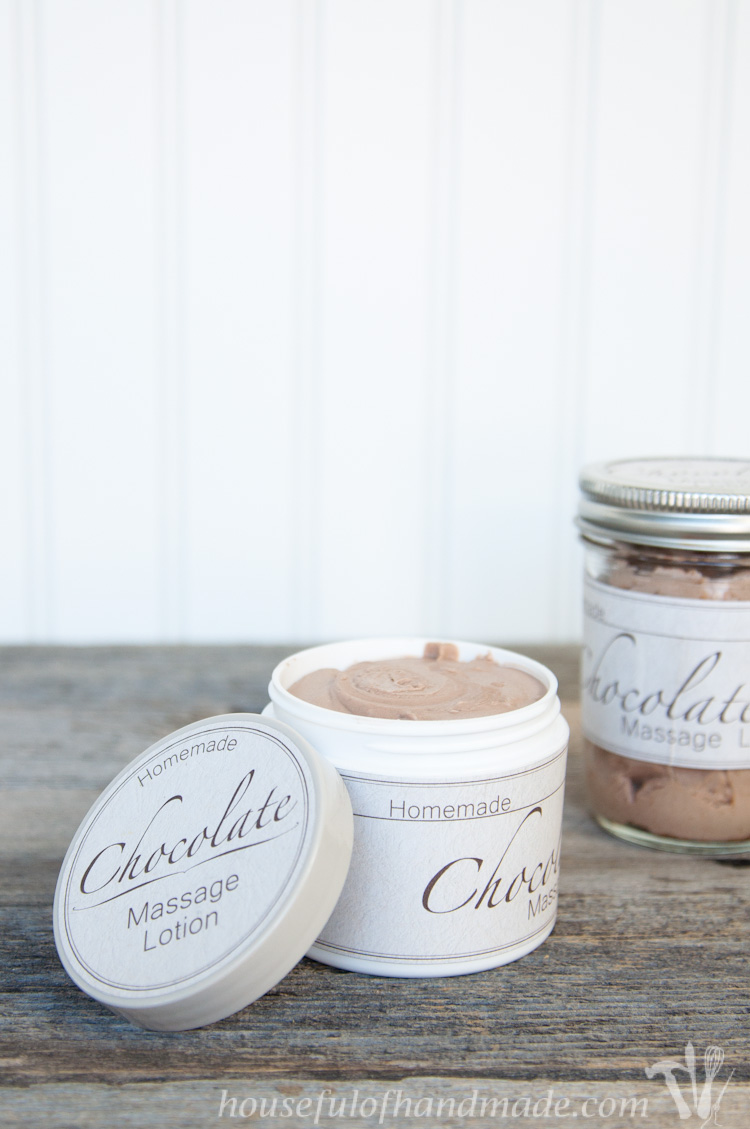
I decided the best way to make my homemade lotion perfect for Valentine’s Day was to add chocolate! And if you are still going strong on your New Year diet, you can use this most delicious smelling Homemade Chocolate Massage Lotion without adding calories to your diet!
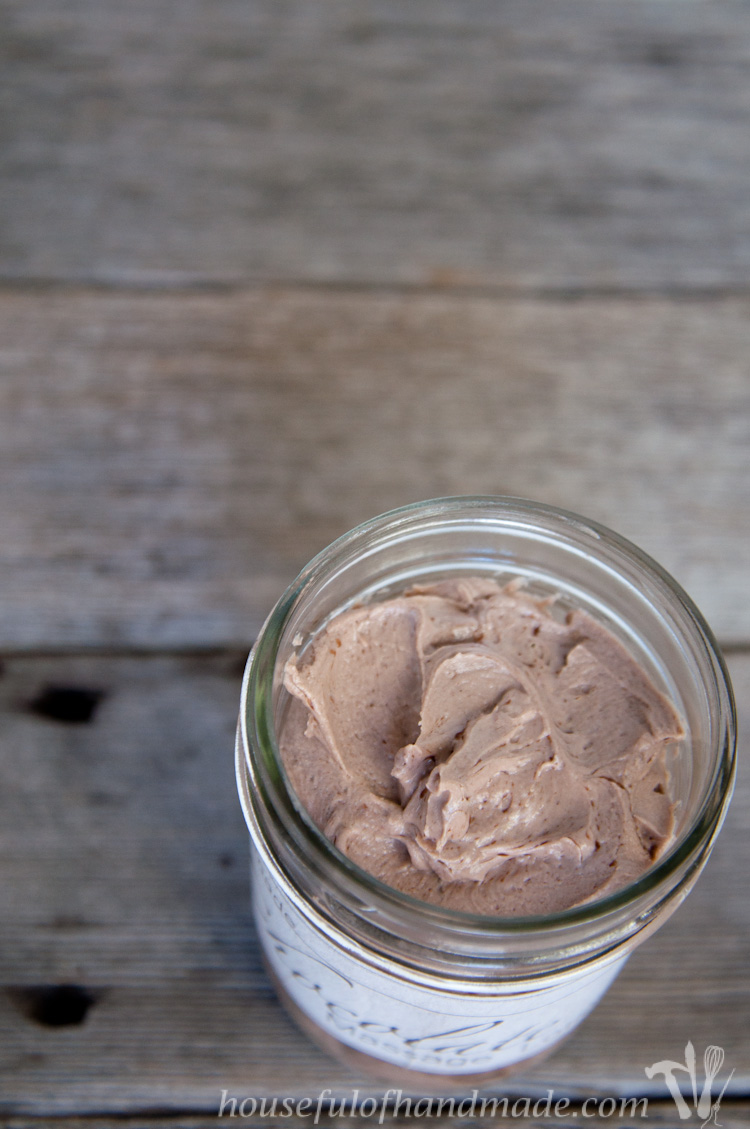
This stuff is so amazing, it smells just like your favorite chocolate treat. It even looks like a soft milk chocolate mousse. Just try not to eat it!
If you are ready to make some Homemade Chocolate Massage Lotion for your Valentine keep reading. I will share the easy recipe with all the tips I learned from my failure and research. You will be able to successfully whip up a batch in about 20 minutes.
More Valentine’s Day Gift Ideas:
- 20 Valentine’s Projects, Crafts, and Gifts
- 35 Valentine Ideas, Crafts, and Recipes
- Pencil Valentine Gift Printable Banner
- Kids Candy Ring Valentine Printable
- Candy Crush Treat Valentine Printable
- Love Bug Valentine Bag Treat Gifts
- Homemade Chocolate Massage Lotion with Printable Label
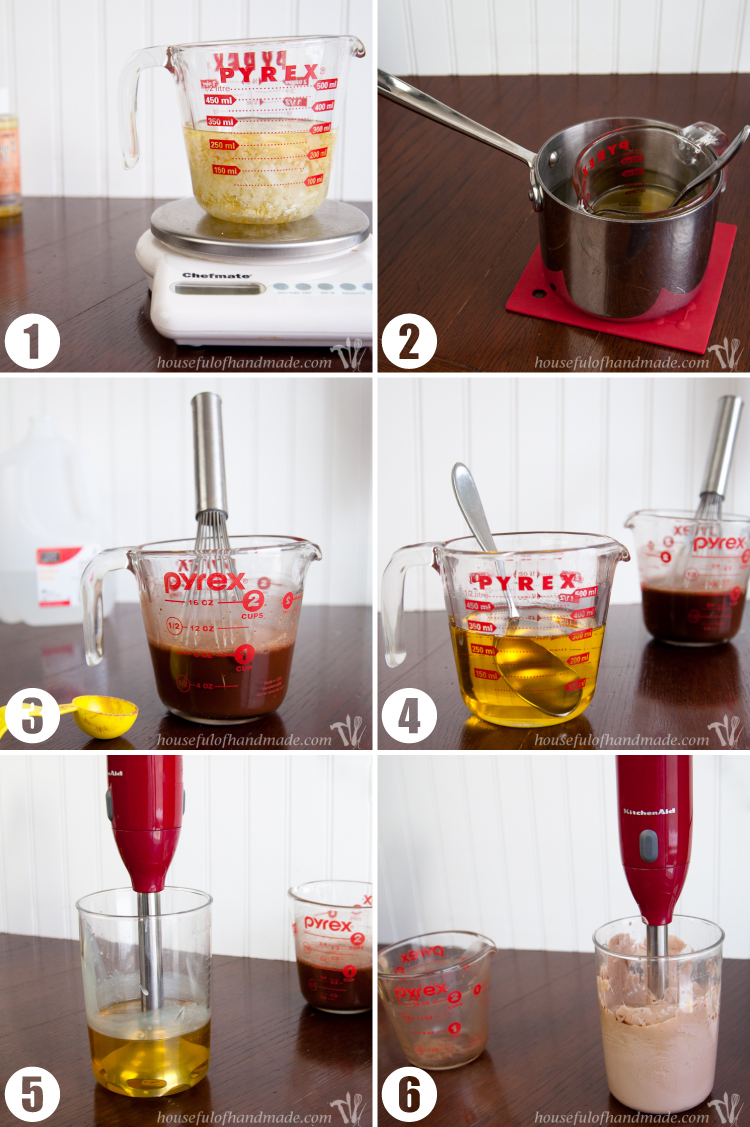
1- You will need to measure all your oils and beeswax by weight. I recommend a simple digital kitchen scale. They are super useful in the kitchen for all kinds of stuff, including making your own beauty products. For the beeswax, I recommend buying pellets, I did not and have to grate it before use.
2- Melt your oils in a double broiler. Here is a picture of my super fancy double broiler: a pyrex measuring cup inside my small saucepan of simmering water (I link the handle over the edge so it doesn’t get too hot).
Some recipes tell you to heat your oils in the microwave but I worry about heating oils too much and having them explode in the microwave so I keep it safe on the stove. And it’s easier to stir and ensure all the oils and beeswax are perfectly melted.
3- Meanwhile, whisk your cocoa powder into the distilled water until all the clumps are gone. Make sure to use distilled water so there are no contaminants in the water or it can cause your lotion to go bad.
This lotion is homemade with no preservatives so contaminants are bad and you don’t want anything to grow in your fancy lotion! Also, the distilled water needs to be at room temperature to ensure proper emulsification.
4- Once your oils are all melted (it only takes a couple of minutes), remove them from the simmering water and add your vitamin E oil. Let the oil cool to room temperature. It will start to get thicker around the edges when it is cool.
At this point, I moved my oil to my stick blender container. The oils were over 1 cup after melted and if I added 1 cup of water and emulsified it, it would overflow out of my 2 cup measuring cup.
5- Start blending the oils with your stick blender. Carefully pour the chocolate water into the oil in a slow, steady stream while still blending. The oil mixture will start to emulsify and turn into a creamy lotion. Slowly add all the water.
6- Continue blending until all the oil and water are emulsified. You will want to move the stick blender around and up and down. It will take a couple more minutes of blending to get it all together. Now your lotion is all done!
See it was easy right? Now it is time to package it up to give to your sweetheart this Valentine’s Day! Spoon your Homemade Chocolate Massage Lotion into your containers.
I like to use half-pint mason jars or I save the jars from my non-homemade beauty products and fill them with my homemade ones.
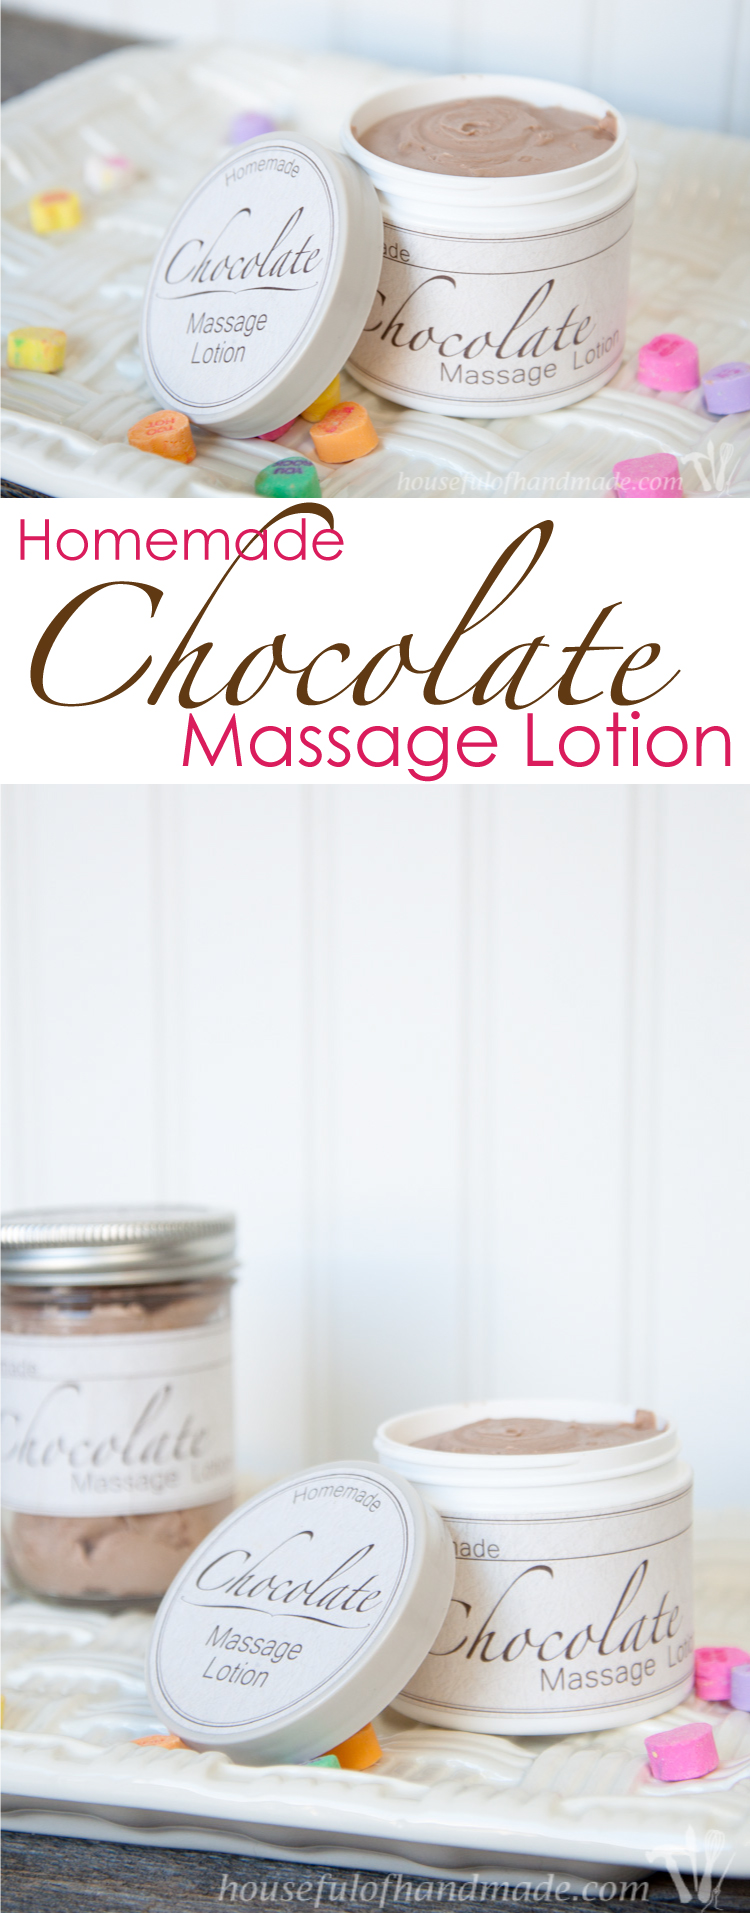
Then fancy up your jars with these free printable labels. I printed the labels on a sheet of sticker paper and cut them out, then they are easy to just stick onto your jars.
Download the Homemade Chocolate Massage Lotion Label by filling out the form below.
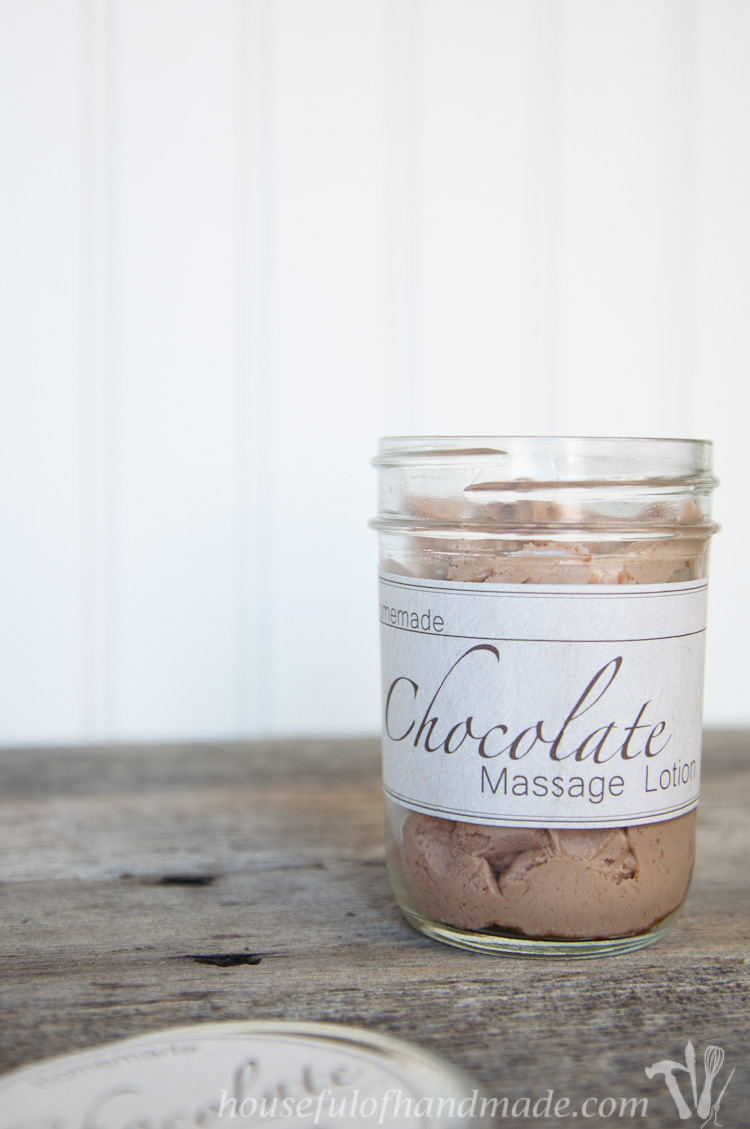
I’m so excited to use my new Homemade Chocolate Massage Lotion. I can smell like a chocolate bar for date night, no one can resist that! And it’s the perfect lotion for a Valentine’s Day massage!
Homemade Chocolate Massage Lotion
Ingredients
- 6 oz grapeseed oil or other liquid oil
- 2 oz cocoa butter
- 1 oz beeswax pellets or grated
- 1 tsp vitamin E oil
- 1 cup distilled water at room temperature
- 1 Tbsp cocoa powder
Instructions
- All oils are measured by weight. Measure all oils into a glass measuring cup.
- Place measuring cup in a small saucepan of simmering water and stir until completely melted.
- Remove oils from water and cool to room temperature. Stir in vitamin E oil
- While oil is cooling, whisk cocoa powder into distilled water until all clumps are gone.
- Once oil is cooled, start blending with your stick blender and slowly pour chocolate water into oil in a thin stream while continuously blending.
- The mixture will start to emulsify. Move the stick blender around and up-and-down to make sure all the oil and water is emulsified.
- Pour into containers and use within a couple months. To prolong shelf life, store in refrigerator.
- Lotion may be more solid when cool, but will melt easily in your hands.
- Enjoy!
If you are looking for more valentines, check out the free printable kid’s valentines we did earlier this week!
Find more Valentine’s Day Projects here!
You might also like

I’d love for you to follow along with all my crafting and creating adventures at Houseful of Handmade.


What a great recipe. It looks like you could get a spoon, scoop it out and eat it up. So pretty. Pinned.
It smells like that too! I hope you enjoy it.
-Kati
I love making homemade beauty products, too! I think I have everything except the beeswax. I JUST got a kitchen scale last week. 🙂 I’ve pinned it so that I can try it sometime. Thanks for sharing. Stopping by from Two Uses Tuesday.
Thanks so much for stopping by! I hope you give it a try some day!
Now Susan, you have my attention, this is really a simple recipe, I like that it is whipped and with water, first recipe I have seen using water to make it fluffy. I made a batch recently and it is much harder than I wanted, I
fear it had to much bees wax. And since it was my first time I didnt know what to expect. I wonder if I could remelt and add water to fluff it up? Might try a small amount to experiment.
Have a great weekend!
Karren
I am not sure exactly how it would work if you remelted and mixed with water. If you have too much water or too much oil, it won’t all come together, but you can just pour off the excess. I would try it with 50% volume in water and 50% of the lotion you are melting down and go from there. I love the lotion that is emulsified with water, it is light and fluffy like store bought lotion but really hydrating because of the oils. I’d love to hear how it turns out!
– Kati
This looks lovely, however there is
no preservative. Suggesting this
will last 2 months is irresponsible
Water in any formula will start growing
mold in less than a week, actually
starts growing before we even see
it. Someone can get very sick if
they used it before they saw the
contamination.
I love this! And I’m so glad you included the printable for the jars because I love it! That font is beautiful. Thanks for linking up at #SaucySaturdays!