DIY Burlap Lamp Shades
I think you will agree that these DIY Burlap Lamp Shades are absolutely fabulous! A few simple steps and a glue gun will have you transforming an old lamp shade in no time! These were made by the very talented Kim from Made in a Day. Kim has always been a DIY’er and avid junker, re-purposing the old and new. Be sure to stop by her blog and to see her many projects!
*This post contains affiliate links. See my full disclosure*
Kim created these DIY burlap lamp shades for a coastal themed bedroom…I think they are awesome! She gives you the how-to in her own words…
Materials needed for both lamps: Lamp Shades, Burlap, (I use Burlap coffee bags by burlapfabric.com they are a great source for burlap) Rotary Cutter and Cutting Mat , Spray Glue Adhesive
, Hot Glue Gun an Glue Sticks
, Mod Podge
and Blue Hawk Twisted Jute Twine.
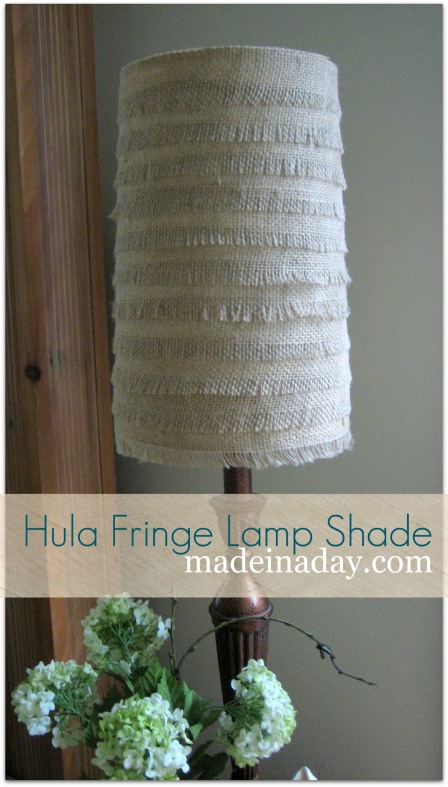
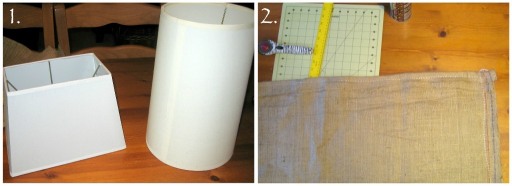
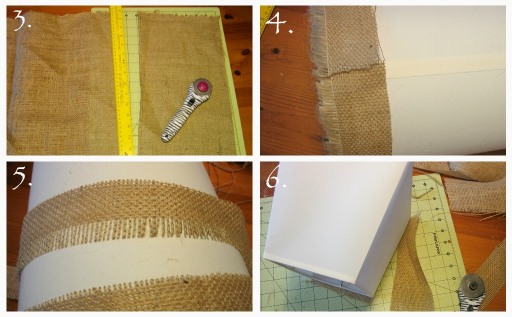
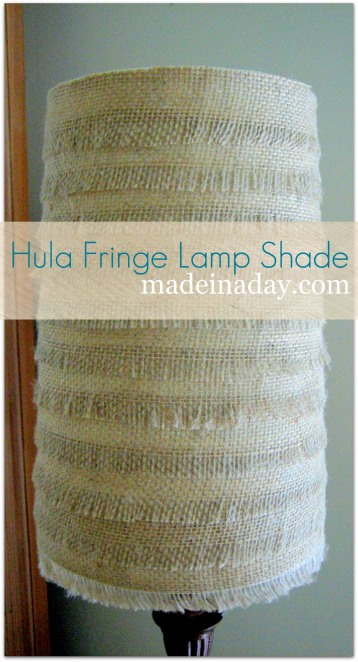
For the Hula Fringe Lamp Shade: Cut your burlap with a rotary cutter into 3 inch strips, measure large enough to go around your shade. On the bottom edge, I used a strip that already had a frayed edge with stitching. Spray the shade and get your fabric straight, (the spray glue makes it easy to adjust if your strip gets uneven). Then hot glue edges overlapped on the original seam. Then take your next strip and pull out 5 or so stings to make the frayed edges, spray glue on the shade and layer over the first layer. Adjust and hot glue edges on original seam. Repeat! I cut the top edge strip to match exactly to the edge of the lamp and did not add a ribbon to finish the edge, I just left it alone, it looked better that way.
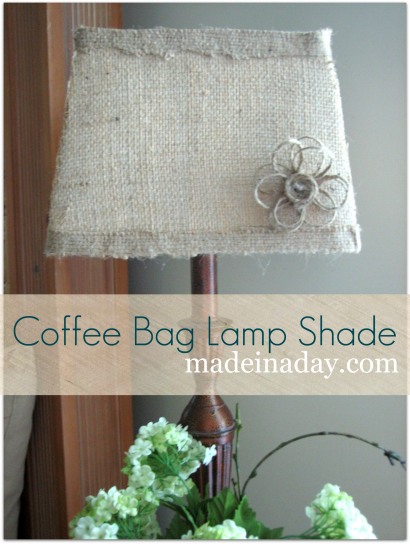
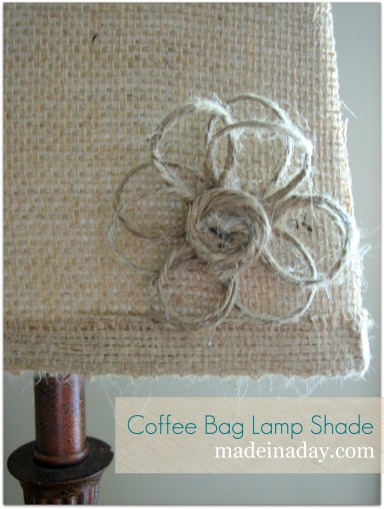
For the Flower DIY Burlap Lamp Shades: Cut the burlap the same size as the panels on the shade. This is a little tricky, be careful not cut the shade. I then coated it with Mod Podge and added the burlap. I first tried to use just the spray glue but the Burlap refused stick well, and Mod Podge made all the difference. It makes for a smoother finish, if your like me and hate to iron, this way is easier to smooth out the wrinkles. Trim the frayed edges. I took the finished/sewn edges from my coffee bags, cut them into thin strips and hot glued them on the edges to finish the edges. Then I took twine and just started looping it around to resemble a flower and hot glued the center. I also rolled twine and hot glued it for the flower’s center. And that was it! Pretty simple! They turned out great, I love them! They are even cuter in person!



Thank you so much for featuring….well me and my blog!! Nice surprise today!
Kim
Your lamp turned out very cute…love the burlap.