Halloween Headband Tutorial – Member Monday Feature
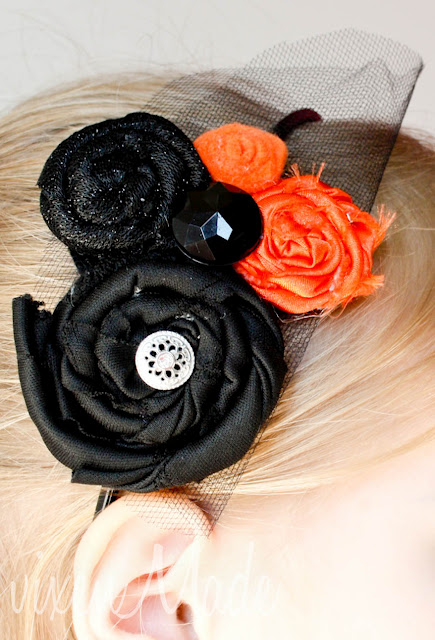
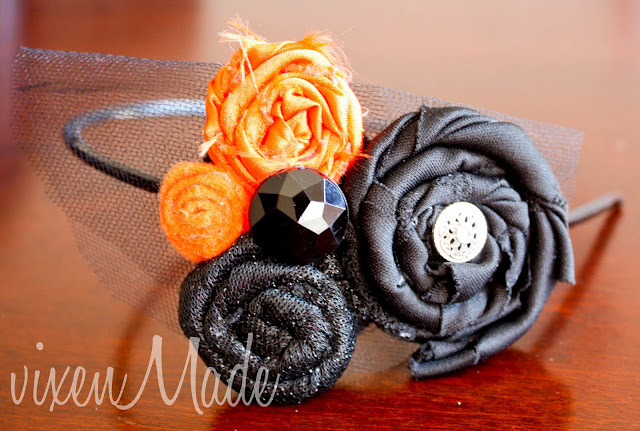
Welcome to a new series I am starting here at Oh My! Creative. This is the first Member Monday Feature and our first feature is this adorable Halloween Headband by VixonMade! Isn’t her daughter just beautiful!
Let me explain what Member Monday Feature is all about…
First, you need to be a member of the Oh My! Creative Community and have posted a few projects to the website. What I would like to do is to feature one of your earlier posts as a new blogger. I know, myself, that I have plenty of blog posts from past years that I think are still great posts, but are lost and worth a re-post!
So, what I am asking, if you have a great post from your early days as a blogger that fits in with the Oh My! Creative content, I would like to re-post and feature it for you! This could be any DIY type of project, recipe, party…etc. A tutorial would be great or even a home tour of your favorite room. The more variety the better. What I am not looking for is inspiration posts – a collection of others peoples content or personal posts. I would like it to be your own creative content. Besides posting your original post on the blog with a link back to your blog, I will also be featuring it on facebook and twitter. Email me is this sounds like something you would like to be a part of at Susan@ohmy-creative.com.
Now onto Victoria’s Halloween Headband at VixonMade! Stop by and follow her…she has so many great projects!
In her own words…
Lately, I have been getting so excited for Halloween. There is SO much inspiration in the blogworld. So much talent out there! It’s crazy!! But I love all the fabulous Halloween projects and decided to jump on the bandwagon and make something fun.
Because my daughter, who also loves Halloween and dressing up in costumes, is really into wearing headbands lately, I decided to make one especially for Halloween!
Black and orange!!
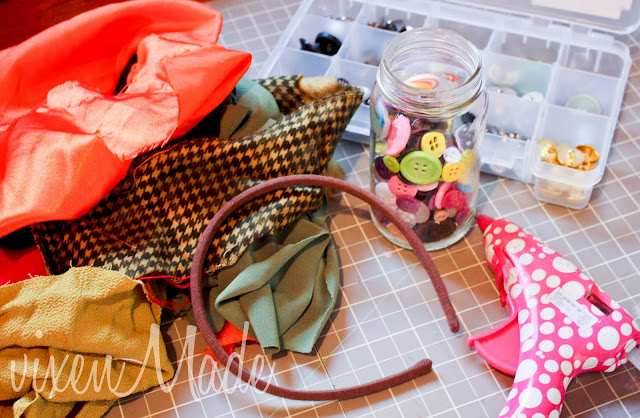
To make one of your own, here’s what you’ll need:
Fabric scraps
Buttons, jewels, embellishments
Headband
Felt
Hot glue gun
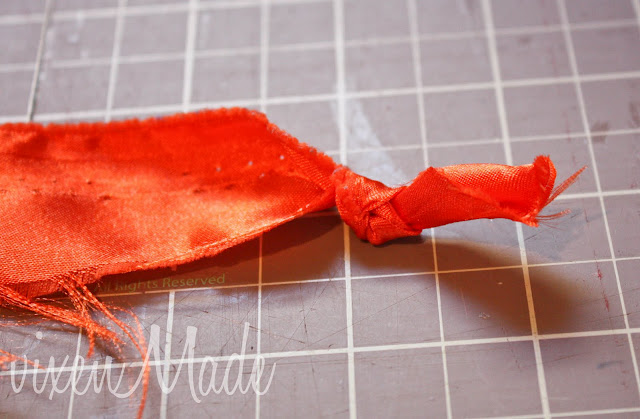
I used a rolled rosette for this headband. If you’re unsure about how to make them, here’s a quick how-to.
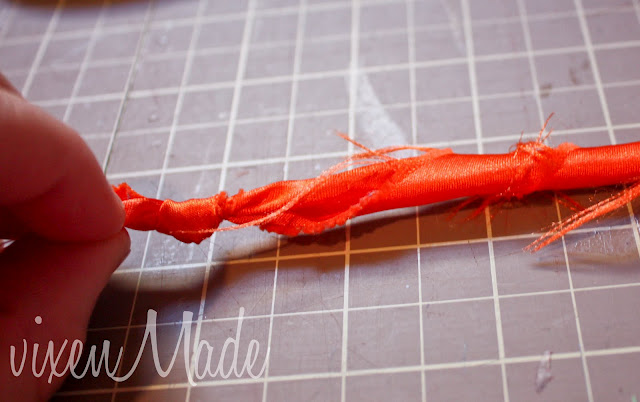
Using a strip of fabric (the size depends on how big or small you want the rosette), make a knot at one end. This is the center of your rosette.
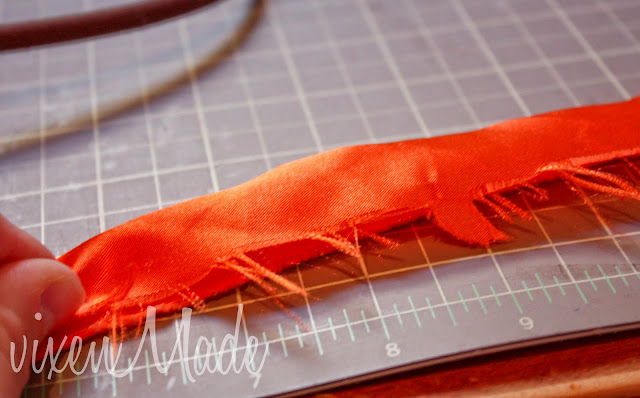
Fold the fabric width wise, so the rosette shows the right side of the fabric.
Now twist and wrap the fabric around your knot, adding small dabs of hot glue when needed.
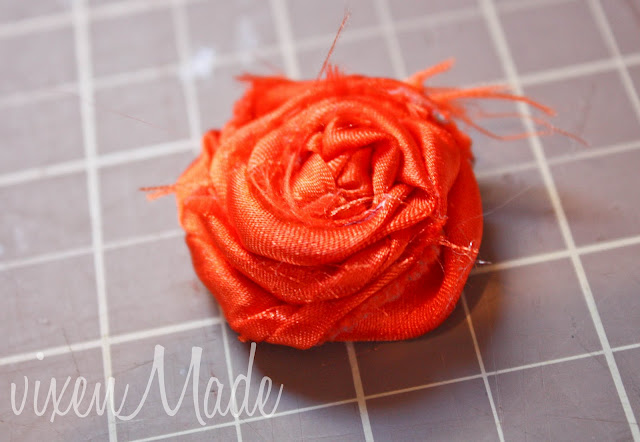
Try to keep the rosette tight and flat and the more the fabric frays, the better.
Done. Now make more, in different colors, textures and sizes.
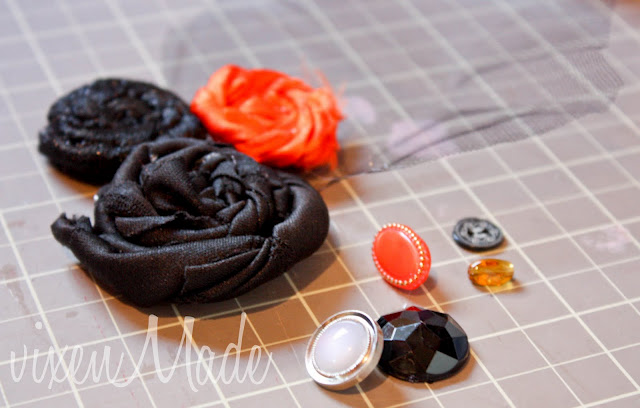
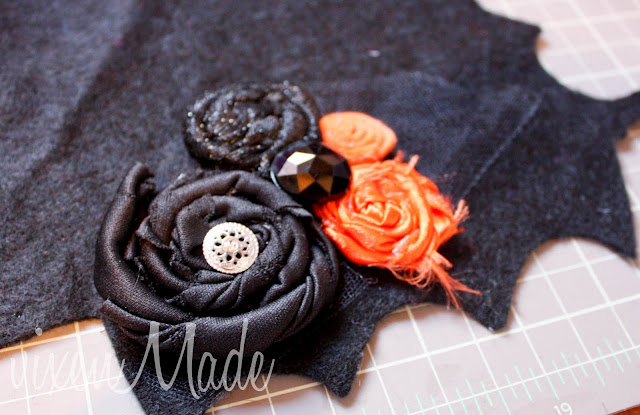
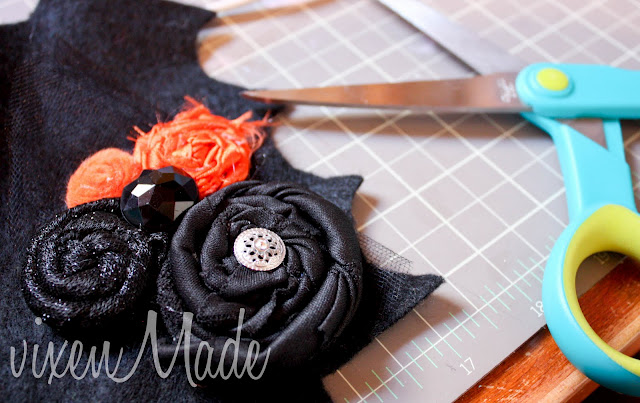
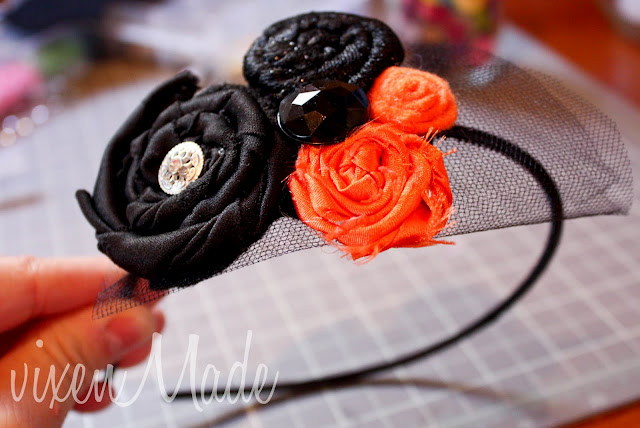
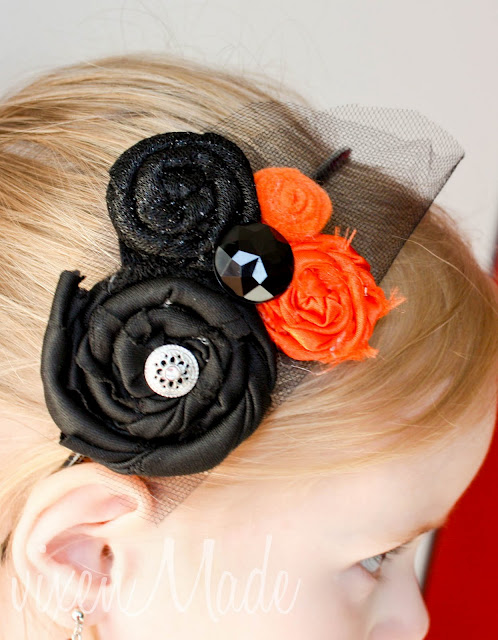
Once you have the rosettes you want for the headband, get any embellishments you like to add interest. I used black tulle, a black rhinestone and a silver button.
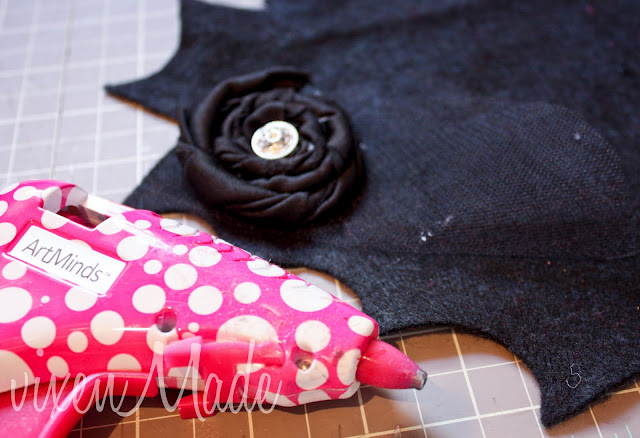
Begin to hot glue your pieces onto felt, the way you want your rosettes and embellishments to sit.
Once you’re done gluing the pieces where you want, let the glue cool and set for a few minutes.
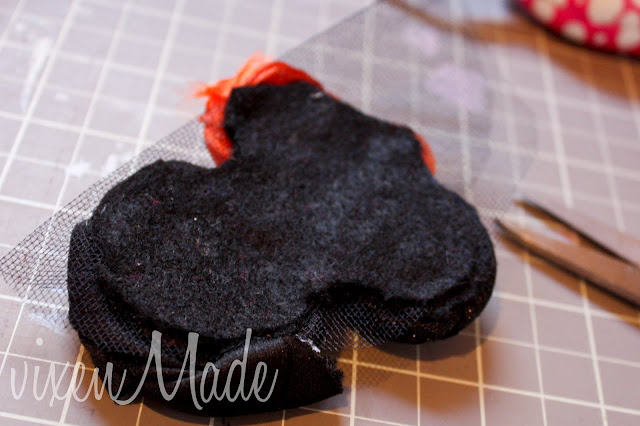
Now cut your felt around the grouping. The felt provides an anchor to keep the pieces in place and makes it easier to attach to your headband.
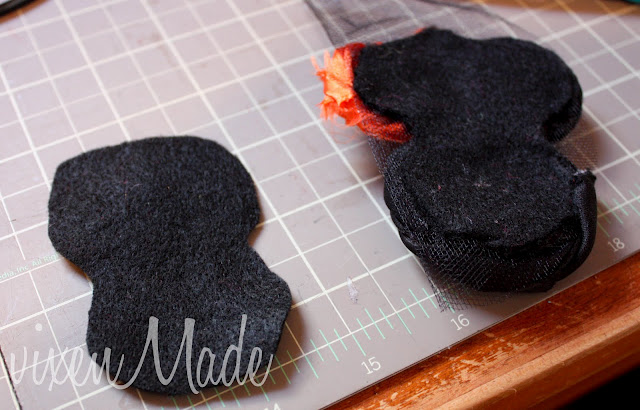
Cut a another similar shape out of felt.
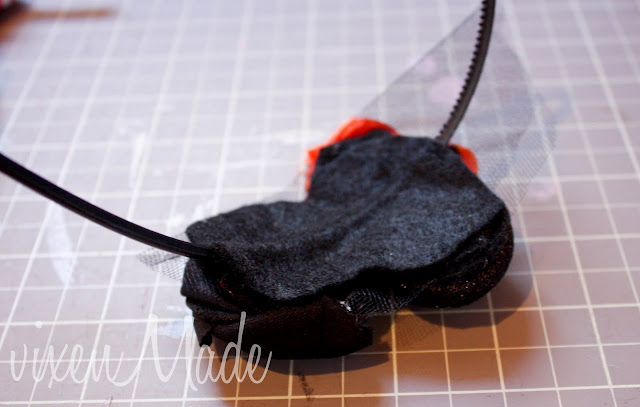
Figure out where you want the piece to sit on your headband, then sandwich the headband between the two pieces of felt and hot glue in place.
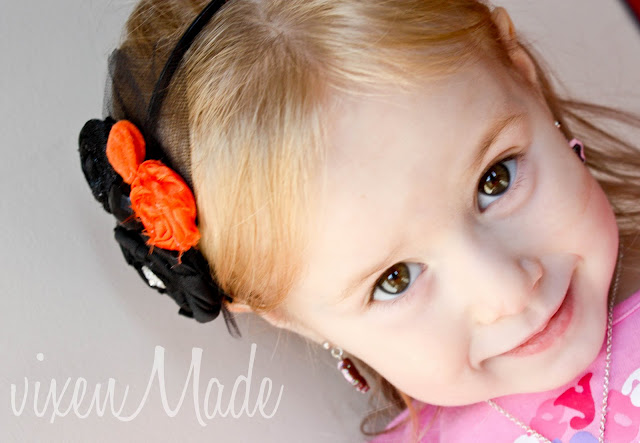
Let it cool and try it on. Admire.
Perfect for the Halloween season!



Thanks so much for featuring this!