Creating Visual Balance For a Large Interior Wall Space
What to do with a large interior wall? I know I am not alone with this problem. Most newer homes, today, have at least one or two blank walls with 12′ to 18′ ceilings!
We all love the open feel of these rooms, but what are we to do with these blank walls…they are hard to decorate!
I was watching an episode of the Nate Berkus Show that talked about this problem. Nate said, “you don’t have to fill the wall to the ceiling, but up to a comfortable eye level.” I kept this in mind as I thought about my problem of filling my 18′ foot wall!
I also don’t like hanging extremely heavy objects on the walls. I fear them pulling out of the drywall and falling on my family. I know you can anchor into the studs, but that always doesn’t work when the studs are not in the right place. Anyway, this is what I came up with…
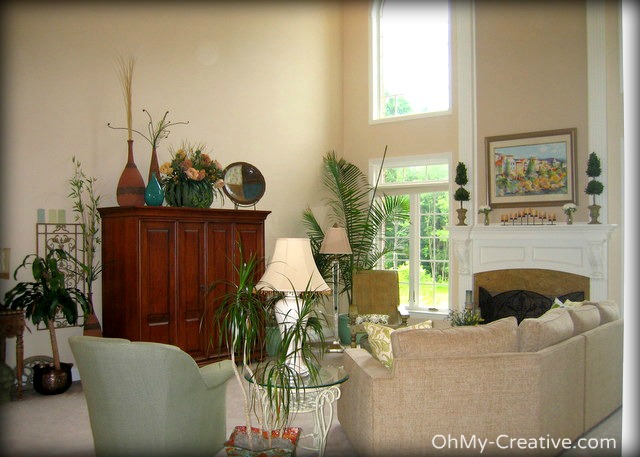
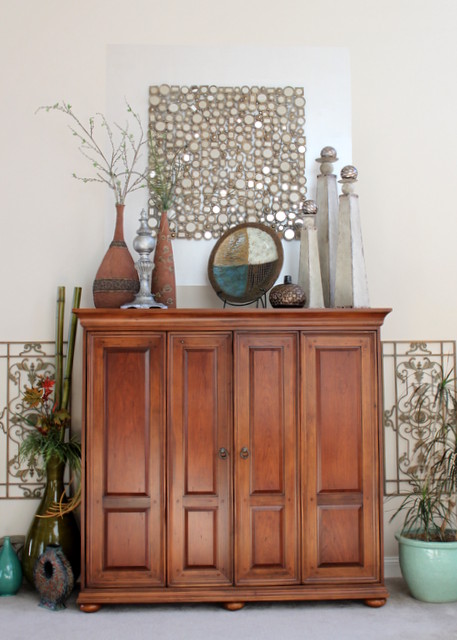
I found this really pretty mirror at Kirkland’s. It has a gold/silvery finish and looks like it is made up of little tiny mirrors. I liked the mirror because it had a bit of a modern look – something a little different for the room. Another bonus…it wasn’t very heavy. So, I was trying to work around my existing TV cabinet (I had no intention of replacing it) and the mirror was quite a bit smaller. I needed to do something to create a visual size balance between the two.
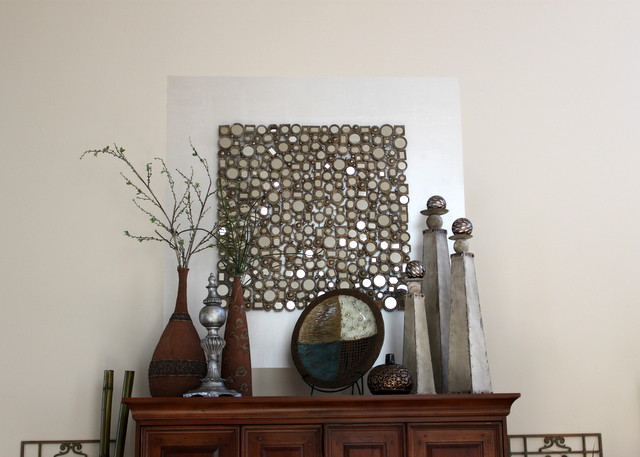
My solution – a painted frame around the mirror. I didn’t want to use a strong paint color, but something that would visually balance the mirror to the cabinet. I chose a pearl glaze that worked perfectly for a couple of reasons. Its shimmery finish added another modern element to the room and when the light hits it, the square subtly changes throughout the day – it was not overpowering. It also made it very hard to photograph!
This is the before photo. As you can see, I needed to do something with the upper space. I also updated a few of the accessories to freshen the look!
I could not take many pictures of the process as I was literally on top of the TV cabinet. I have a fear of heights and the cabinet doesn’t look that tall, but it was kind of scary being on top of it!
This was not a one-person job…I needed the assistance of my husband. After determining the size, I measured up from the TV cabinet along the bottom, to create the bottom of the box. I double-checked with a level to make sure my line was straight. Using a large art triangle and a yardstick, I began to measure up the sides. Again, I double-checked my taped lines with a level and repeated the process to create the top of the box. Sorry, I have no pictures of this, but it took two of us to get this right!
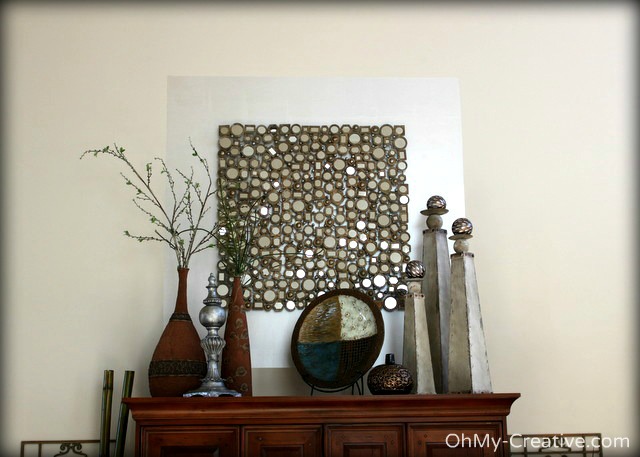
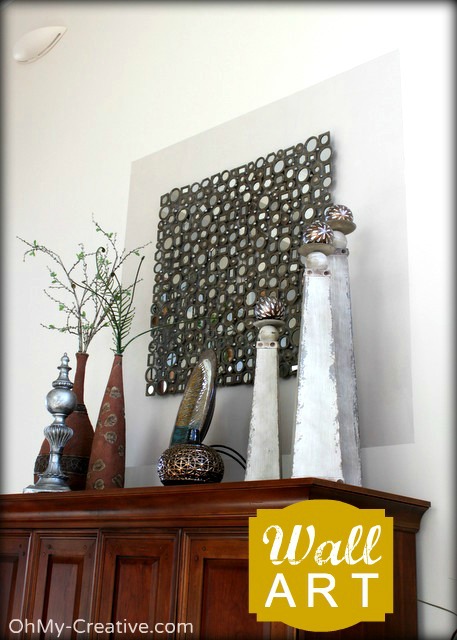
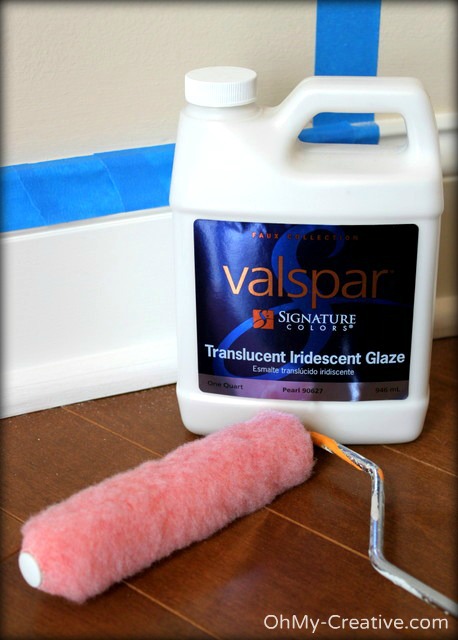
The flash in this photo really helps to show the look of the glaze paint. After painting the square, I let the paint dry completely overnight and removed the tape the next day. Below is the glaze and the type of roller I used. Both were purchased at Lowes.
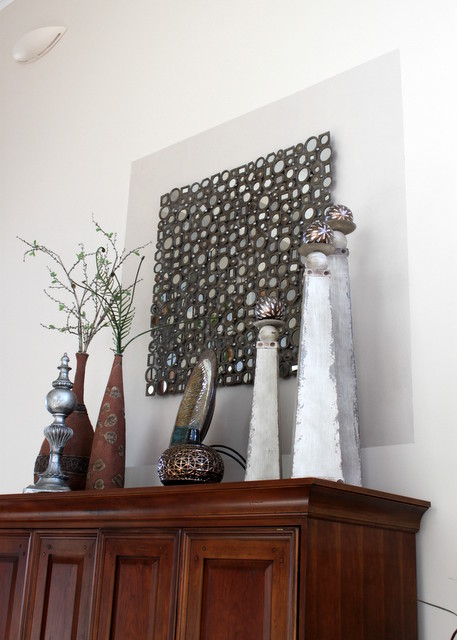
I’m very happy with this update and love the subtle use of wall paint to create balance!
Below – I painted strips, on the foyer wall, using this same glaze. See the details of that project.
