Reversible Messenger Bag – Member Monday Feature
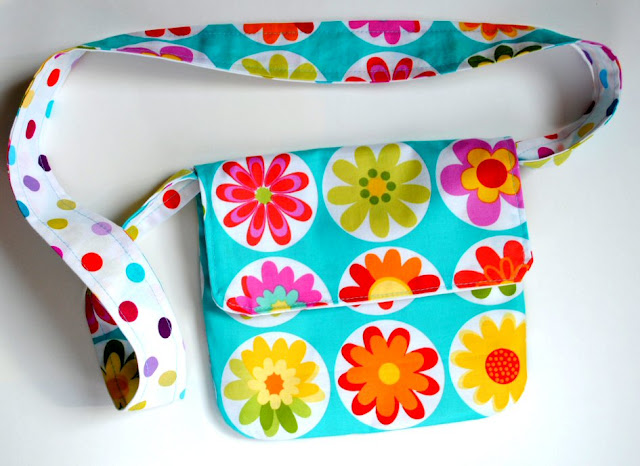
This is the fourth week of Member Monday Feature – I am excited to feature this fabulous Reversible Messenger Bag by Amanda at Crazy Little Projects! Don’t you love the these fabric prints?! Amber is a mom of four boys with a love for sewing, baking and crafts. Be sure to visit her blog and follower her…she has some amazing projects! Also, Amber is now our new Featured Member on the Oh My! Creative Website – thanks, Amber, for sharing your creative projects with us!
Find out more on how to have one of your projects featured as a Member Monday Feature!
Here is the tutorial for the Reversible Messenger Bag in Amber’s own words…
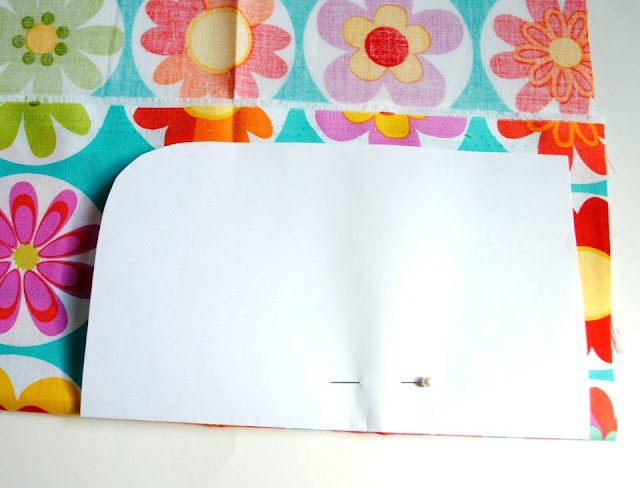
You should now have 4 pieces cut out. A front piece from each fabric and a back/flap piece from each fabric.
Now you need to cut out a strap too. I used the full length of my fabric (45 inches) and did it about 3 or 4 inches wide. Just a nice straight cut. Do this with both pieces as well so that you now have 2 strap pieces.
You should now have 6 pieces of fabric to work with.
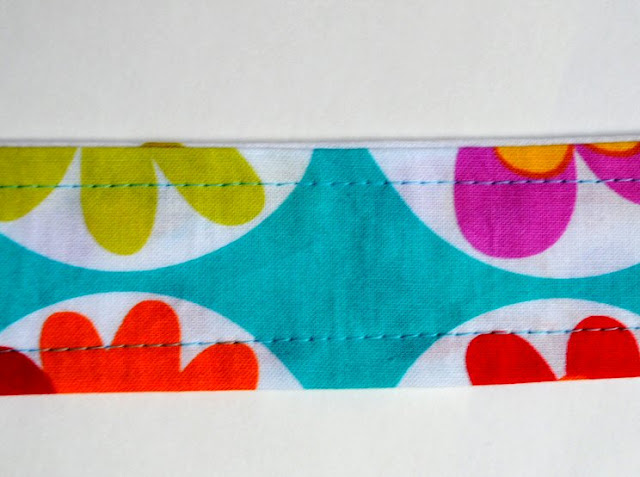
I always like to sew the strap first. Put right sides together and sew down both long sides leaving the ends open. Turn it right side out, press it and then top stitch.
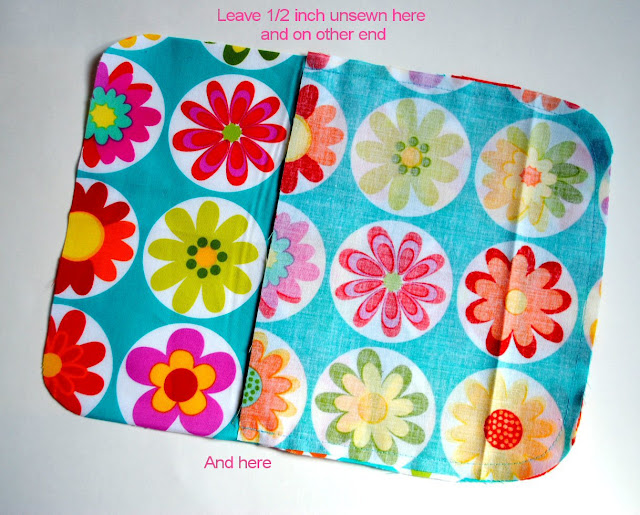
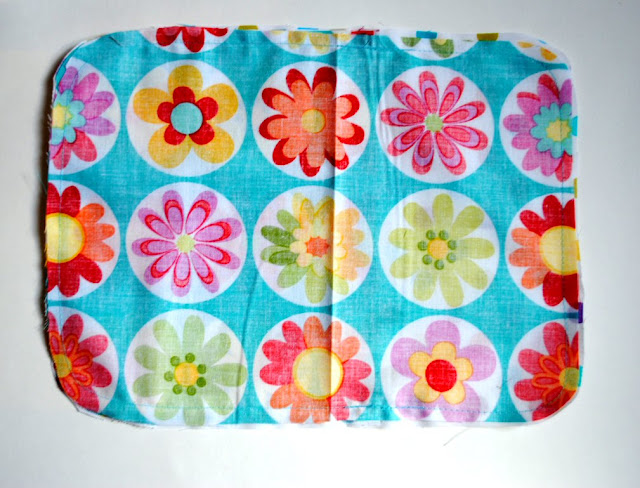
Now, using your other pieces, put right sides together on matching fabrics and sew around the edges of the front part on the three outer edges.
Important: Leave about 1/2 inch unsewn at the beginning point and the ending point. This will make it easier later because you will need to fold that part down.
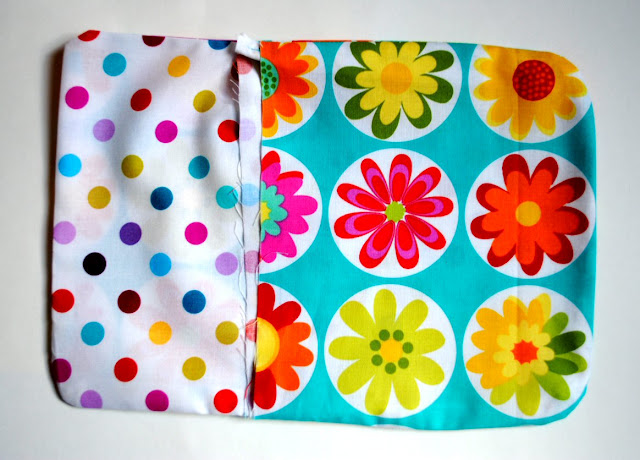
Sew the pieces together just around the top part stopping before you get to the Front pieces.
Now you are going to flip it so that the right sides are out and one pocket is right inside the other. Push the corners out nicely and press it flat.
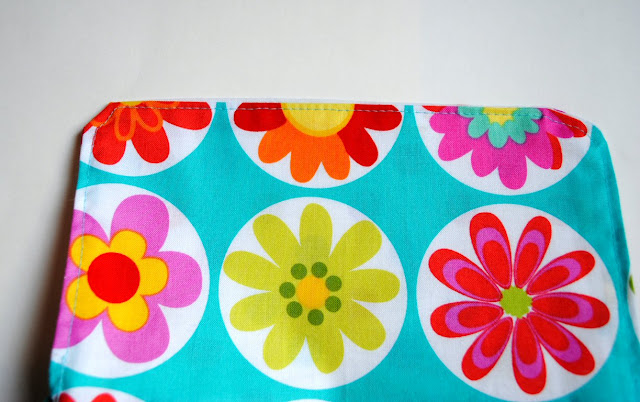
Top stitch just the flap part for added stability:
Almost done! Simply fold the two raw edges of your Front part in towards each other about 1/2 inch and press them.
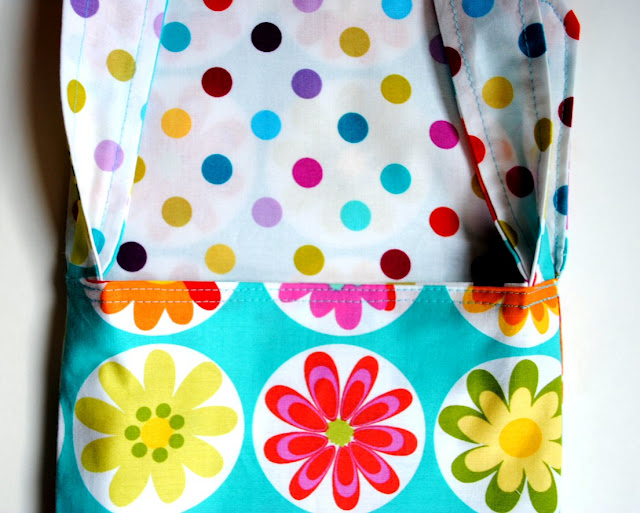
Slide your strap in between the two fabrics as far to the edges as you can get them. Make sure to slide them in about an inch or two so that they stay put. As you can see, I pinched mine in half at the ends before I slid them in so that they take up a little less space.
Sew the edge closed with a top stitch. I did a double top stitch because I like how it looks:
The last thing I do is stitch one line across the bag where it folds (or basically where you taped your back piece to your flap piece) to create the flap. This just make the bag more stable.
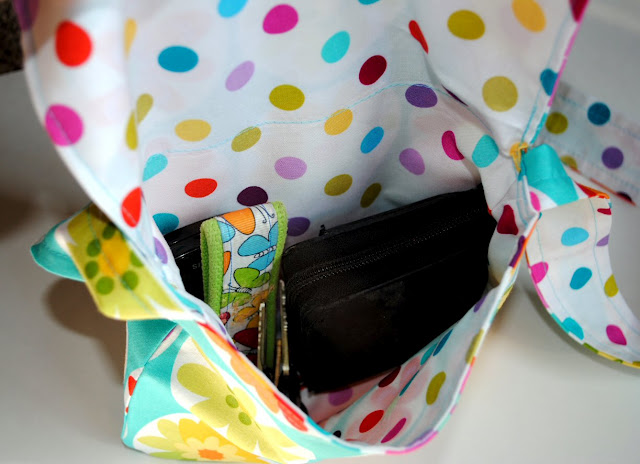
And ta da! A cute, easy and inexpensive messenger bag. It is fully reversible too. Use either side. And it fits my keys, wallet and phone just right:
Thanks again to Amber from Crazy Little Projects – follow along with her on facebook or Pinterest!
To learn more about publishing your own projects on Oh My! Creative – visit here!
Would love for you to follow me…
Like on Facebook Follow Updates RSS Feeds Follow on Pinterest Follow on Twitter

